Billy’s Home Repair Tutoring Session “The Royal Flush”
It’s difficult not to have the closest toilet working. Imagine waking up in the middle of the night and have to go all the way downstairs to use a toilet. Now imagine doing that for 3 years! For the last 3 years Billy has been utilizing his downstairs bathroom because his toilet upstairs was leaking. This leak was due to an improperly installed toilet. His plumbing contractor did not properly size his toilet and the toilet was angled therefore breaking the seal of the wax ring found underneath the toilet.
The challenge:
- Shutoff water supply
- Remove existing toilet and plumbing
- Check all pipes for damage
- Remove the broken wax ring
- Size-up the new toilet according to the space
- Repair tiles and grouting in the area
- Install new toilet and plumbing
All and all with these challenges, a little bit of knowledge and a whole lot of patience, this project took 2-days. As one becomes more experience with these matters, repair or replacement times may vary. In Billy’s case, I am more than proud to say that his Confidence Level in these matters has greatly improved.
Shuttoff The Water Supply
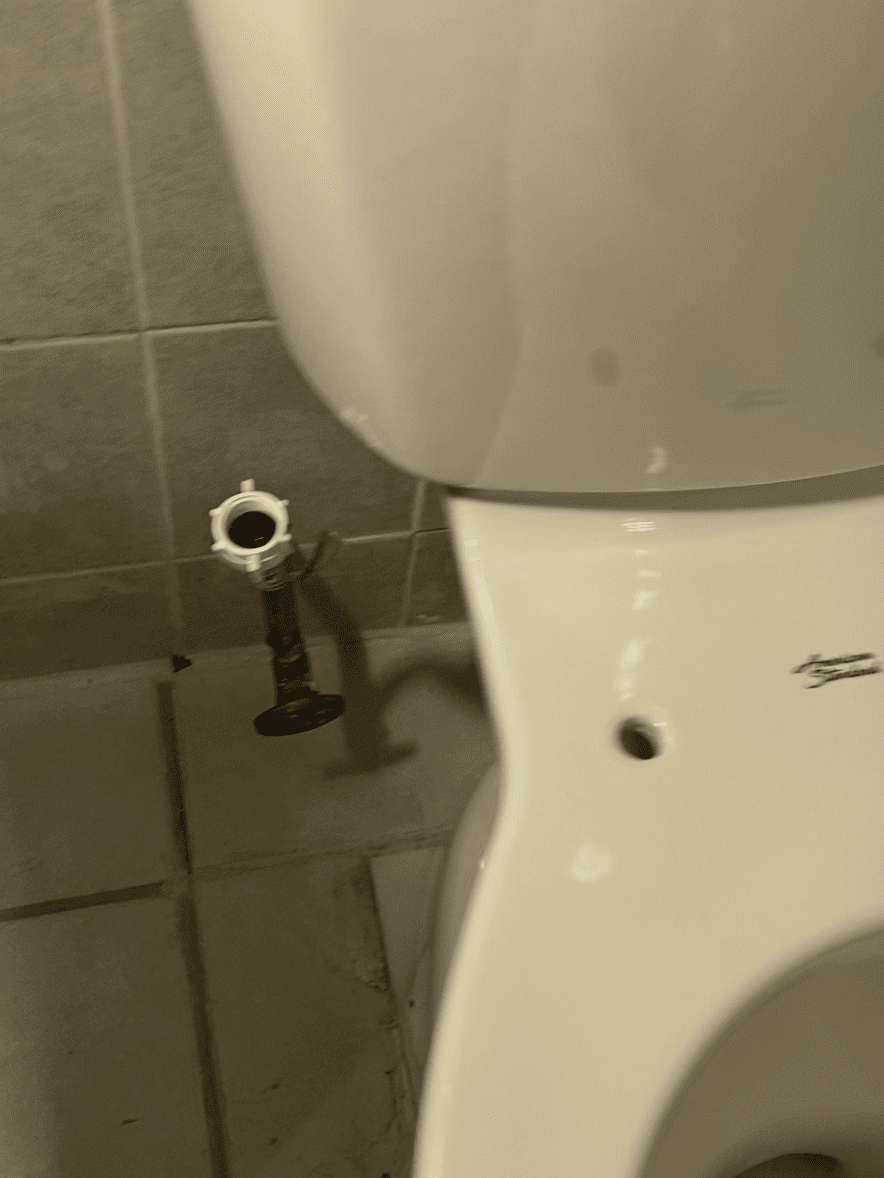
Before working with any plumbing project it is important to make sure that you know where your water supply is located and the main line shutoff is located. If the water supply for the appliance you are working on is damaged, you know where to turn off the main.
Billy disconnected the water supply to the tank and removed the remaining water that was still found in tank and in the bowl. You can remove this water with a sponge.
Read more about other Plumbing related projects
Remove Existing Toilet and Plumbing
After all the water has been shutoff and removed from your appliance, in this case the toilet. You can proceed to remove the toilet bowl. The bolts that hold the toilet to the wax ring seal are called Closet Bolts. You can use an open-end wrench to remove these bolts.
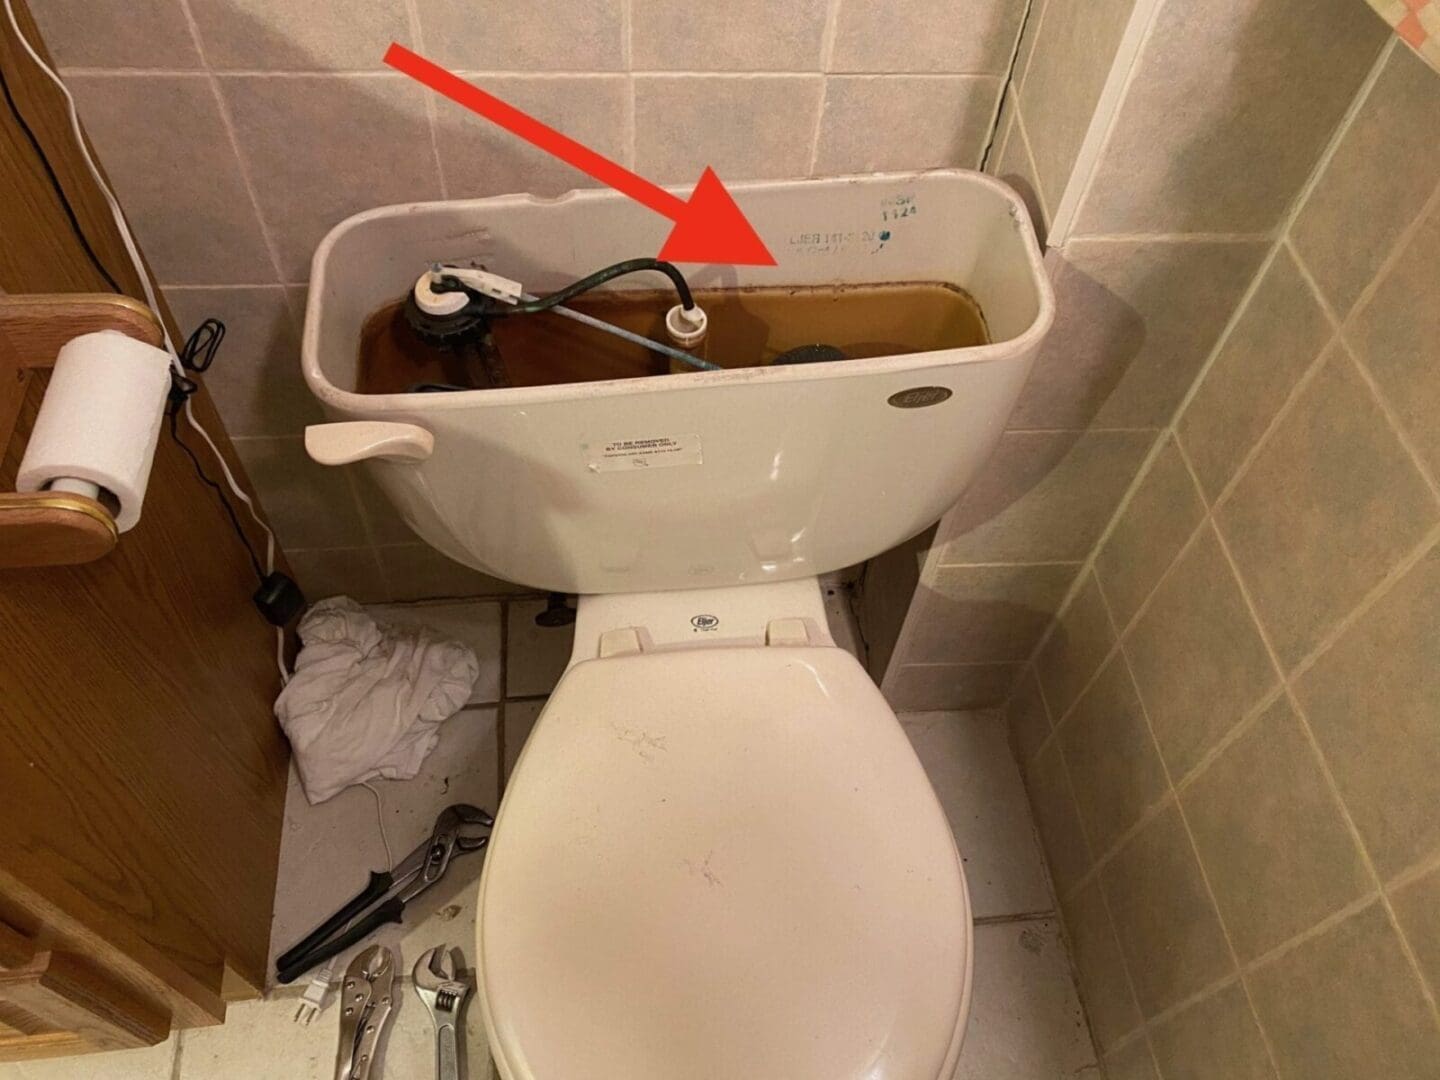
Once the bolts have been removed you can lift the tank up.
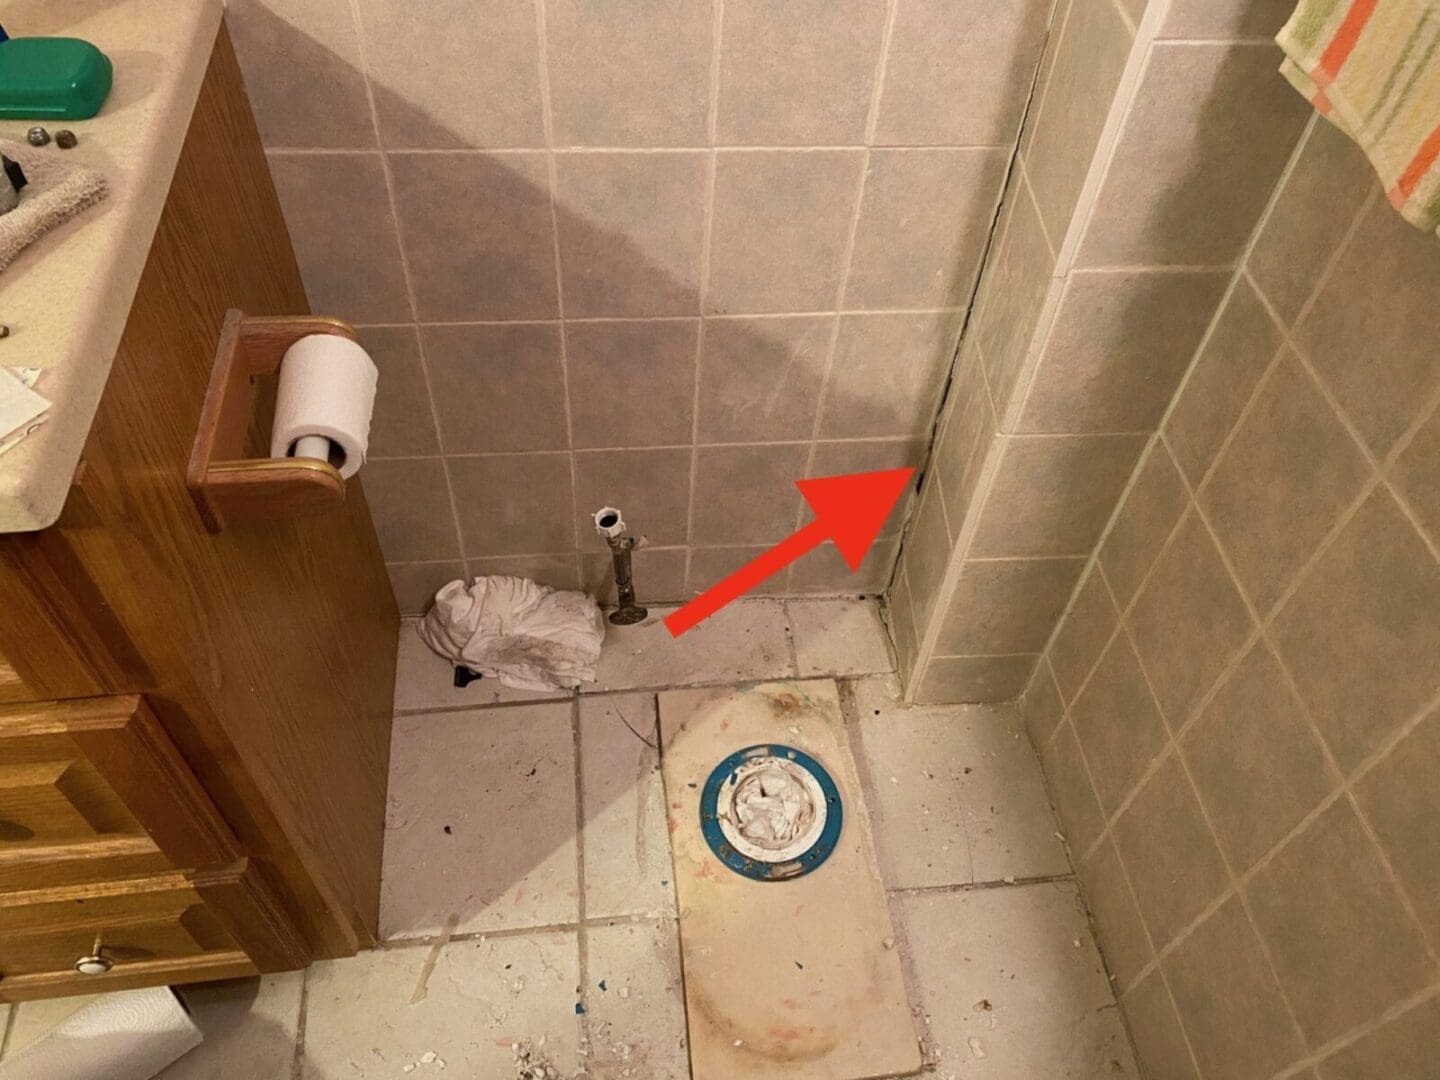
Before installing the new toilet, clean up the surrounding debris. Repair the any broken tile or potential water damaged areas from prior leaks or issues the previous toilet may have caused.
Repairing Tiles and Grout
The video below shows that with just a bit of effort and a little TLC a novice can repair grout lines. We believe Billy did an excellent job. His Confidence Level was certainly elevated after this task.
Wax Rings
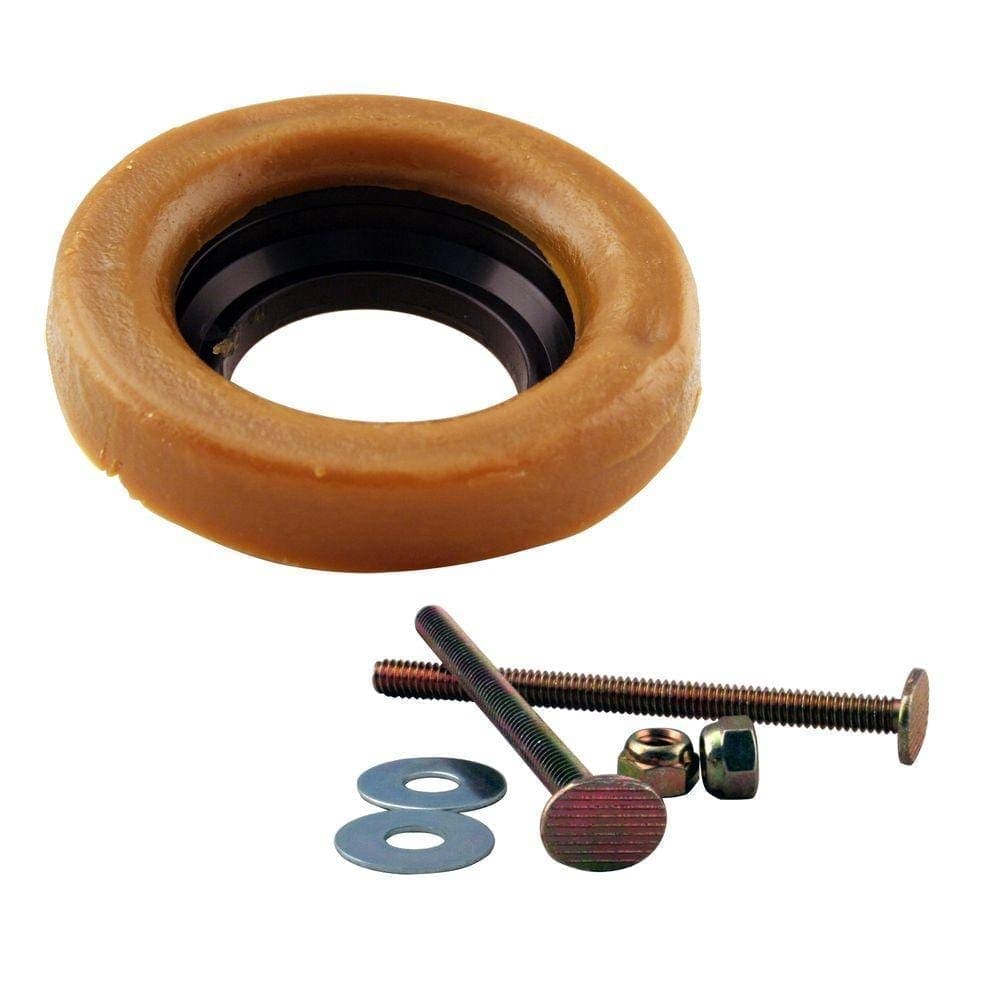
All U.S. toilets require a wax ring to seal the toilet to the sanitary waste system. The wax ring prevents methane gas from leaking into the house and prevents water from leaking out anytime the toilet is flushed. Without a proper wax ring, there can be extensive water damage and you may encounter methane fumes entering into your living space.
The cost of a wax ring is cheap and is quite essential. Wax rings rarely ever dry out and should last a very long time (approximately 20 – 30 years if not more) unless they were not properly installed.
Install The New Toilet and Plumbing
The wax ring set comes with closet bolts and you’ll need to place these first. Once aligned, you can set the wax ring and mount the toilet bowl on top of it. In order to create a good seal it is important to push the bowl down, add some weight. Some people even sit on the bowl depending on their weight to seat the wax ring. Once it’s all set, tighten up the bolts, one at a time, until the toilet is set and flush to the floor. DO NOT OVER TIGHTEN the closet bolts or you may break the porcelain toilet.
The video above shows Billy’s successful installation of a new toilet bowl. It shows how he reconnected the water supply to the tank and slowly opened the valve to let the tank fill-up. After the tank has completely filled Billy has the pleasure of flushing it for the first time. We call this, “The Royal Flush”. A royal flush is a typically a poker hand that has all the high cards with the same colored suit. In Billy’s case, he has done all the hard tasks (The high cards) and has uniformly checked all his tasks and completed them well (the same colored suit). All in all, The Royal Flush is simply the satisfaction of flushing the toilet for the first time and realizing that your hard work paid off.

To the right: A properly sized toilet, with a properly sealing wax ring, level to the ground without any leaks.
The Toilet Seat
We didn’t really show or discuss the toilet seat, but it is important to note that it has to be purchased separately. The toilet seat does not come with the toilet bowl. In the past, there weren’t too many choices for a toilet seat, but today, we have a variety of choices. From toilet seats that have cushioning to toilet seats that have a slow closing cover. Billy chose the slow closing cover and is happy he did. A slow closing cover seat prevents the cover of the toilet seat from slamming onto the the bowl. Here’s Billy putting the final touches to the project.
Final Remarks
It was a great pleasure to have worked with Billy, one of my best students and a true DIYer. I would say that after this experience Billy has gained an immense amount of Confidence. On our Confidence Scale we give Billy a 5/6. Read other Tutoring Sessions.

Five TLC logos indicates that the student can successfully complete a project with guidance and is acknowledged for their hard work, effort, engagement, planning and really being hands-on.
We want to remind students that they should take an active role when work is being done by others. Just because you are hiring a contractor doesn’t mean he will do the job YOU expect to have done. Remember to review the scope of work, inspect the materials they have purchased and follow up on the progress of any contractor’s installation, particularly if they don’t reach out to you.
Home Improvement Classes
If you are looking to learn more about how to perform more of your own home repairs and really empower yourself to keep costs down, make your own repairs and hire the right contractor, sign-up to our classes this Spring. classes start in January 2020 and go through May 2020. Sign up for all or sign up for the one that is right for you. We can’t wait to see you there.
Subscribe to our Tips of The Month
Get monthly tips on a variety of projects, as well as, DIY stories and where you can register for courses to learn more about being more hands-on.
By submitting this form, you are consenting to receive marketing emails from: . You can revoke your consent to receive emails at any time by using the SafeUnsubscribe® link, found at the bottom of every email. Emails are serviced by Constant Contact