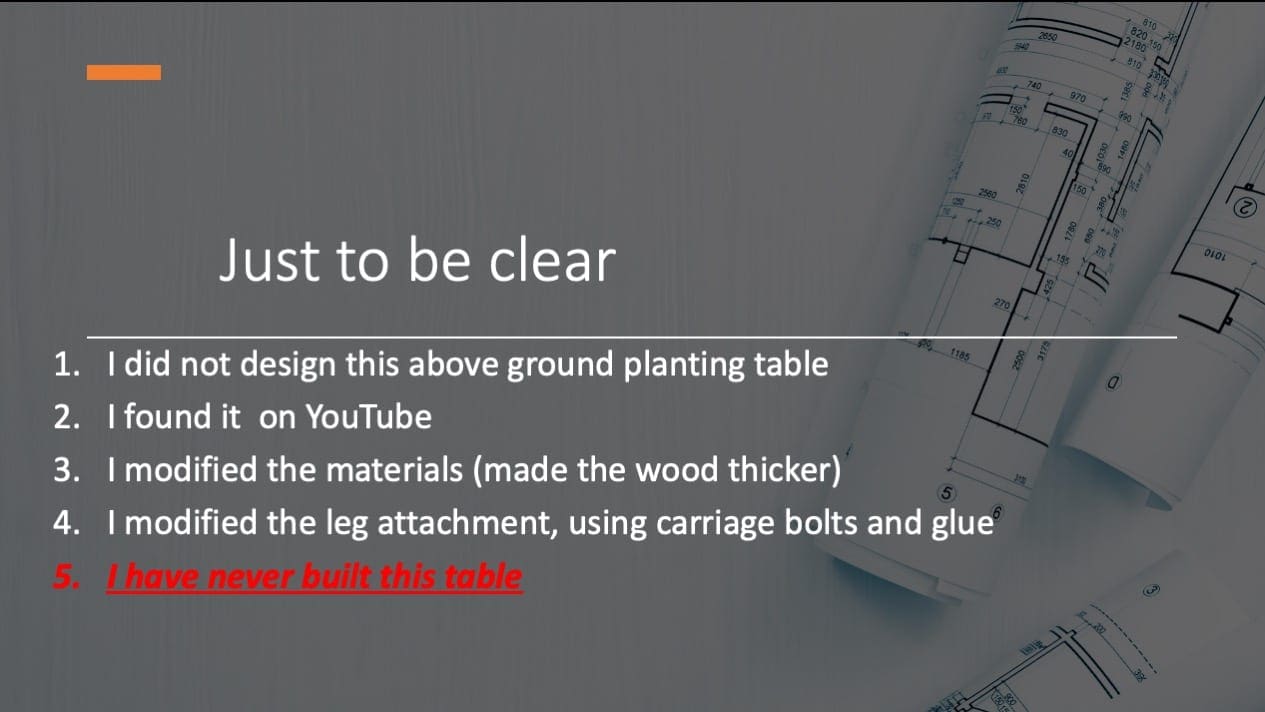
The Great Planter Challenge
Other than my family, there are two things that I really love in life: a challenge and helping out other people. So, when one of my online students challenged me to build an above ground planter “online“, well, you know what I did!!

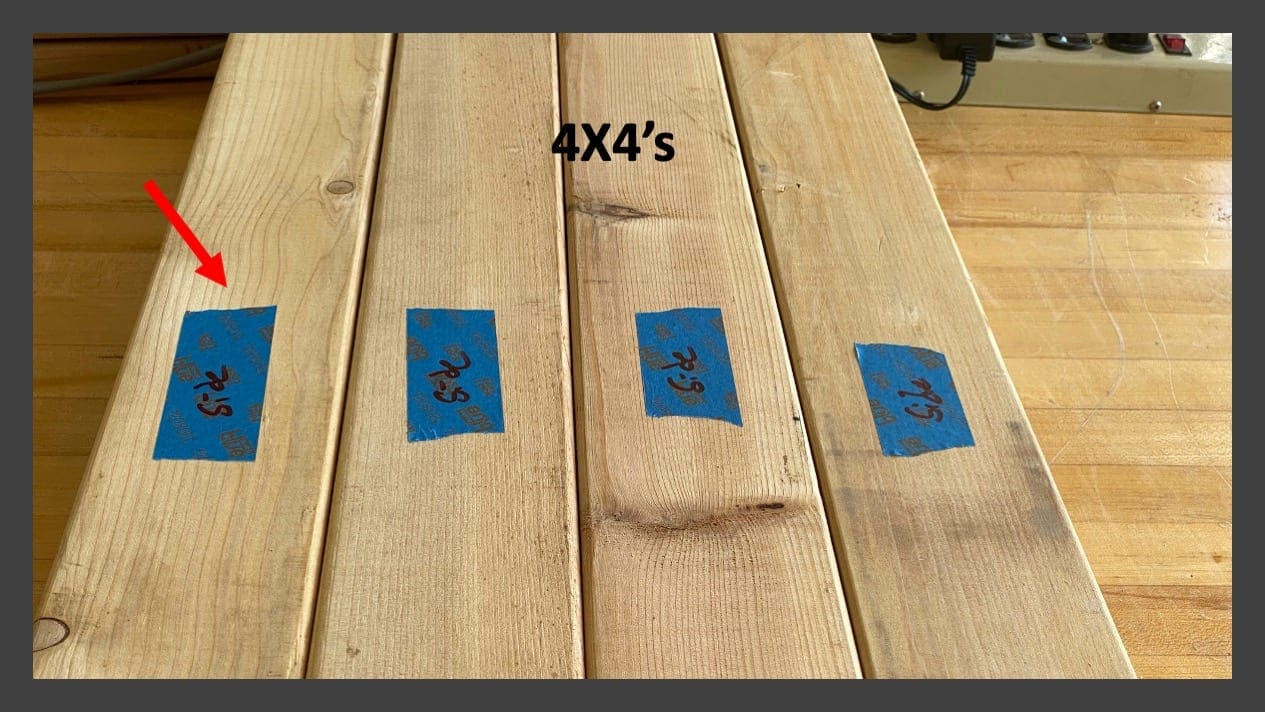
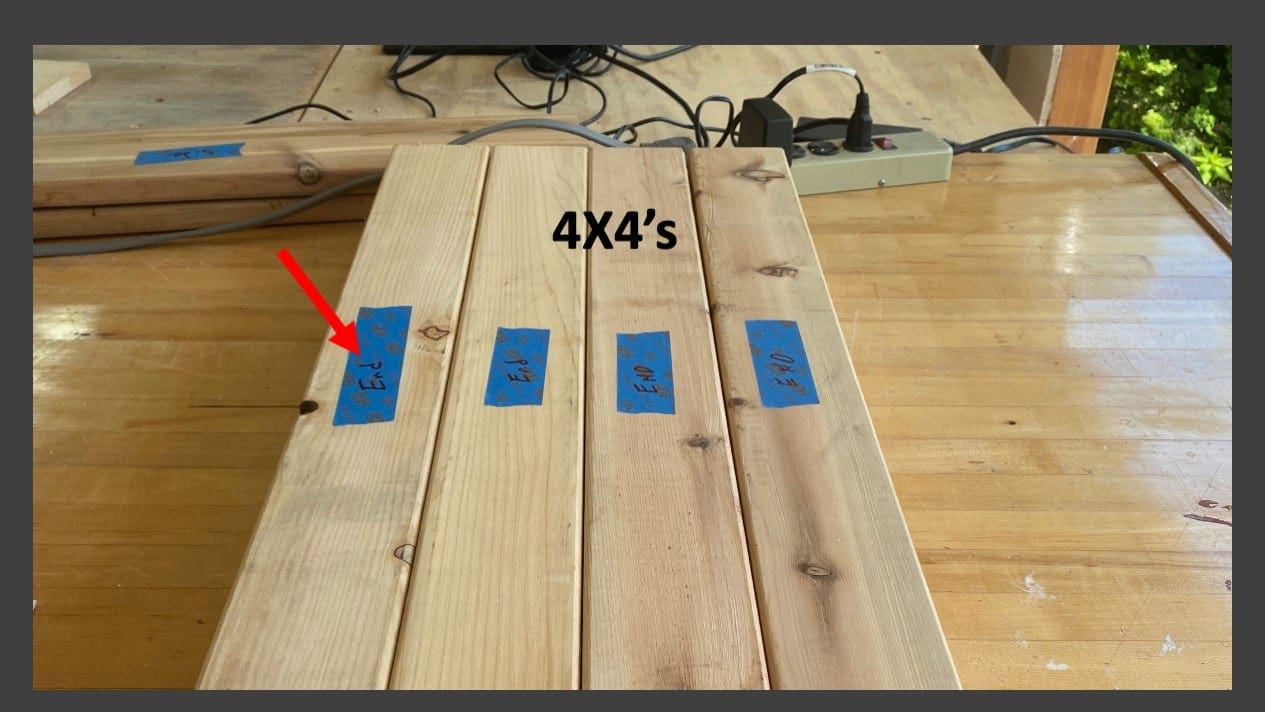
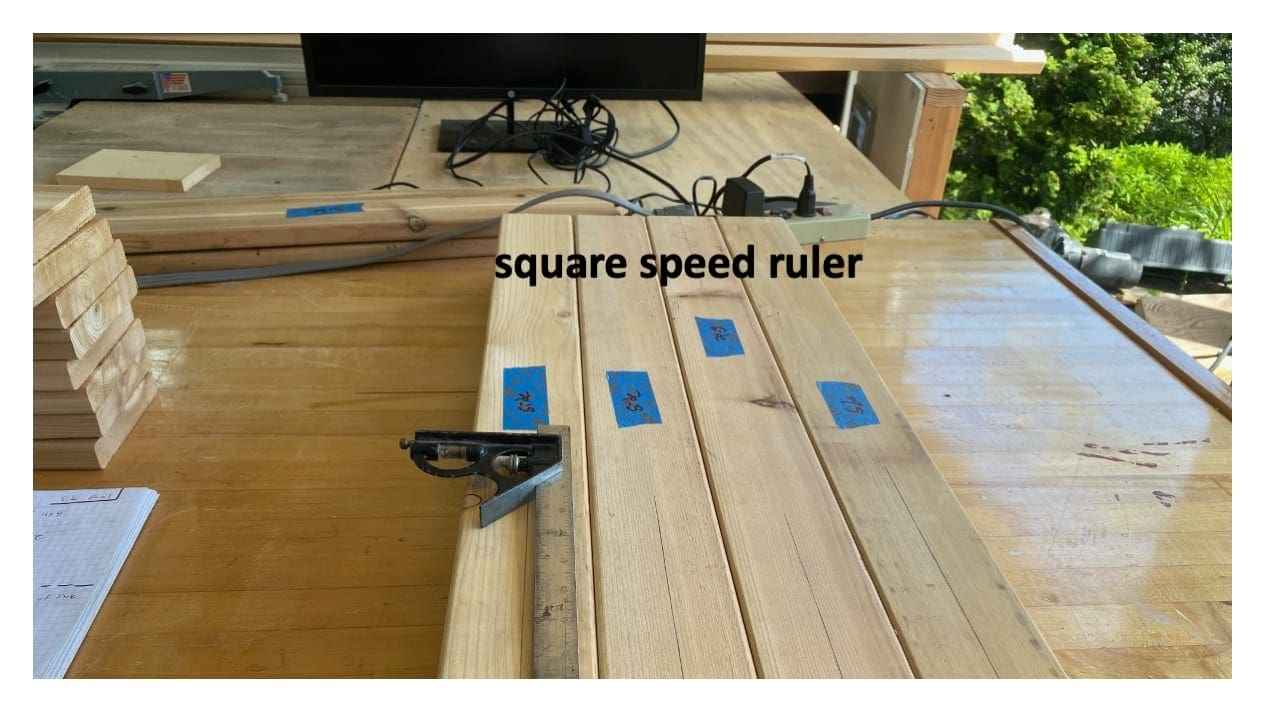
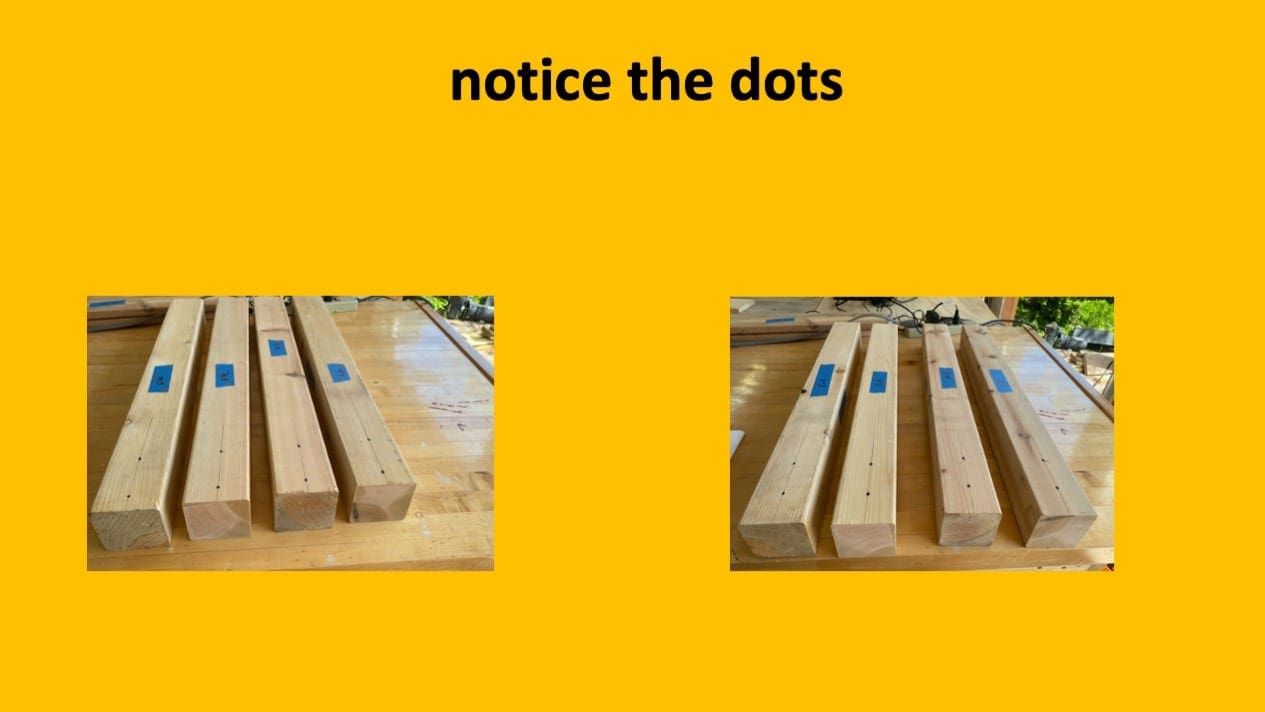
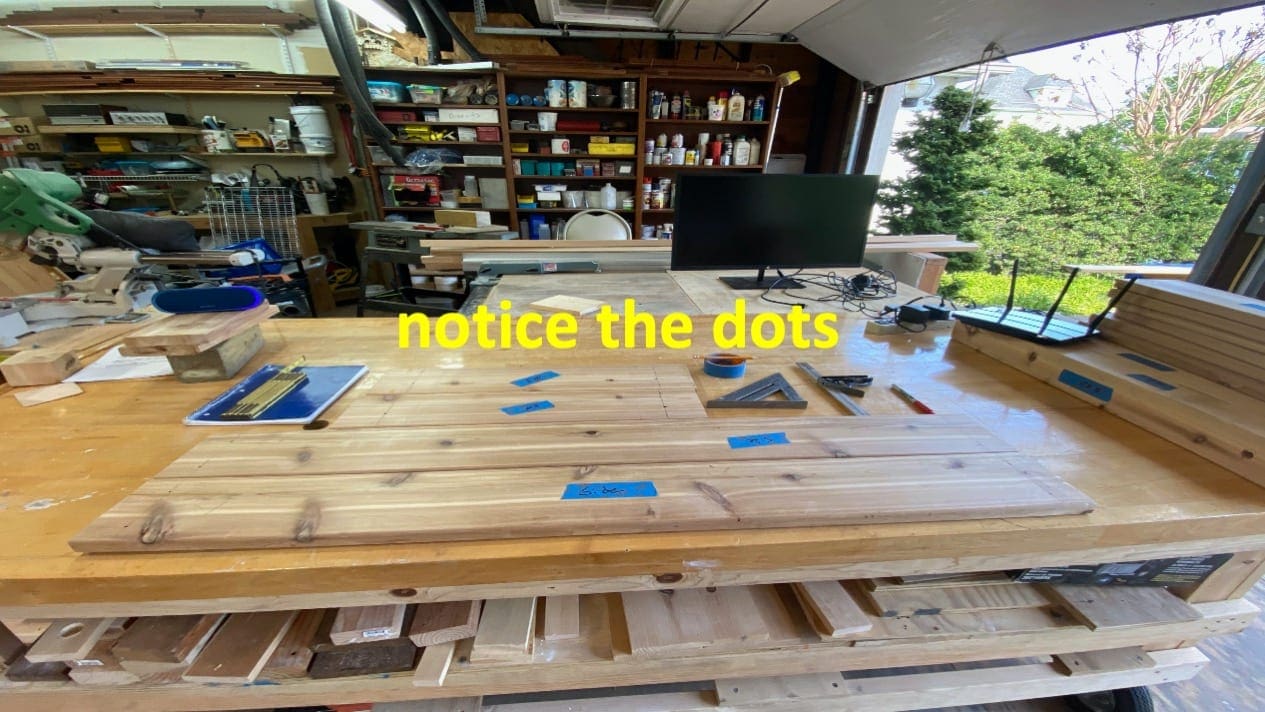
Why did I label everything? Well
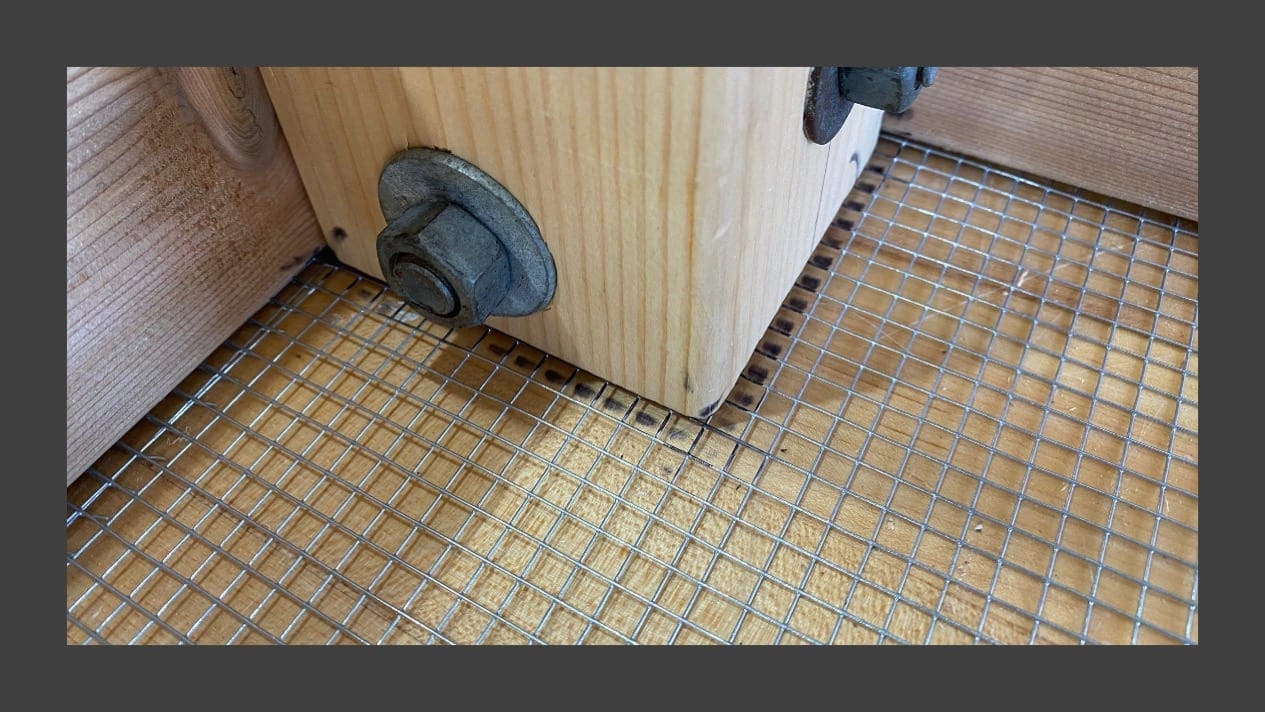
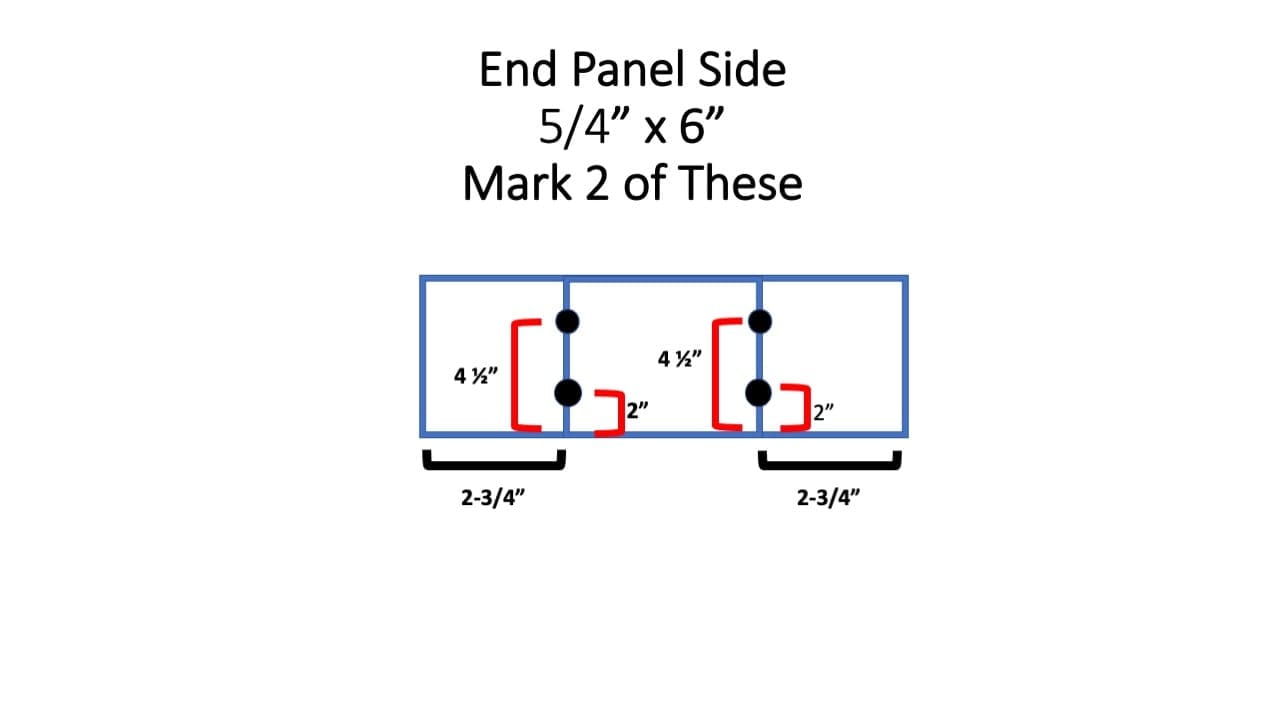
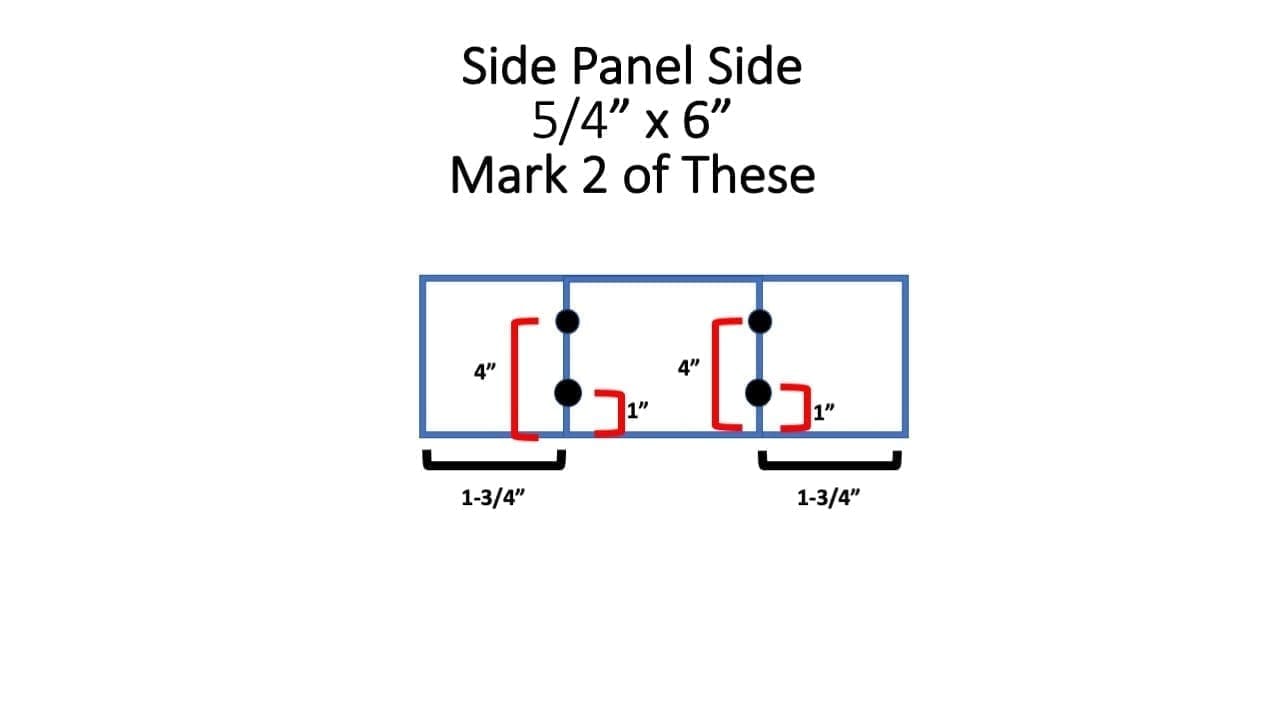
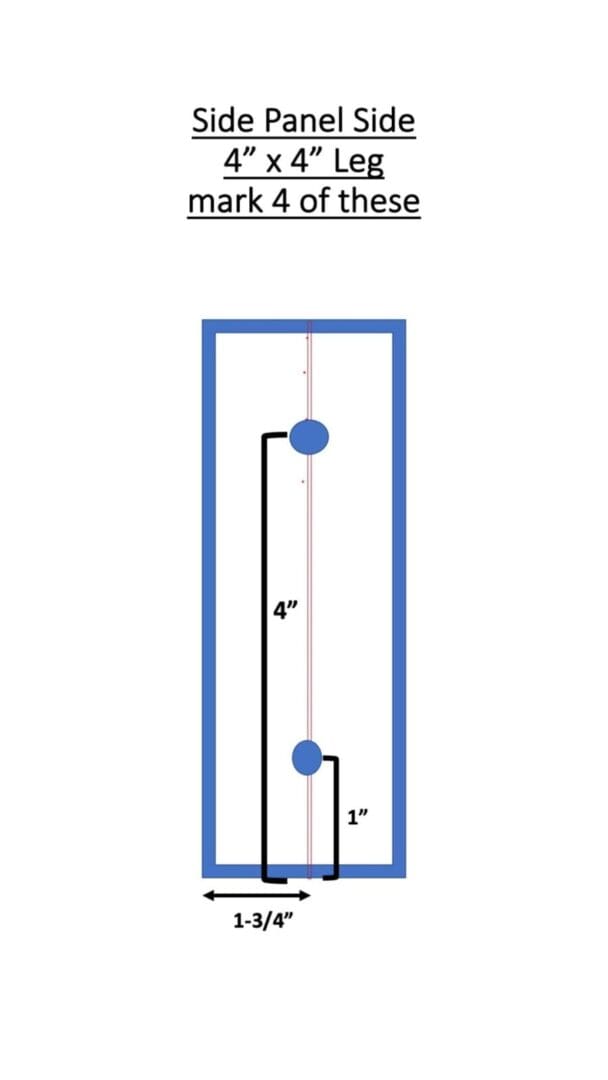
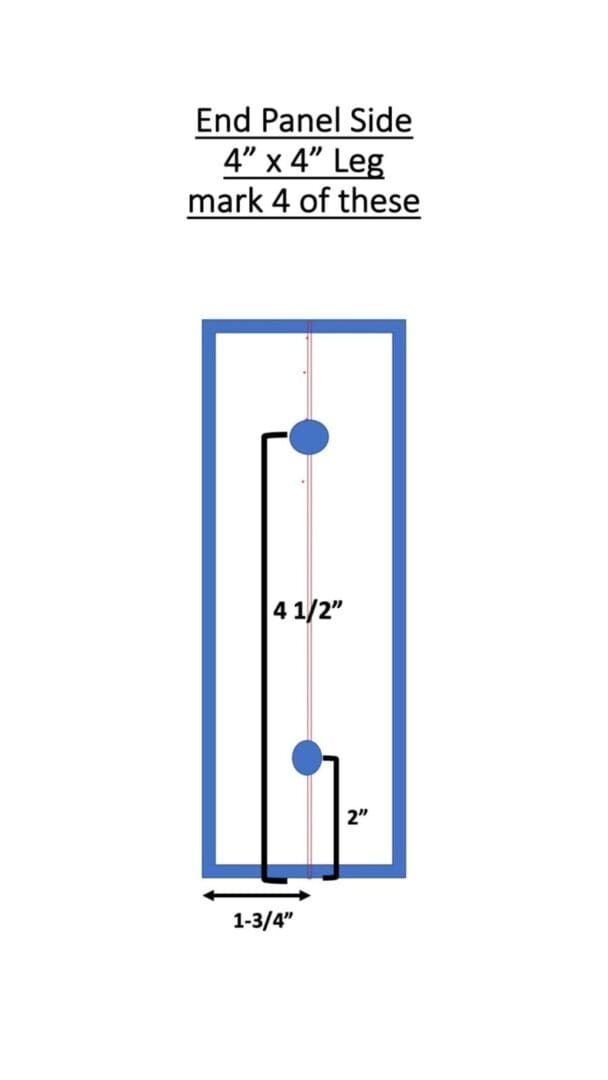
As you will see from the material/cut/drill information, holes had to be drilled at different measurements on the 4″x4″ legs, 5/4″ x 6″ sides and ends so the bolts could pass through the material freely.
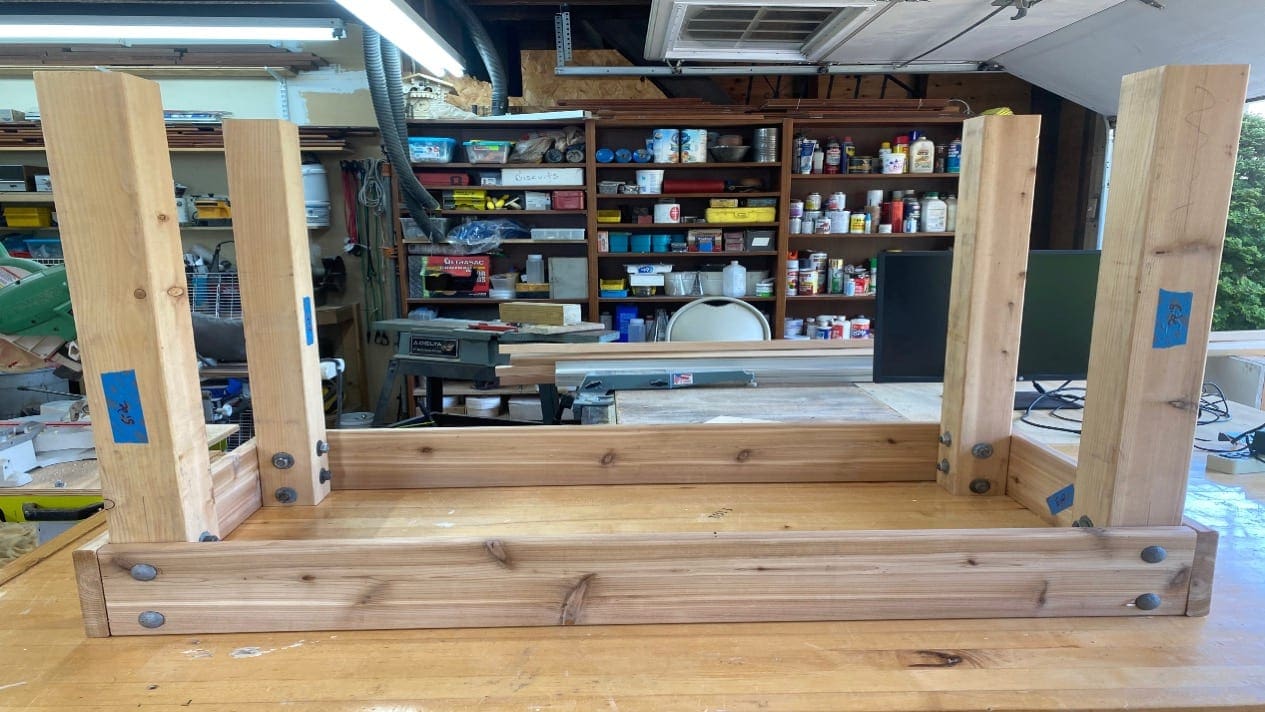
The above ground tabled is being constructed, upside down. This made assembly much easier and helped keep everything square.
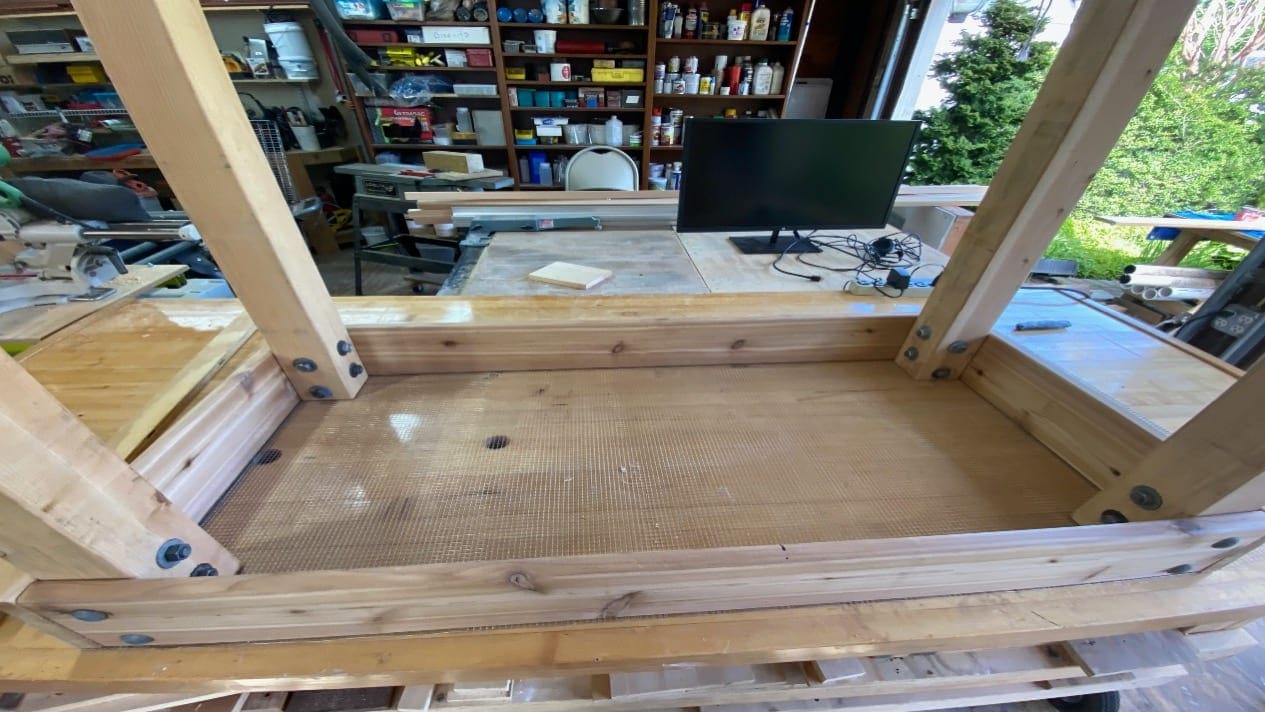
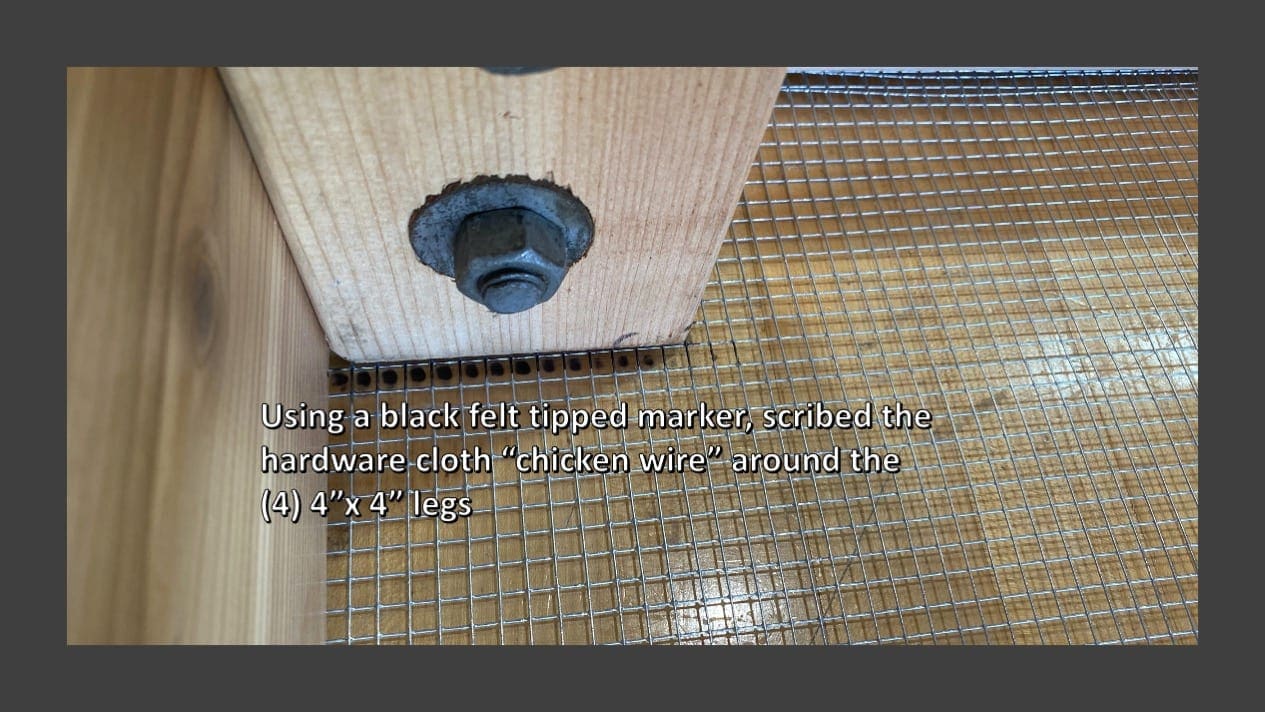
Setting the planter on top of the hardware cloth made it easier to mark the areas that had to be cut (length and providing space around the leg posts)
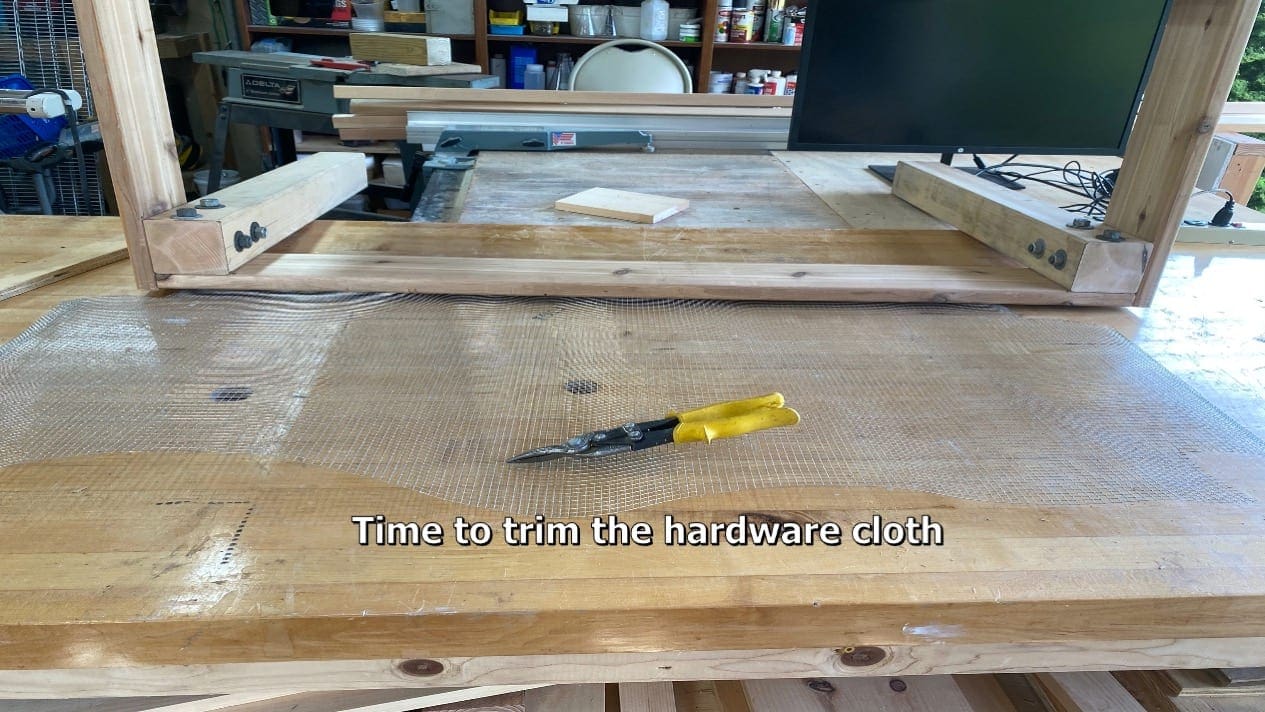
I suggest you wear gloves when working with the metal cloth.
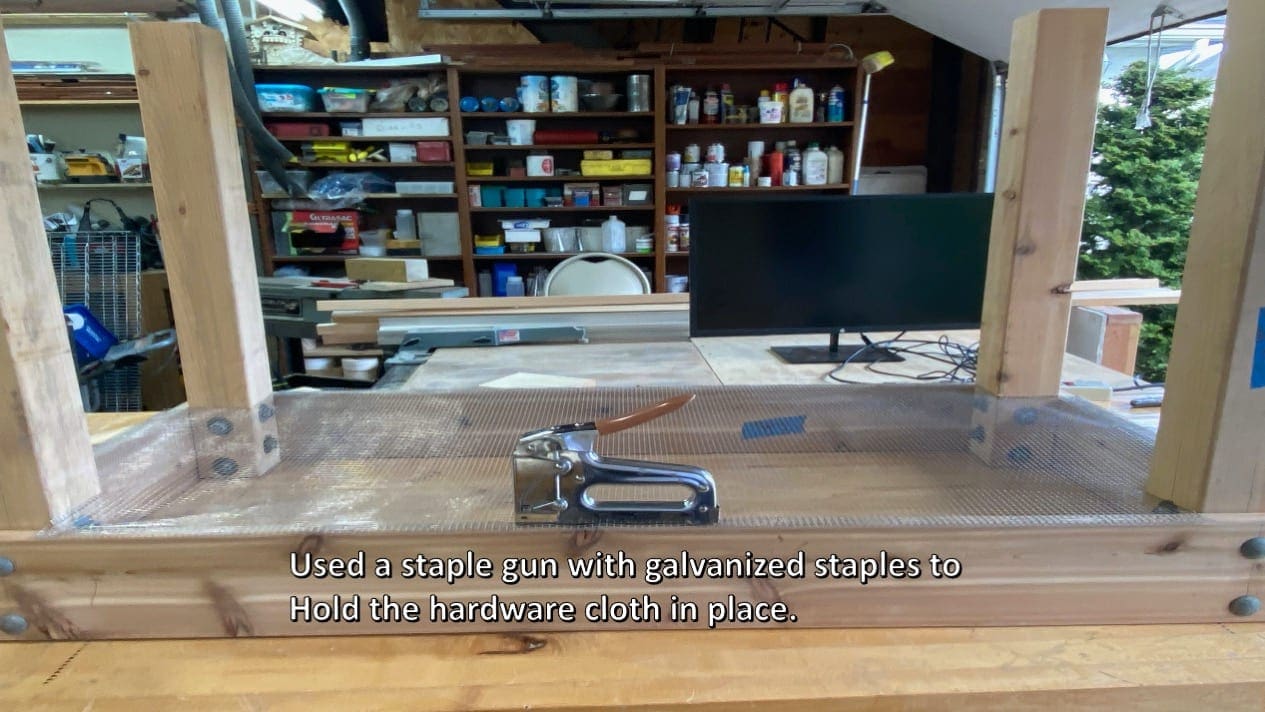
You really need a heavy duty staple gun to secure the metal hardware cloth to the underneath of the frame. Another option, use small cable staples and a hammer to secure the metal hardware cloth to the frame.
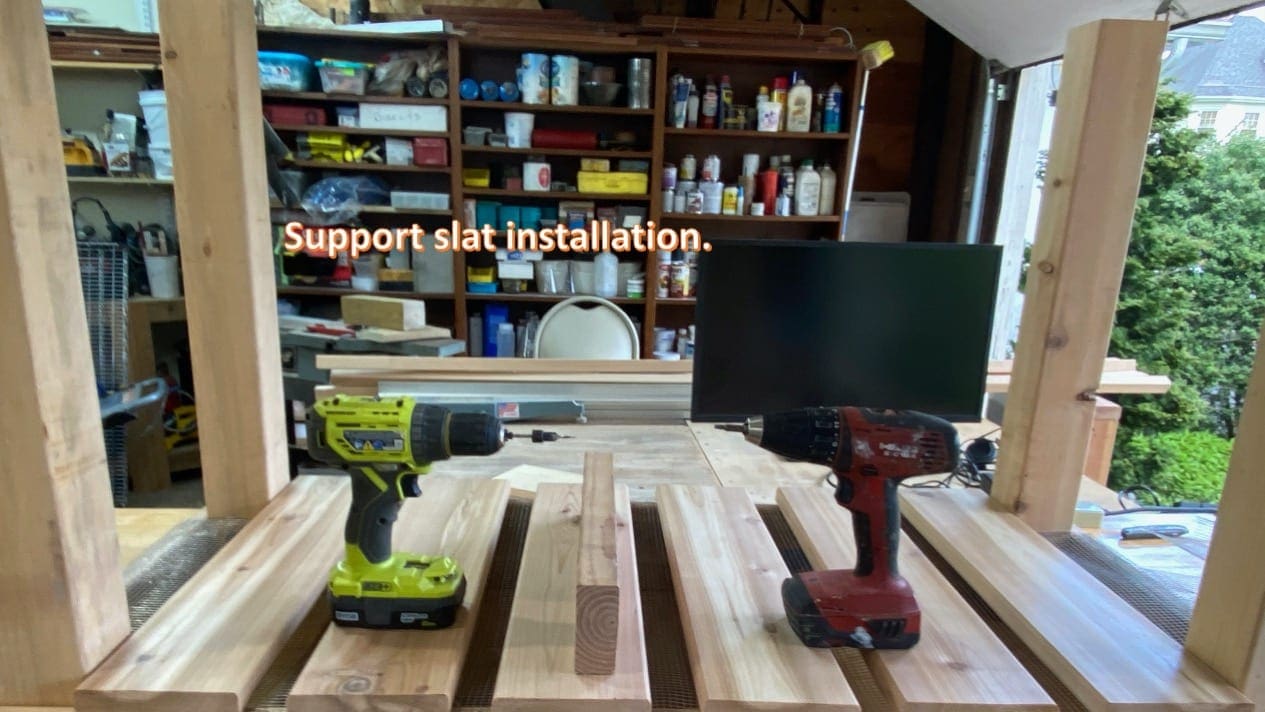
To make life easier, one drill fitted with a pilot hole/counter sink bit, the other with a star driver. The 2″x4″ was used as a spacer between the slats. Spaces between the slats are equal, made the install look professional!!!!!
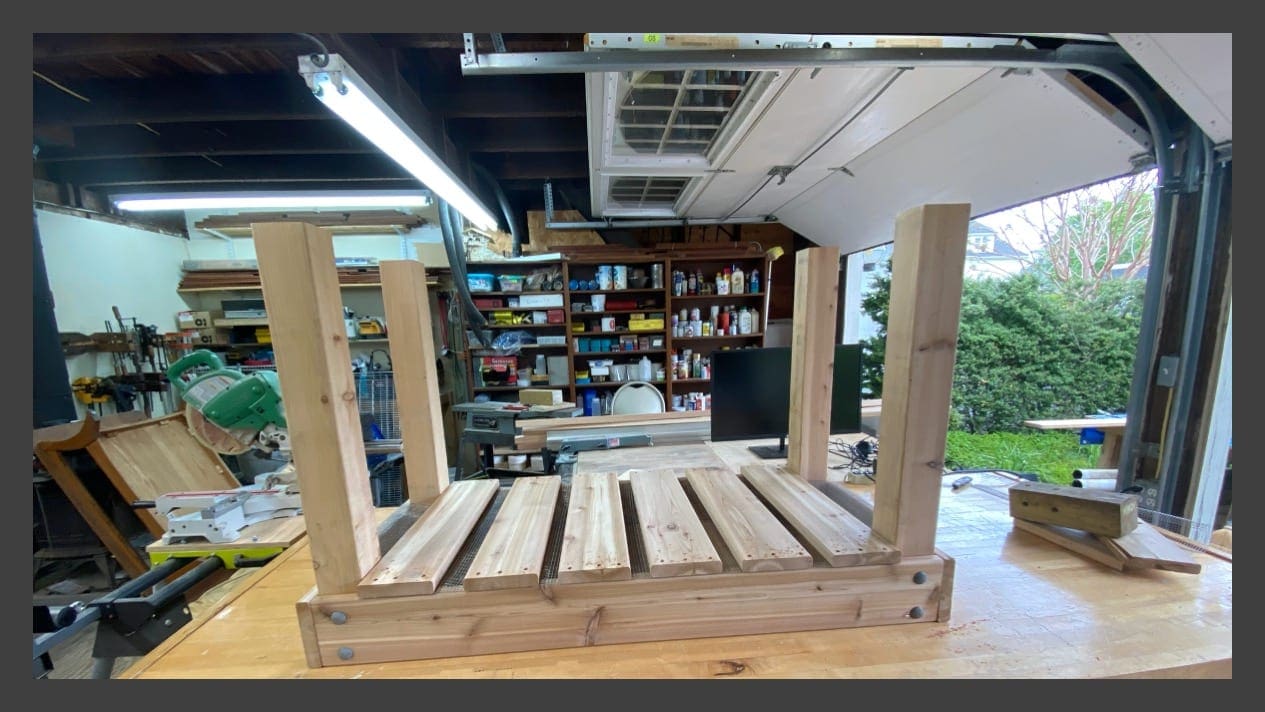
The above ground table is upside down, but it’s done, ready for inspection.
The boss came into the barn, time for inspection

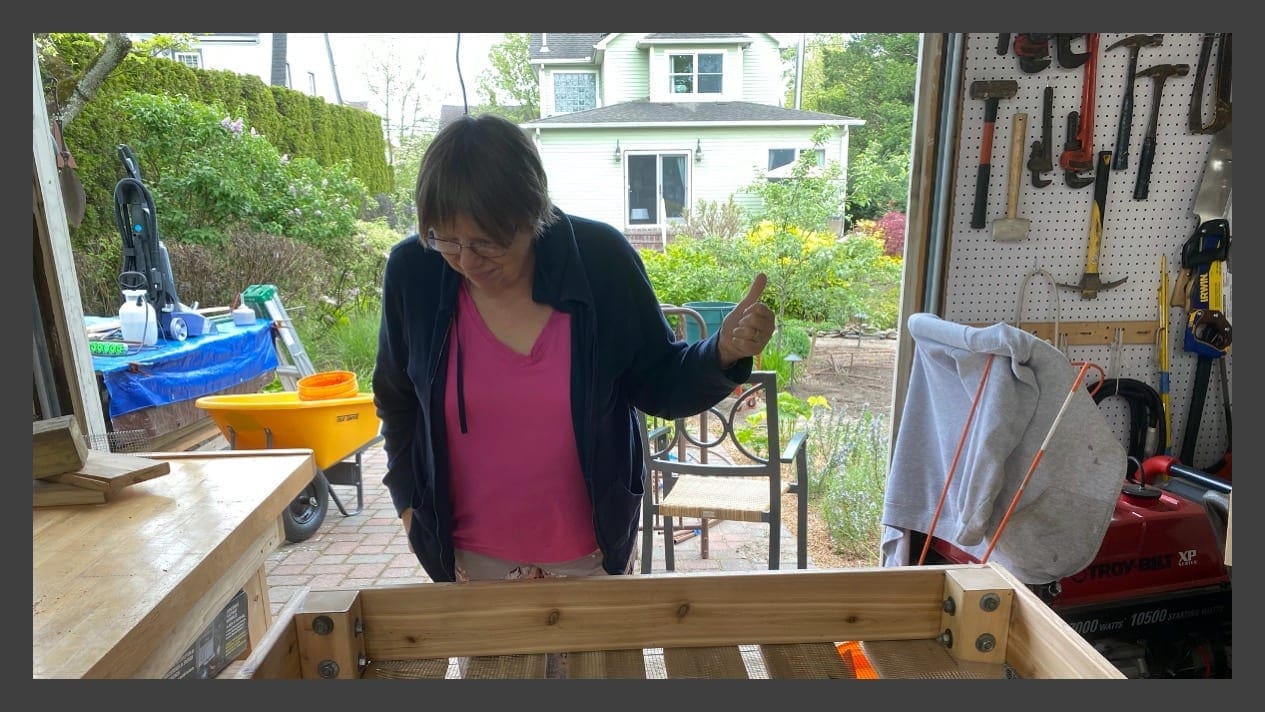
Yea

This landscape fabric will hold the soil and allow excess water to drip out. I will cut it to size after the soil is installed.
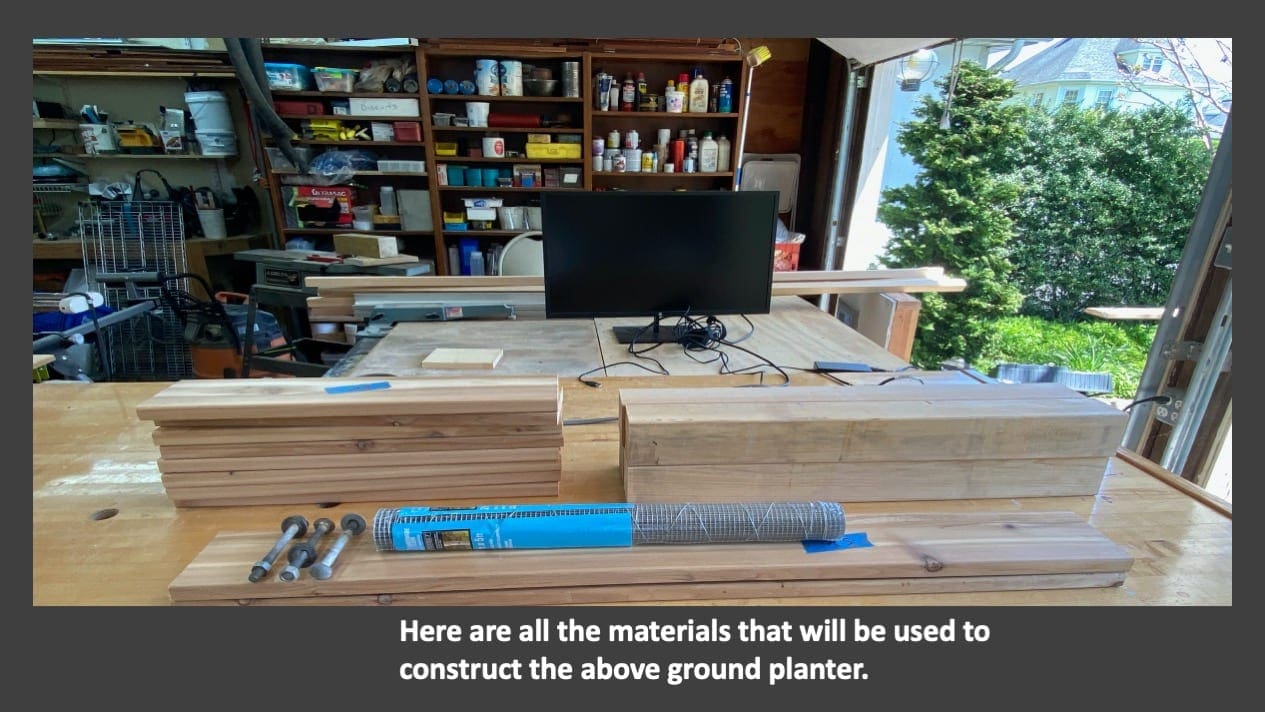
Material List
- (2) – 4″x4″x8’ Cedar post
- (6) – 5/4″x6″x8′ Cedar boards.
- (1) – 2’ x 5’ 23-gauge wire galvanized hardware cloth, ¼” square mesh opening
- 16 – 4″ Long galvanized carriage bolts with bolts and washers
- 1lb. – 1-5/8″ Star Head Deck Screws
Materials to be cut “Cut List”
- Legs – Cut the 4″x4″ into (4) – 32″ posts.
- Sides: Cut one of the 5/4”x 6″x 8′ footers into (2) 48″ pieces.
- Ends: Cut one of the 5/4″x6″x8 ‘footers into (2) 24″ pieces.
- Bottom slats: Cut the two 5/4″x4″x8′ footers into (6 ) 24″ pieces.
- Hardware Cloth: place the wire underneath the table and cut it to size.
Tools
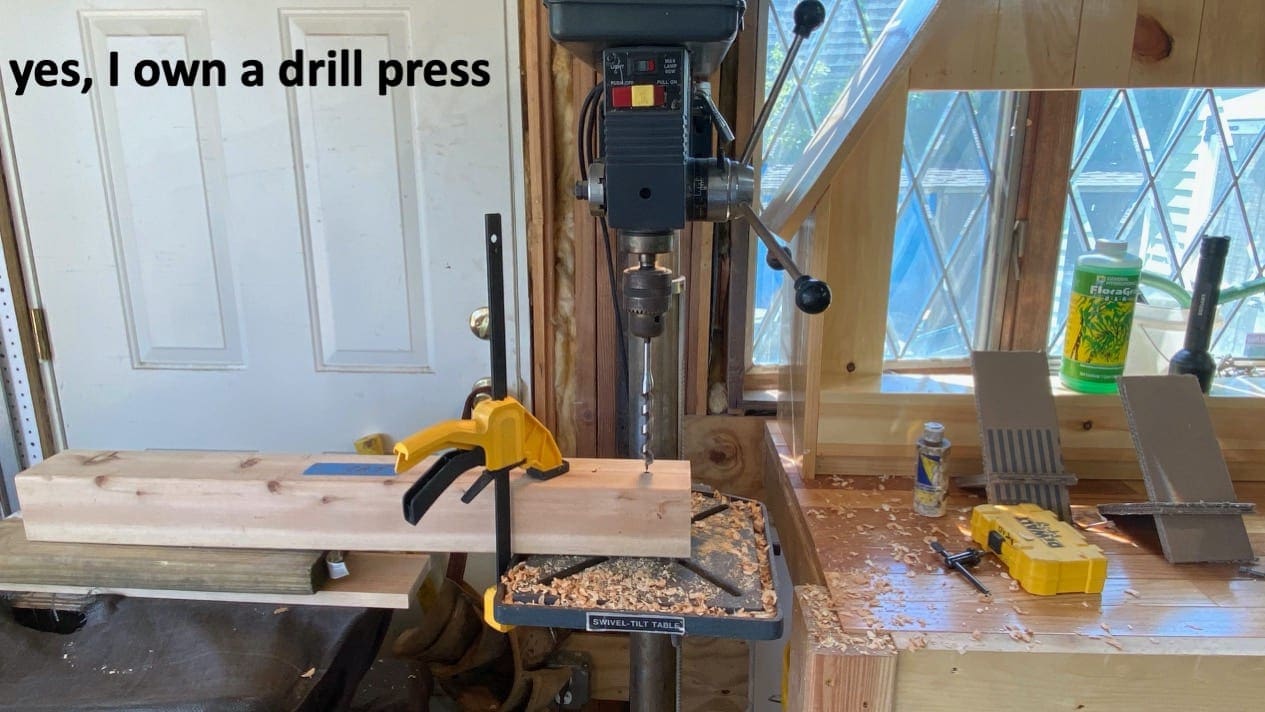
Drill
1/2″ Wood bit
Miter or Table Saw that has the capability of cutting a 4″x4″ post.
Wire Cutters or Heavy Duty Shears
Staple Gun
Staples for Staple gun
Hammer
Screwdrivers
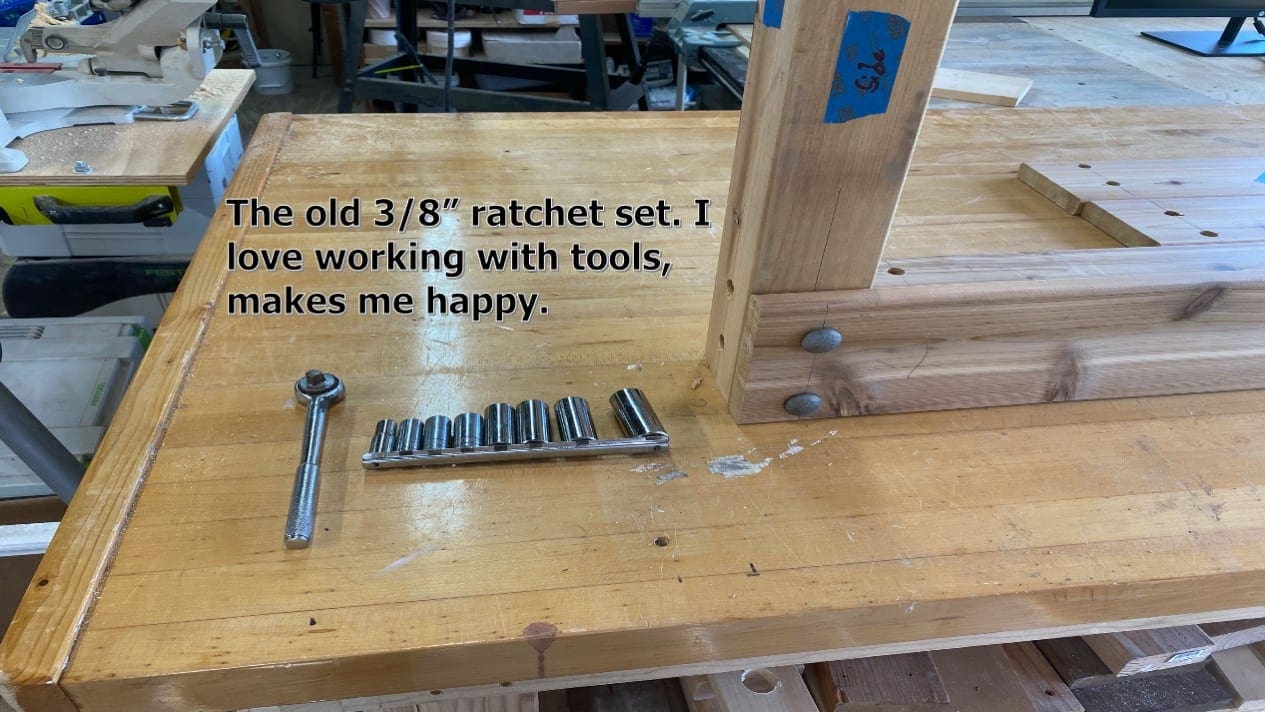
Wrench
Measuring Tape
Pencil
Safety Glasses
Marking Dimensions
Together We Can Do This

we can do it 

final seal of approval 

My toilet wont stop running, what do I do? 
Workstation #4, Well we have a problem here!!!!