My Battle With Termite Damage Comes to A Close- Chapter 6 “Installing the New Floor Joist”
Man oh man, this was one of the hardest projects that I have undertaken. Every step of the way, a new challenge presented itself. Almost done! One more step to climb:
So, here it is, the last challenge!
How do you install a 12′ long 2″X 10″ floor joist, in the basement, that has: wires, gas pipes, heating pipes, hot and cold water pipes, in the way? The answer, sistering the new joists together.
But first, the required tools for this project.

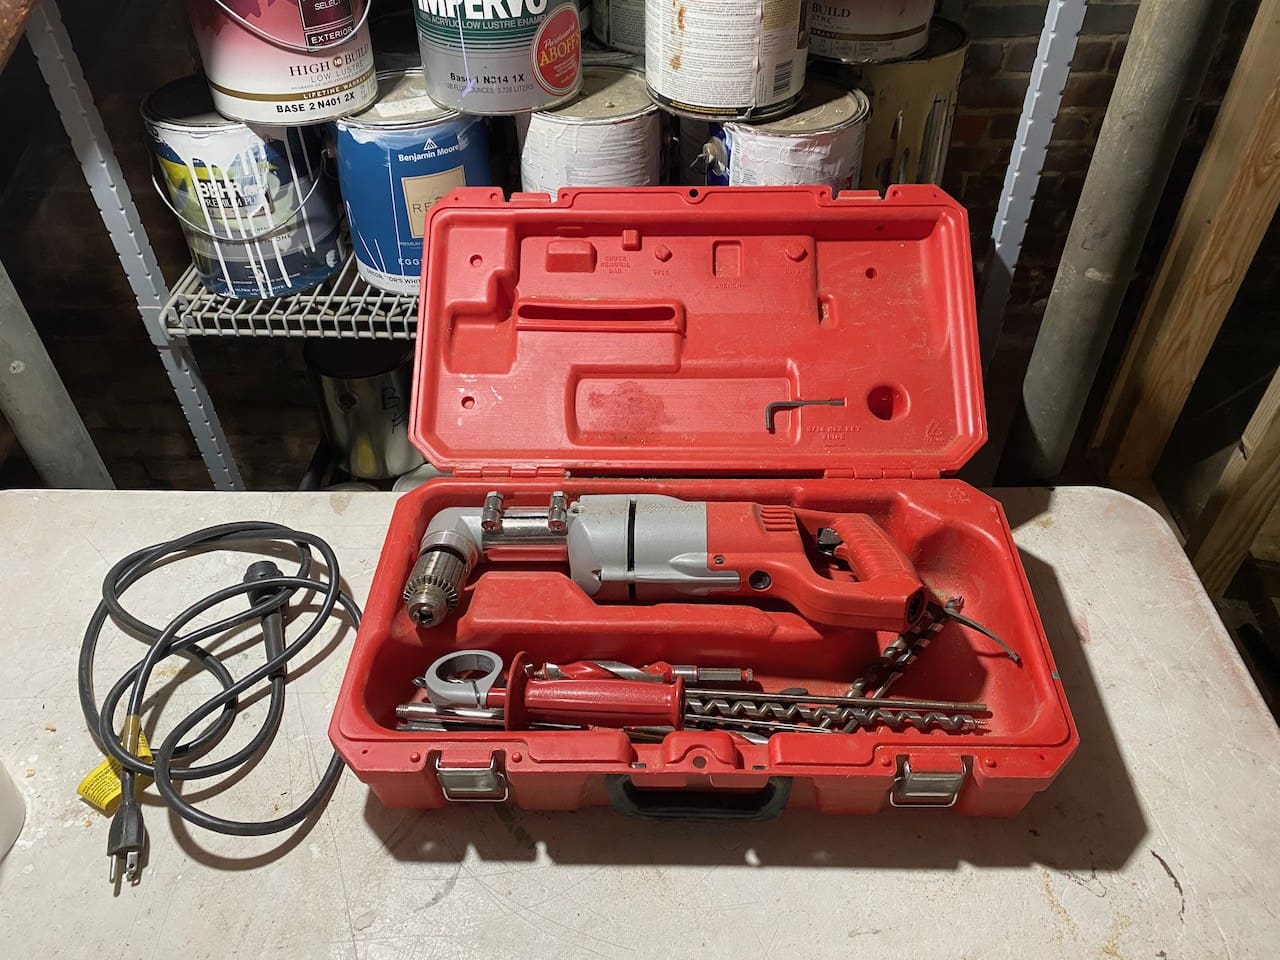
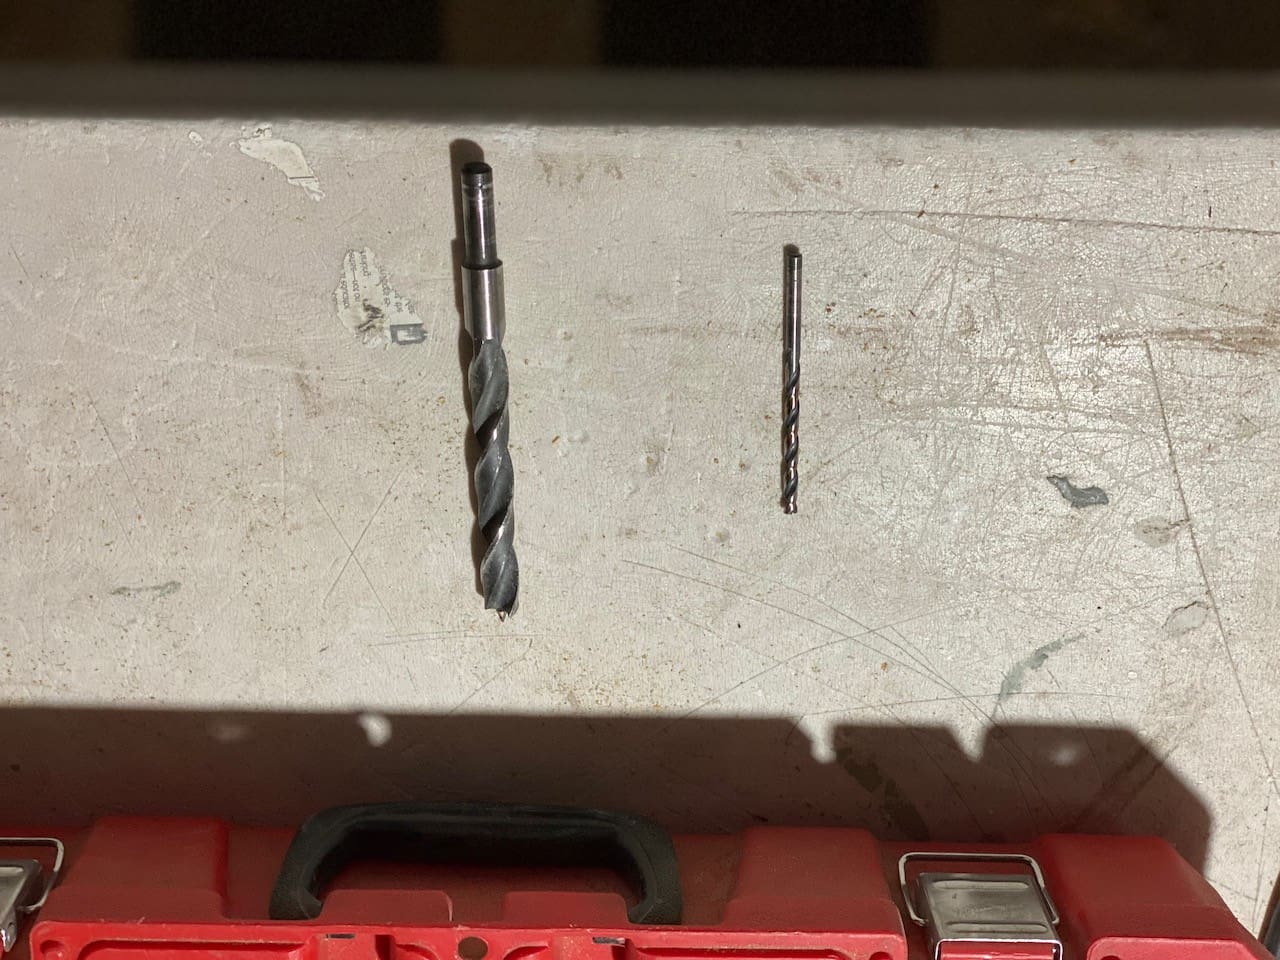
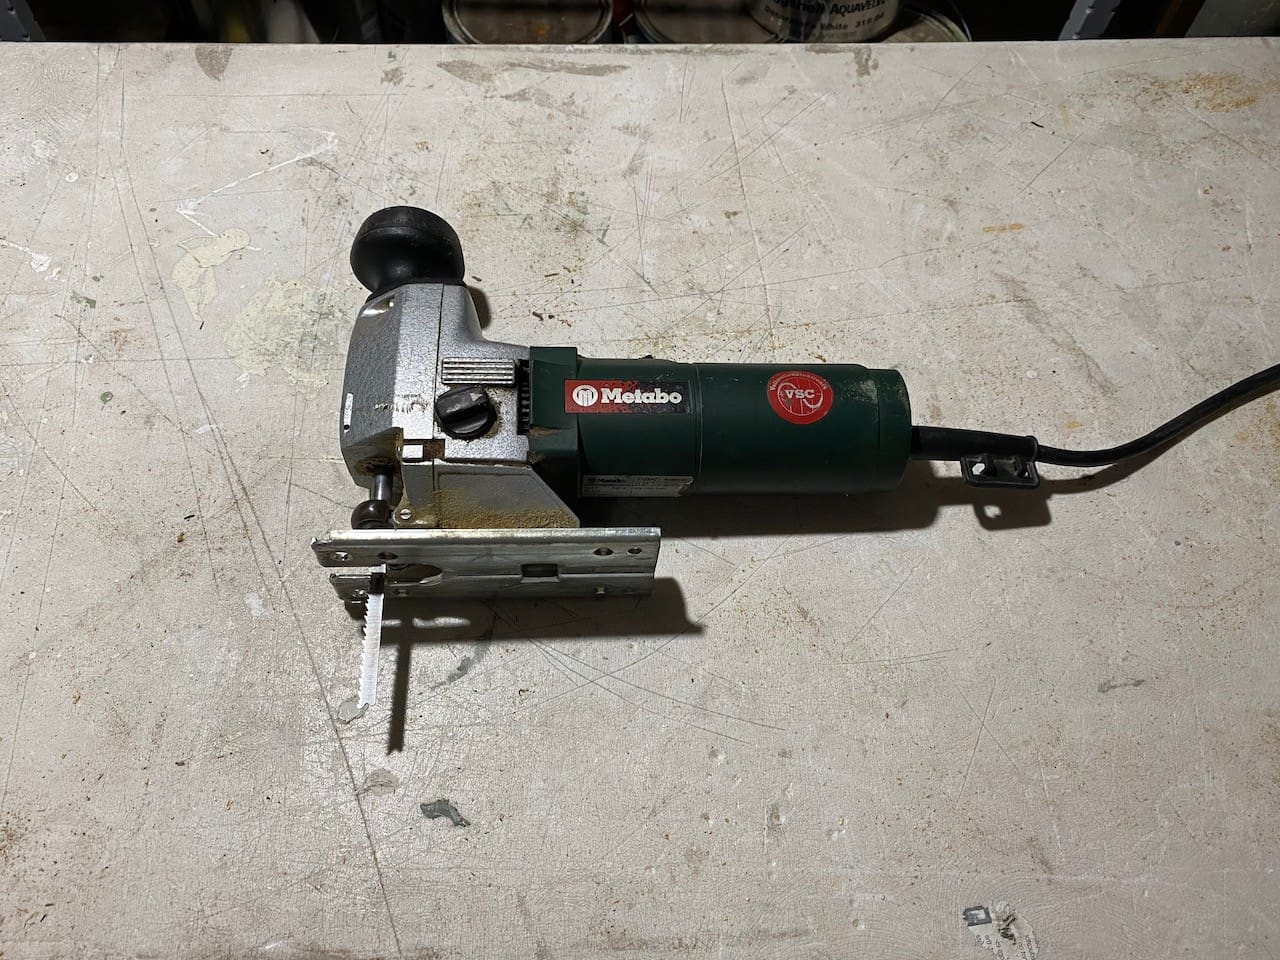
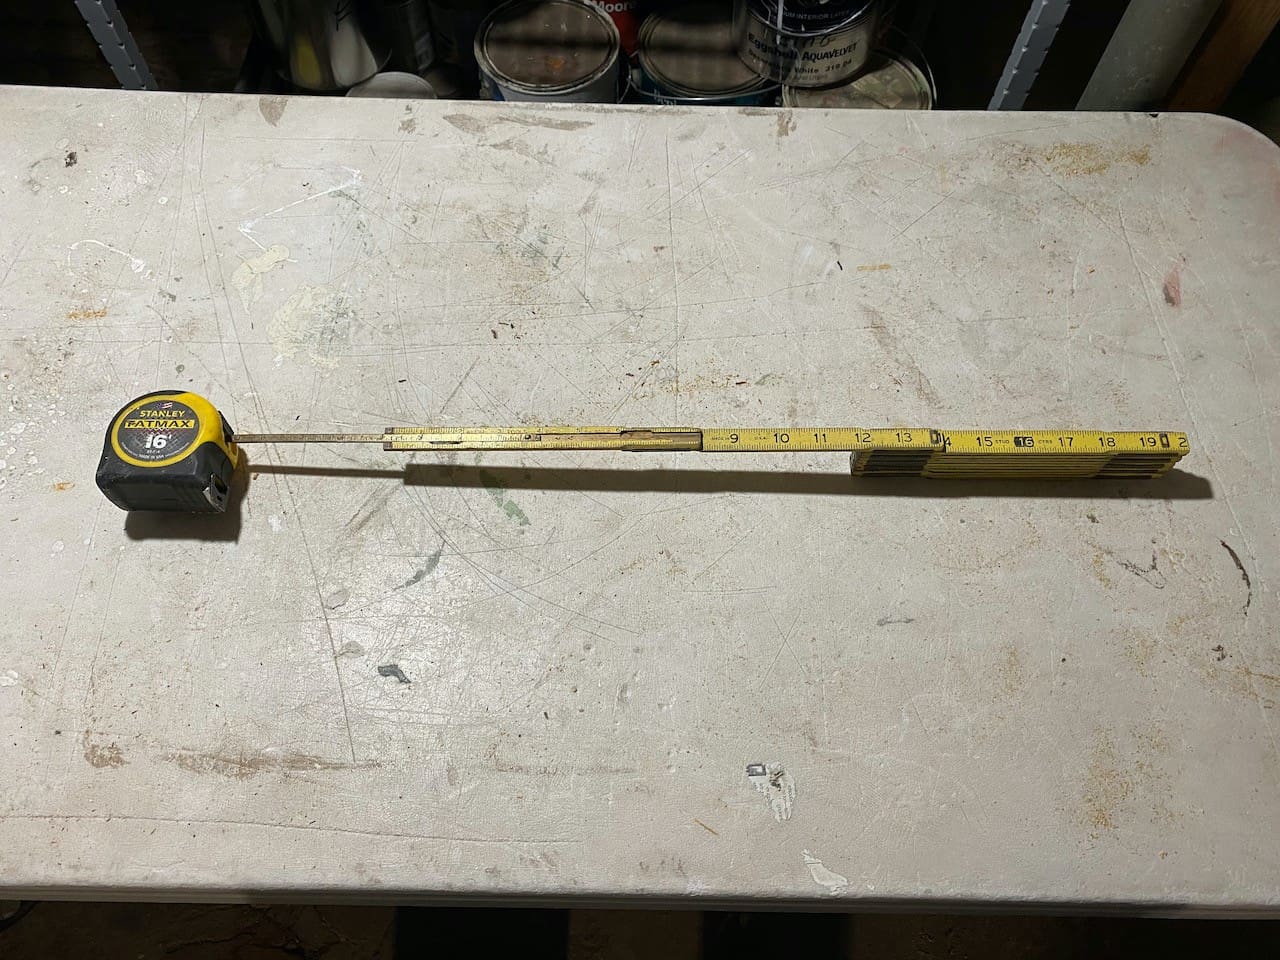
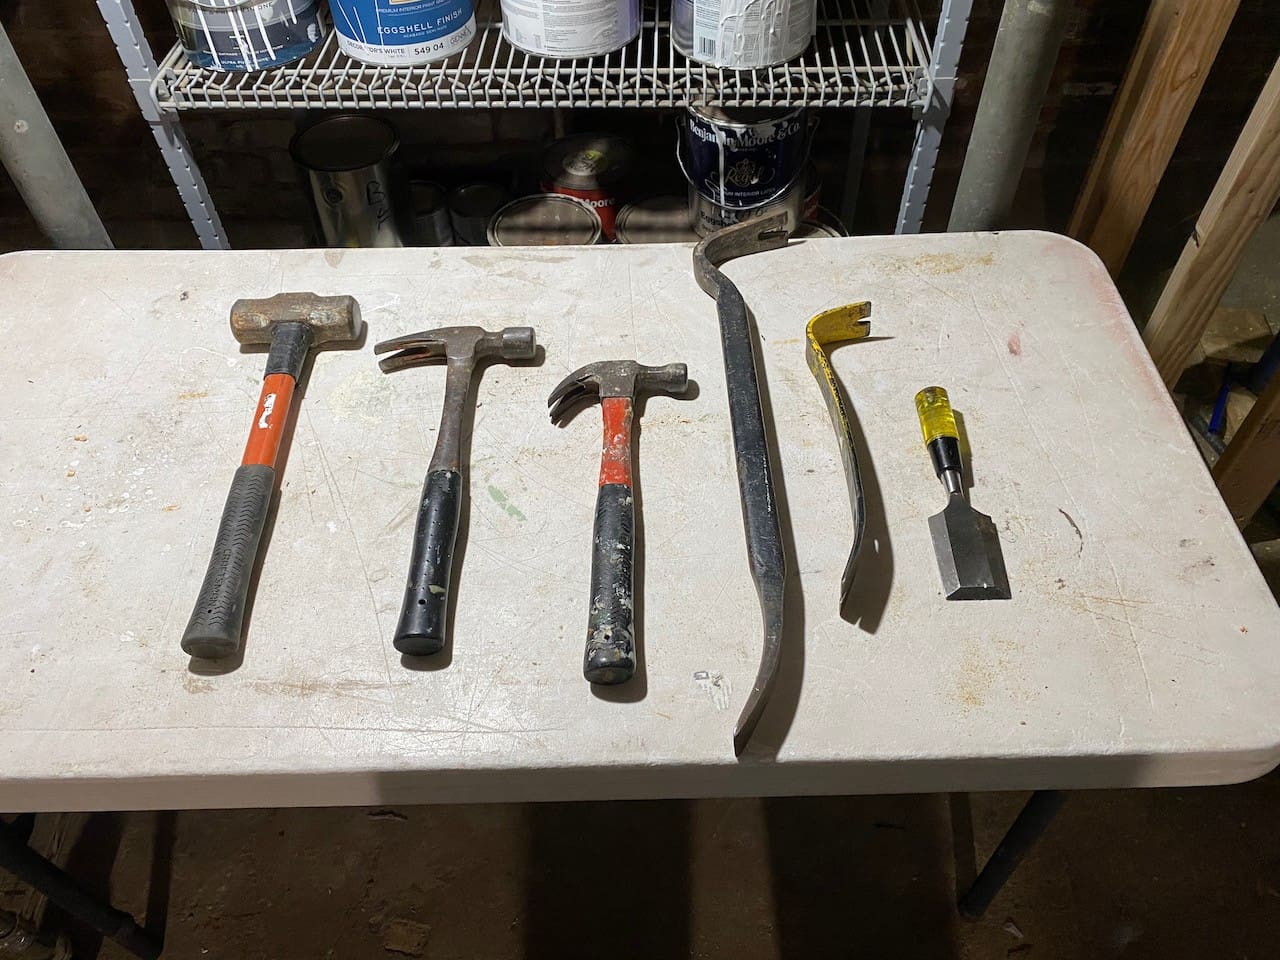
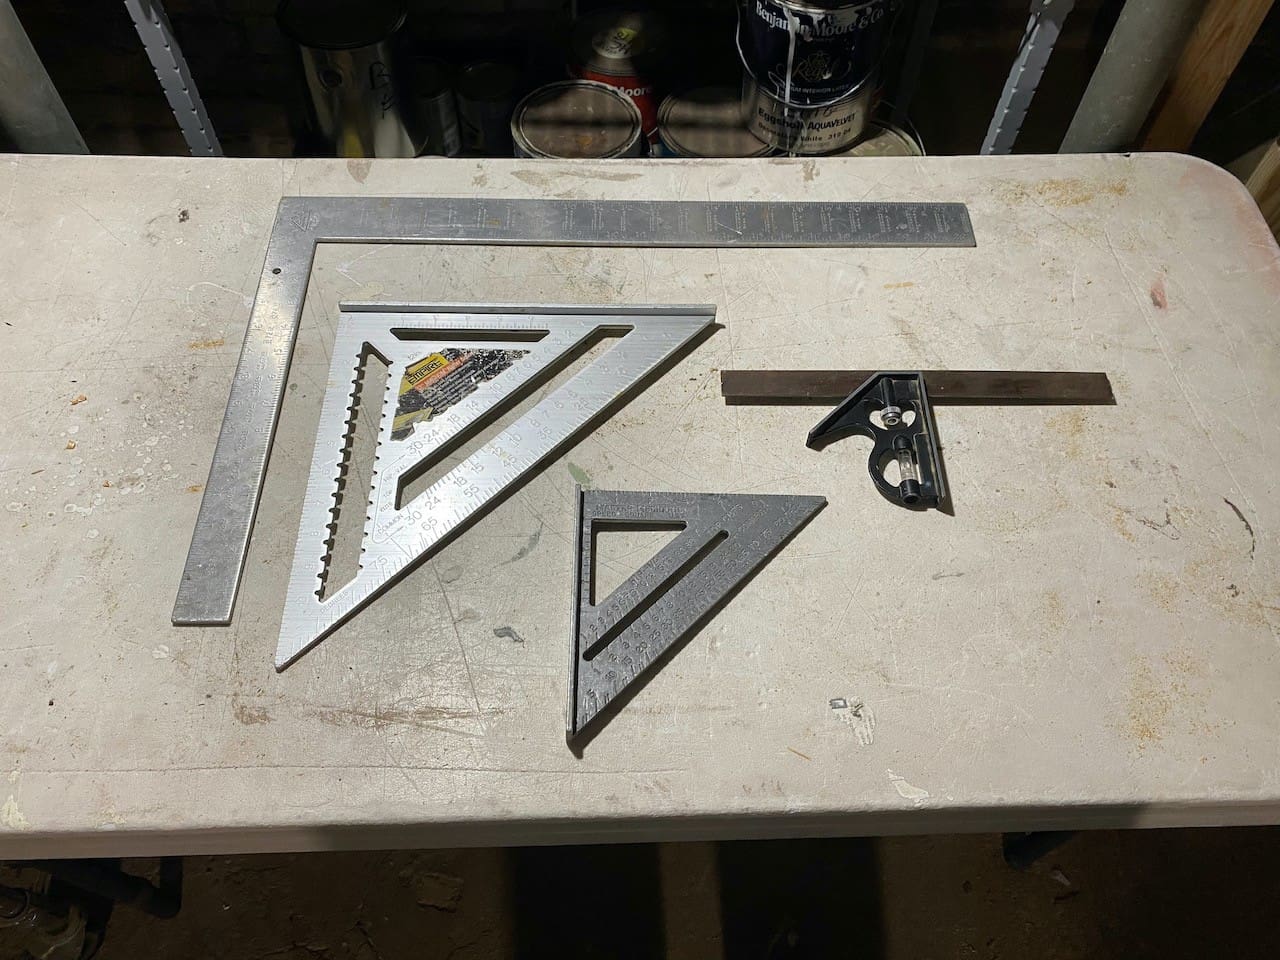
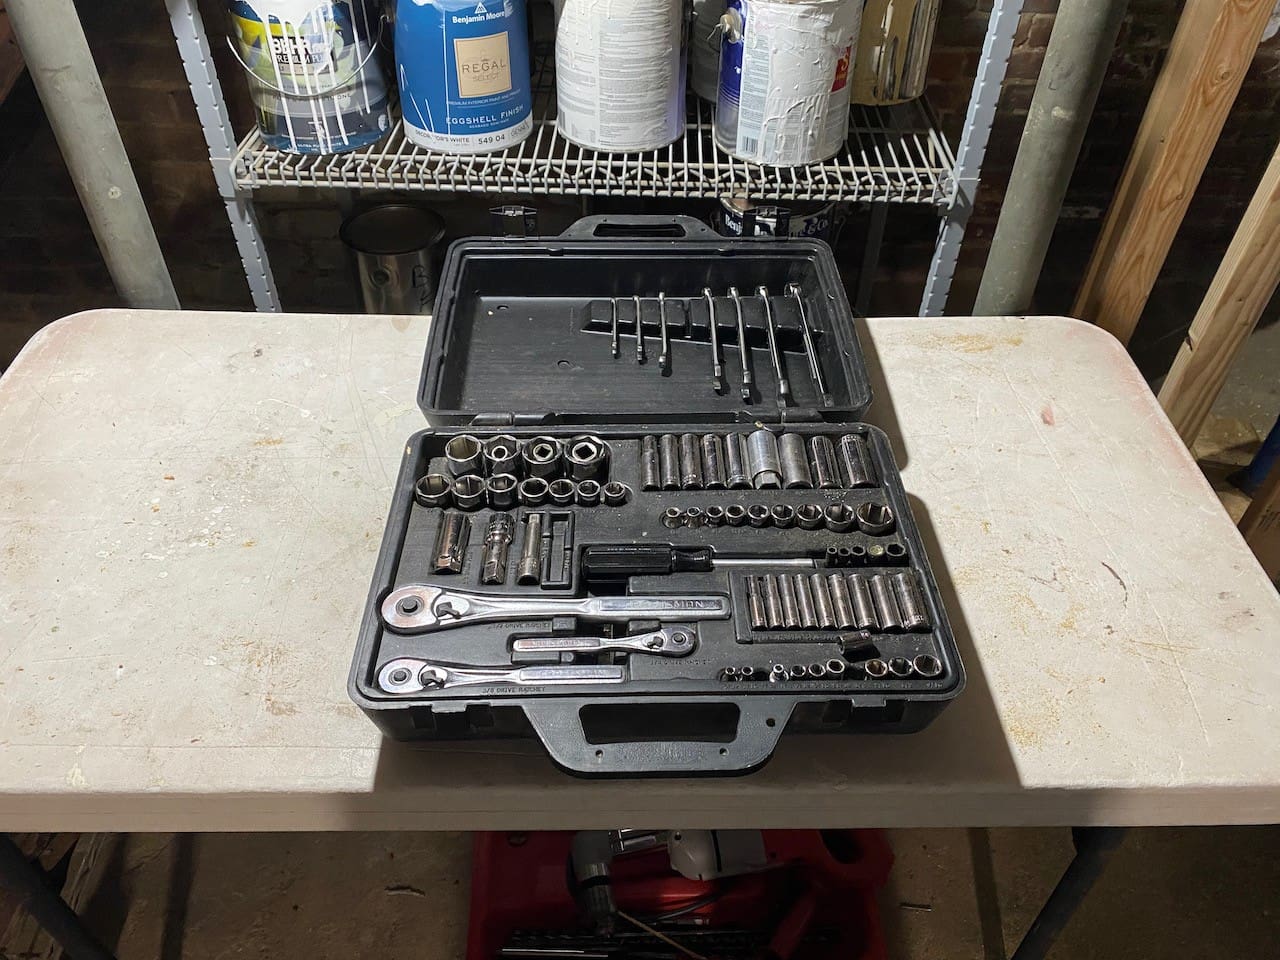
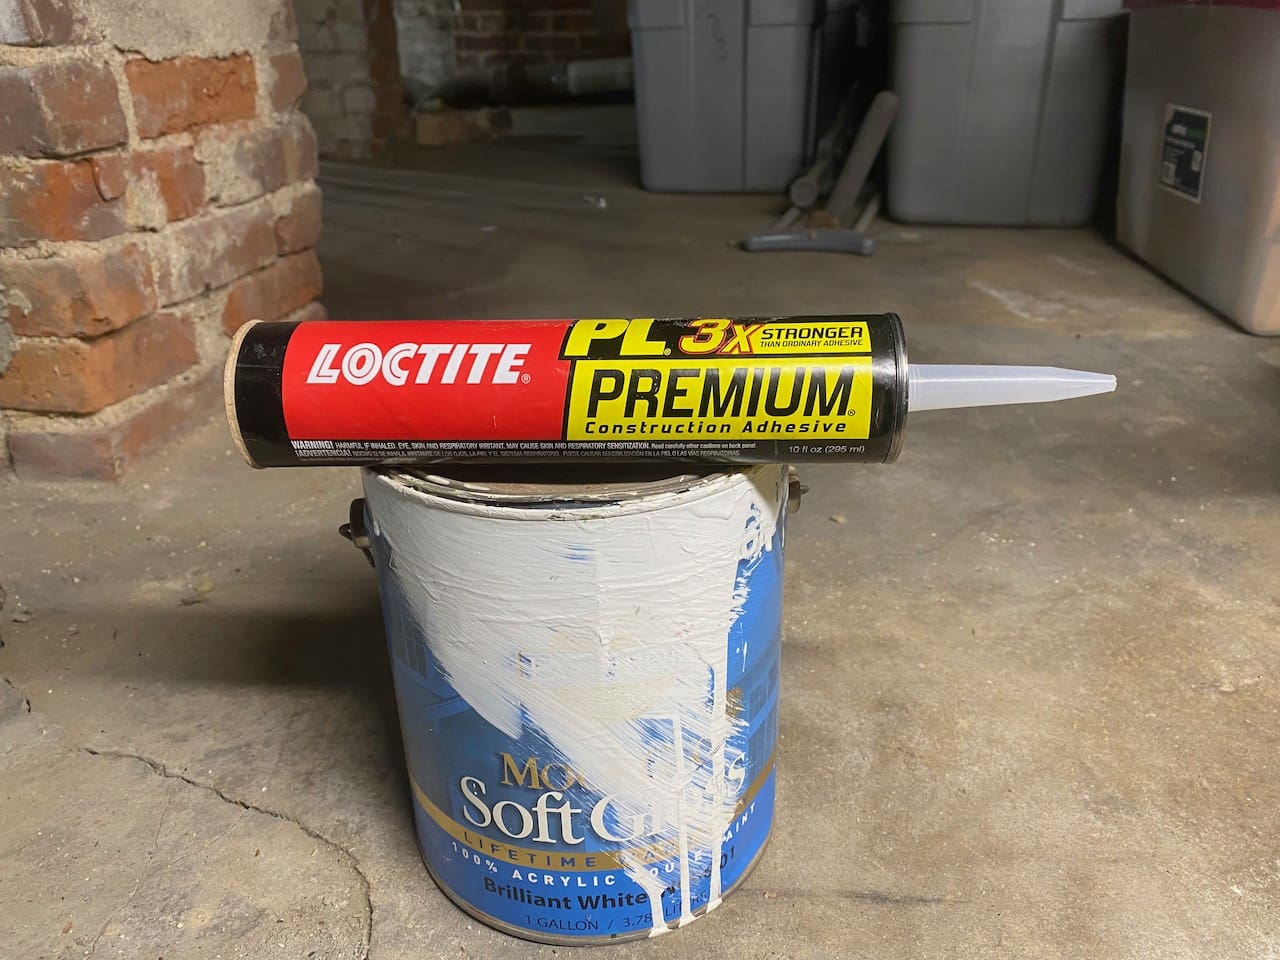
What is Sistering?
A sistered joist is a secondary joist that is installed alongside an existing joist. (overlapping)

Notching the Ends
If you recall from previous chapters, the ends were notched to fit on the main supporting house beam and the sill plate. I had to cut notches into the new joist before installation.

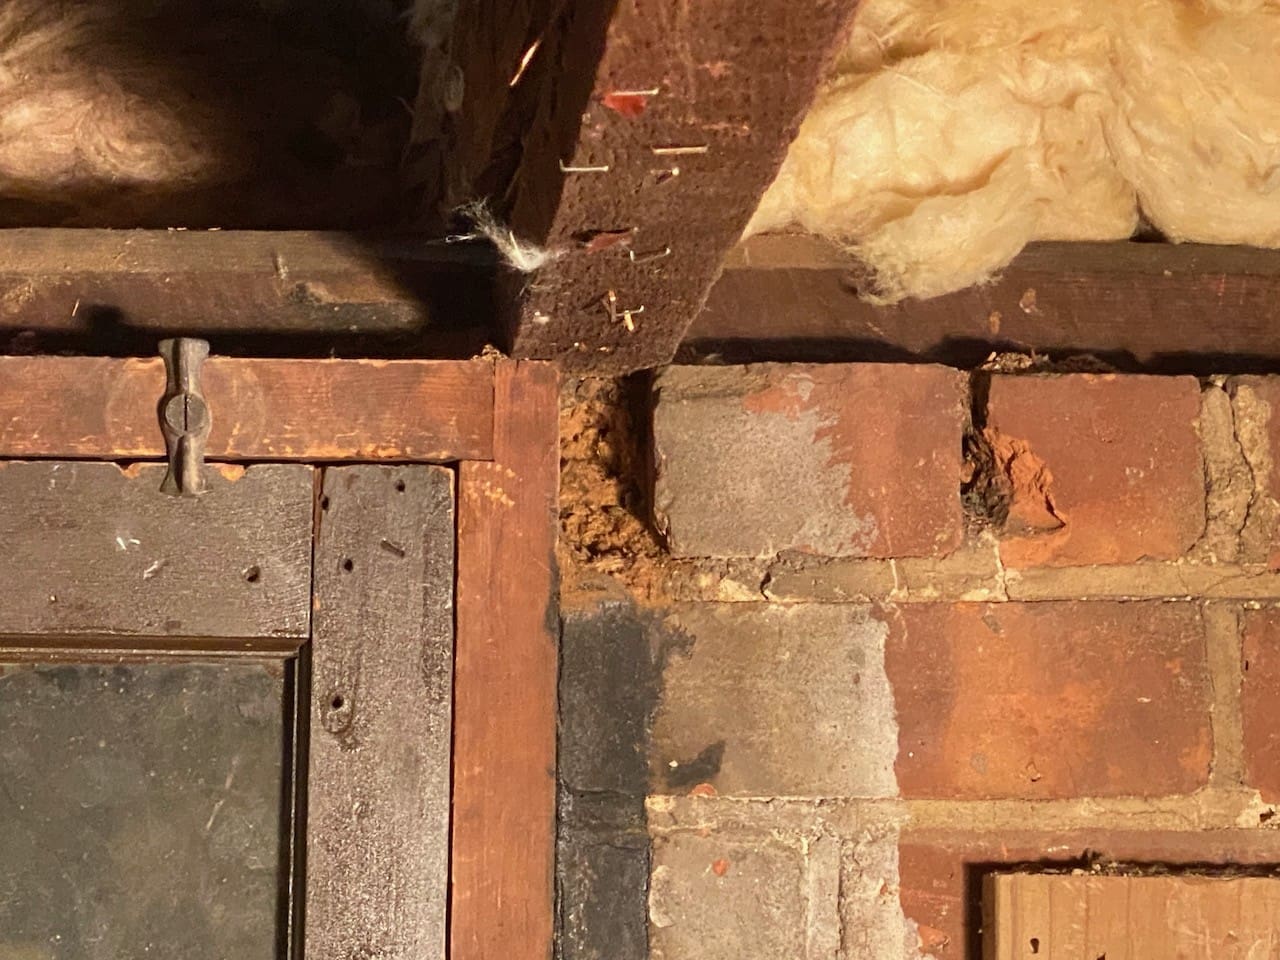
Better be safe than sorry, I made a template from scrap wood in order to properly notch the ends of the new joists.

How I Installed The Two 9′ Floor Joists
One at a time, in a flat position, I slid the new 2″x 10″x 9′ long joists above all the wires and the pipes. I applied glue to both flat surfaces, tipped them up to the proper position, and sistered them together. Using my hydraulic jacks and clamps, I positioned the sistered joists into place and bolted them together. I created a 6′ overlap, which is more than enough support for the weight above. I also installed bridging for added support between the new and existing joists.

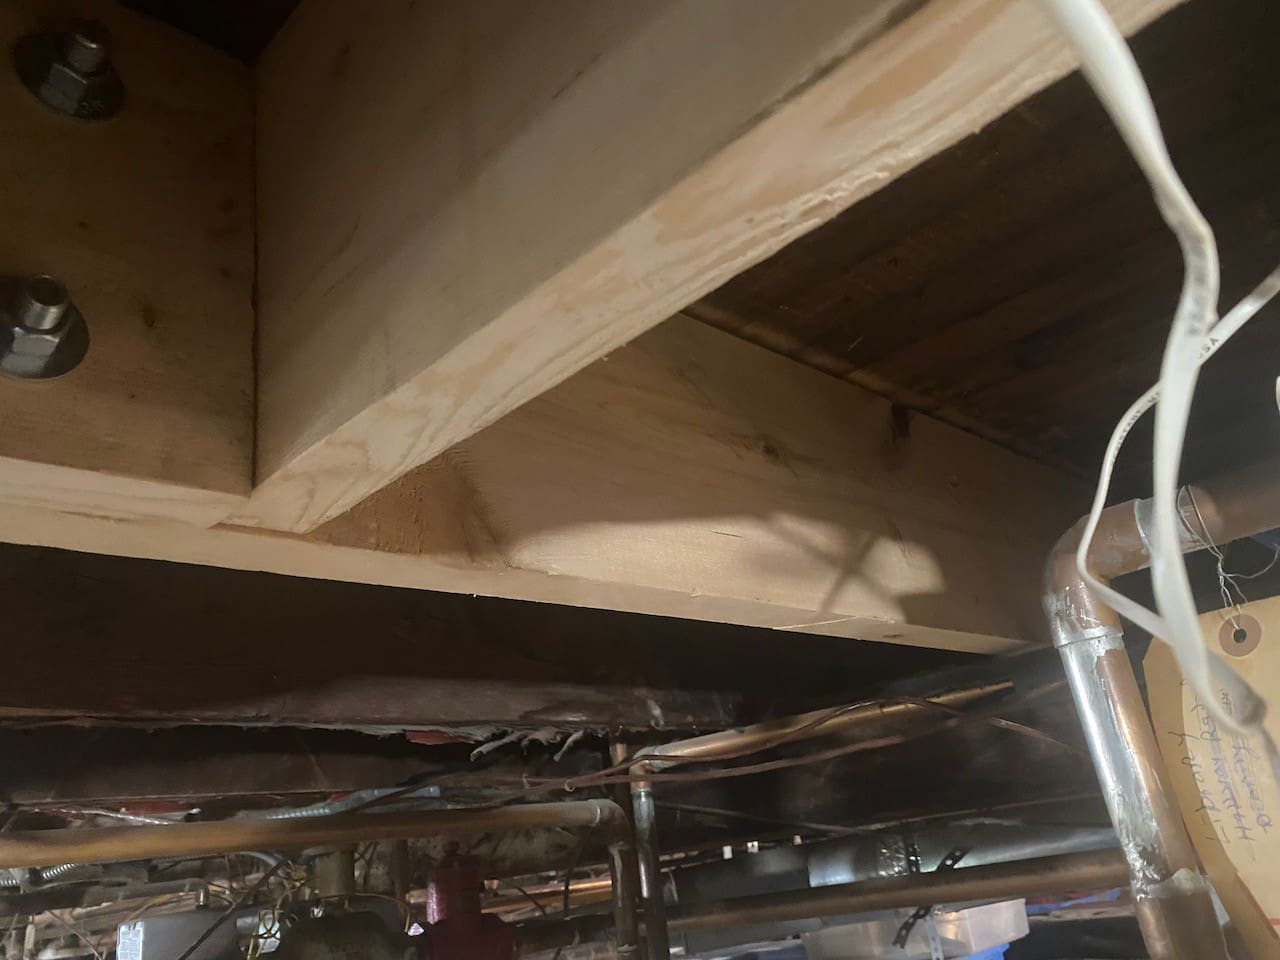
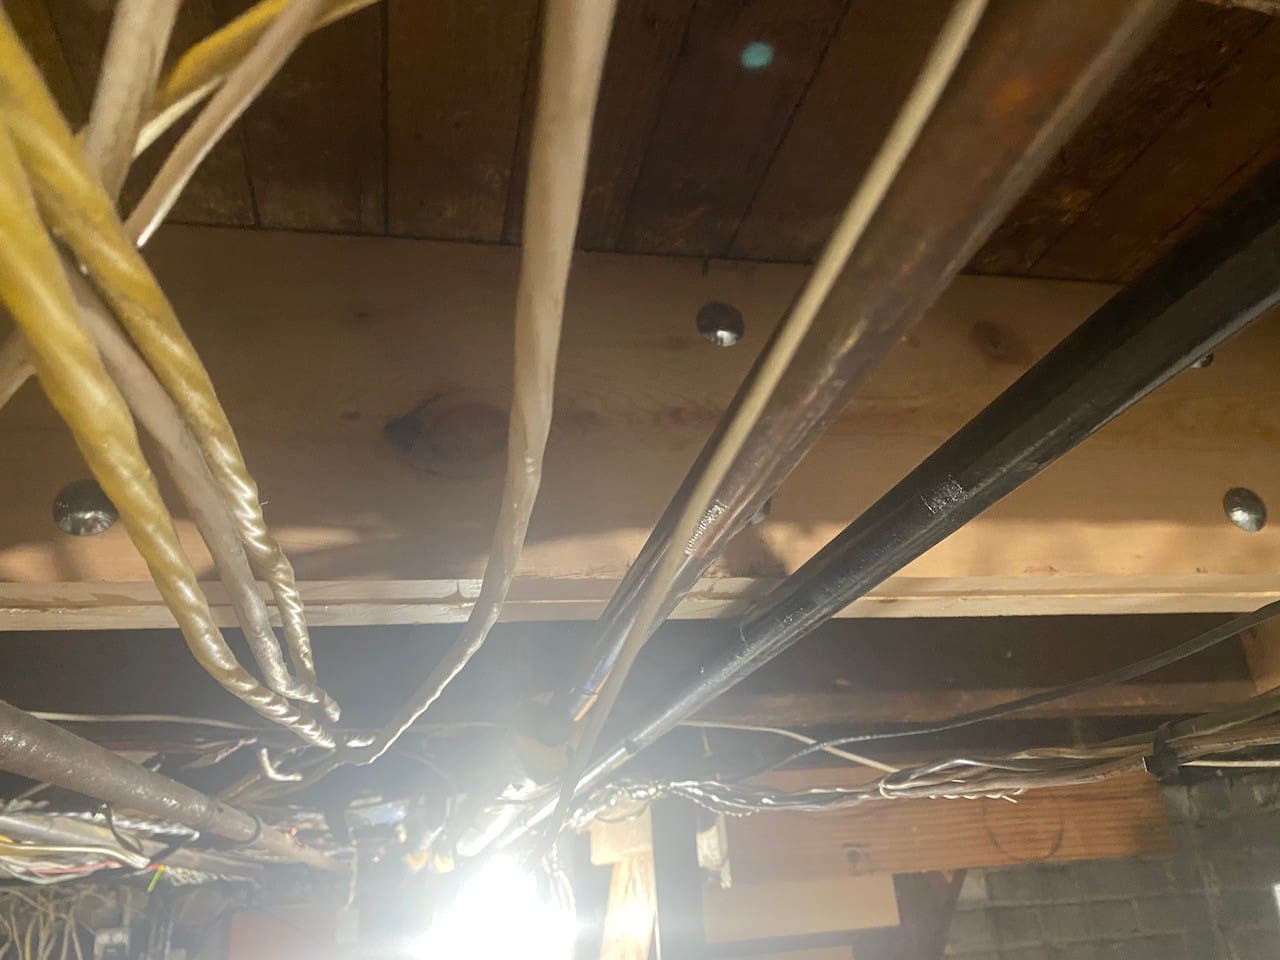
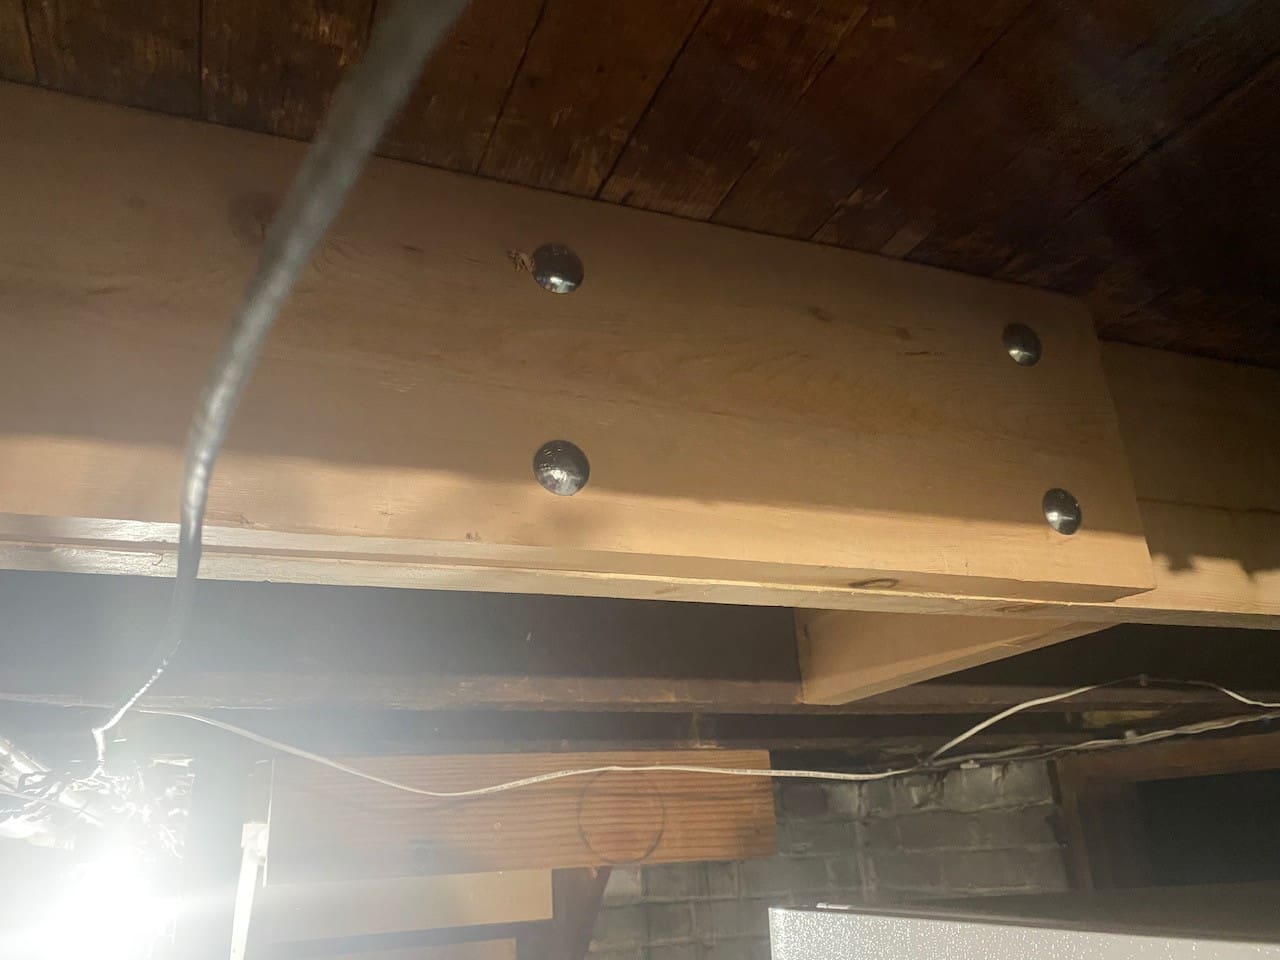
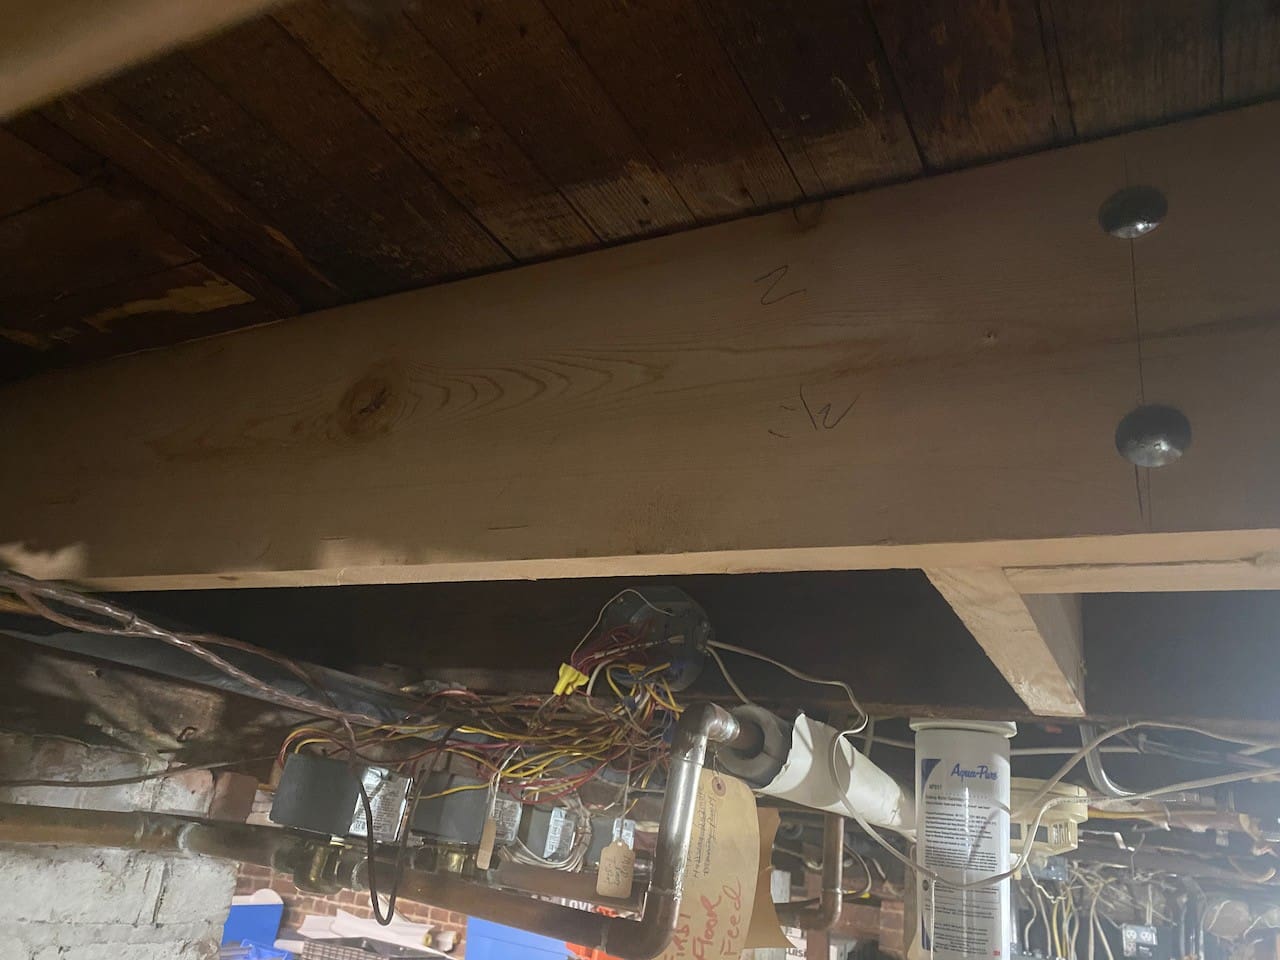
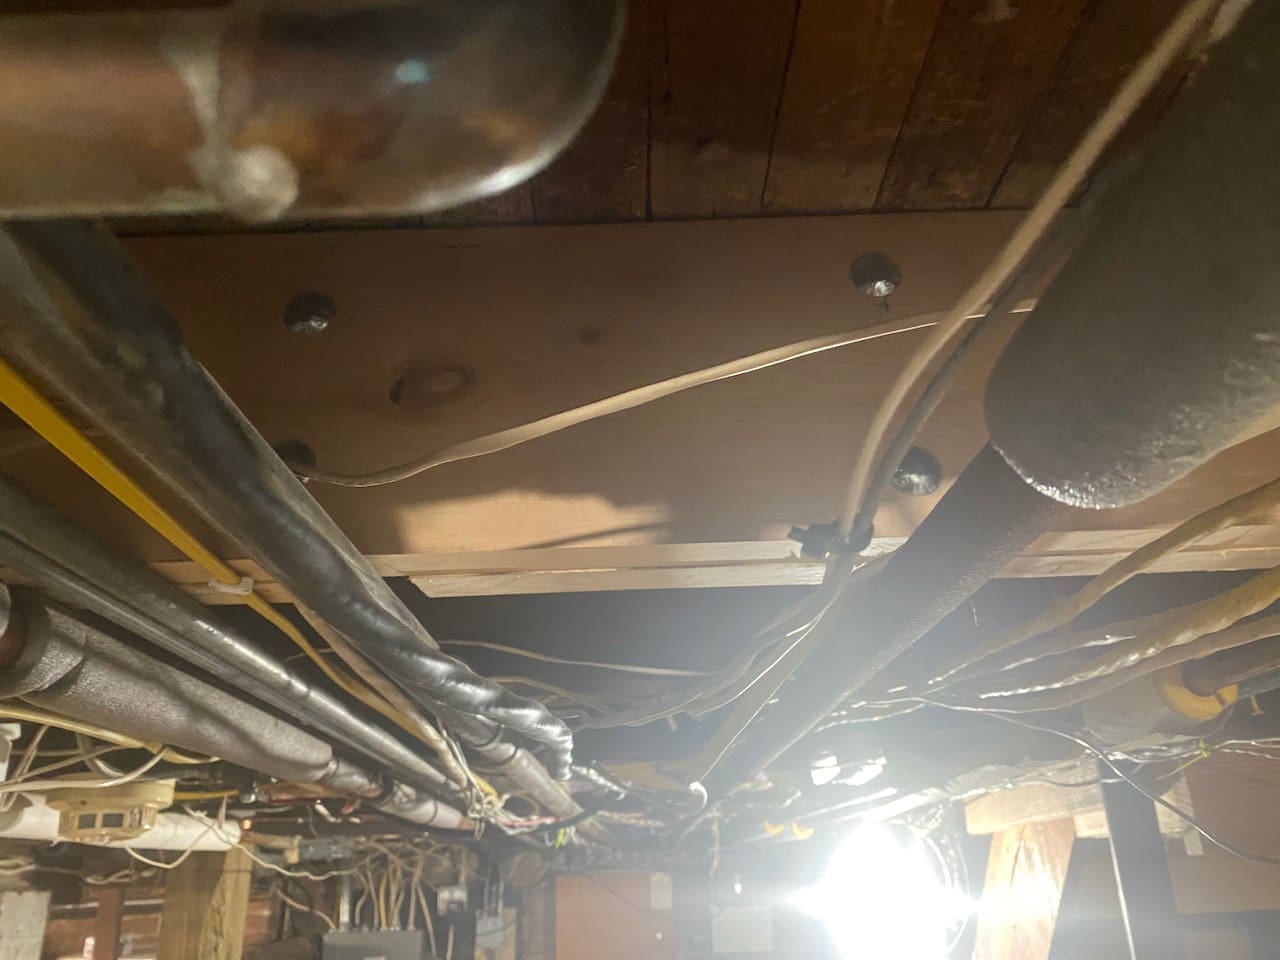
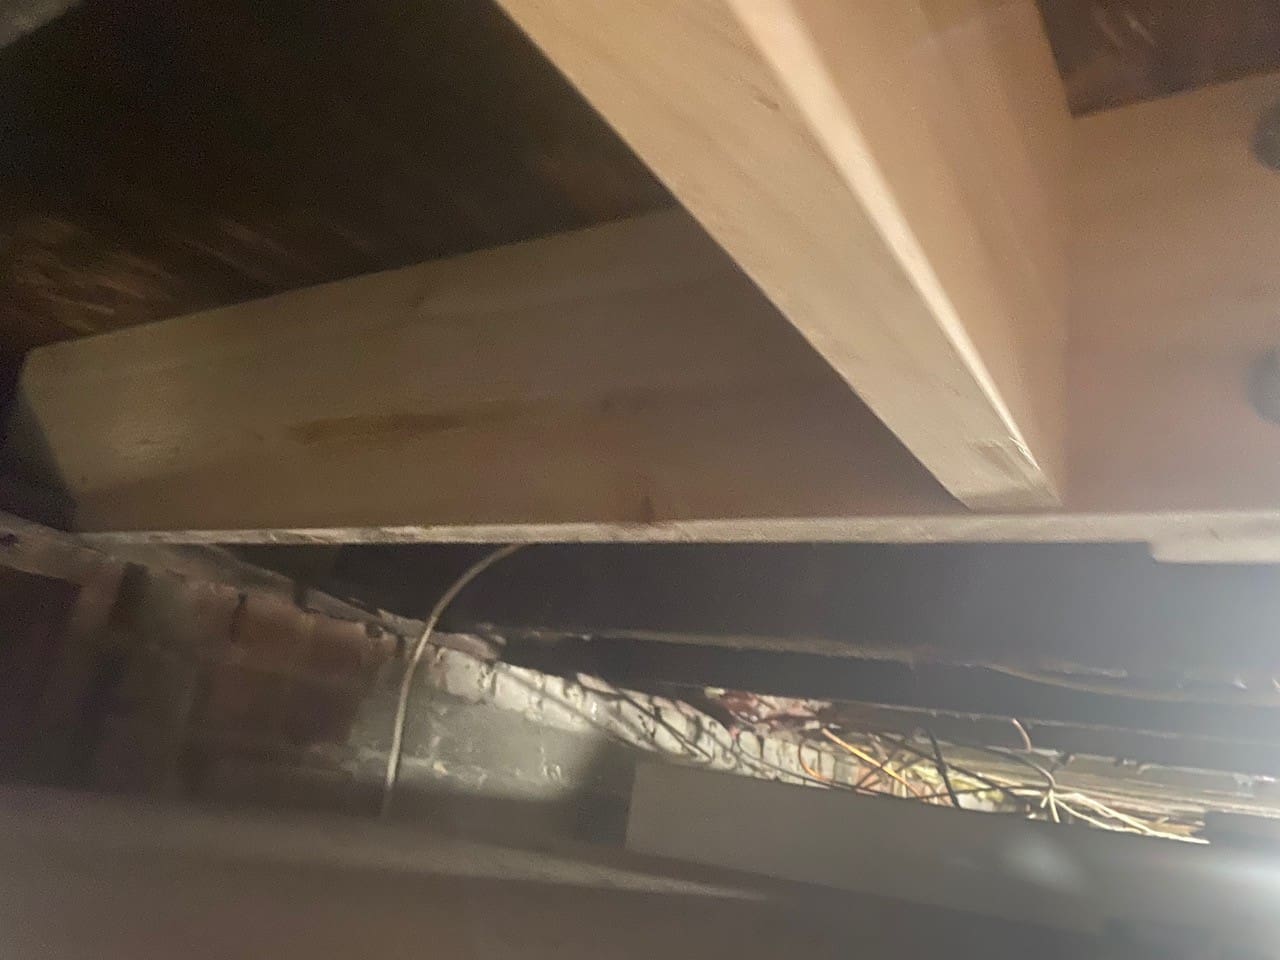
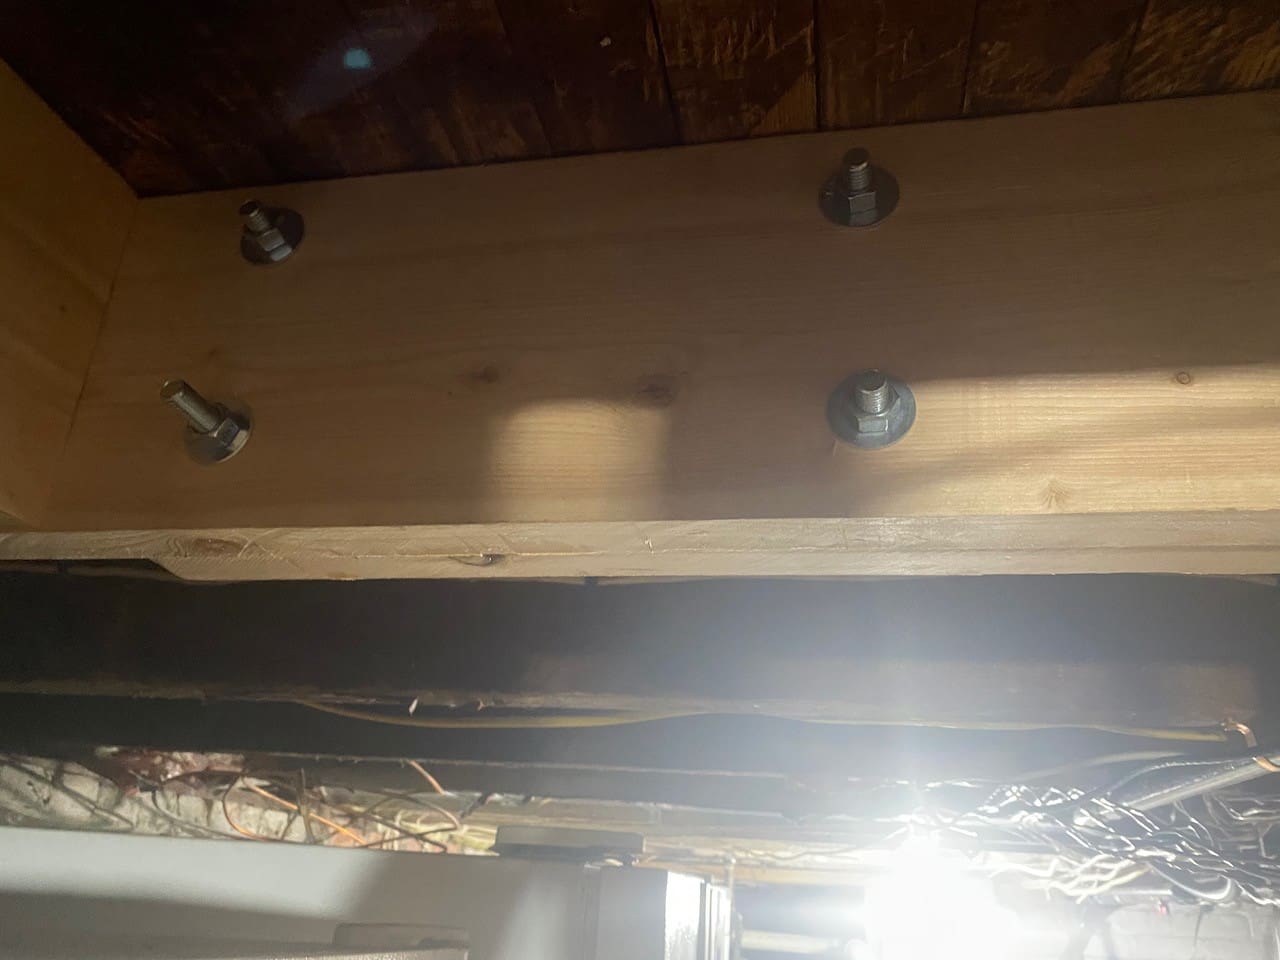
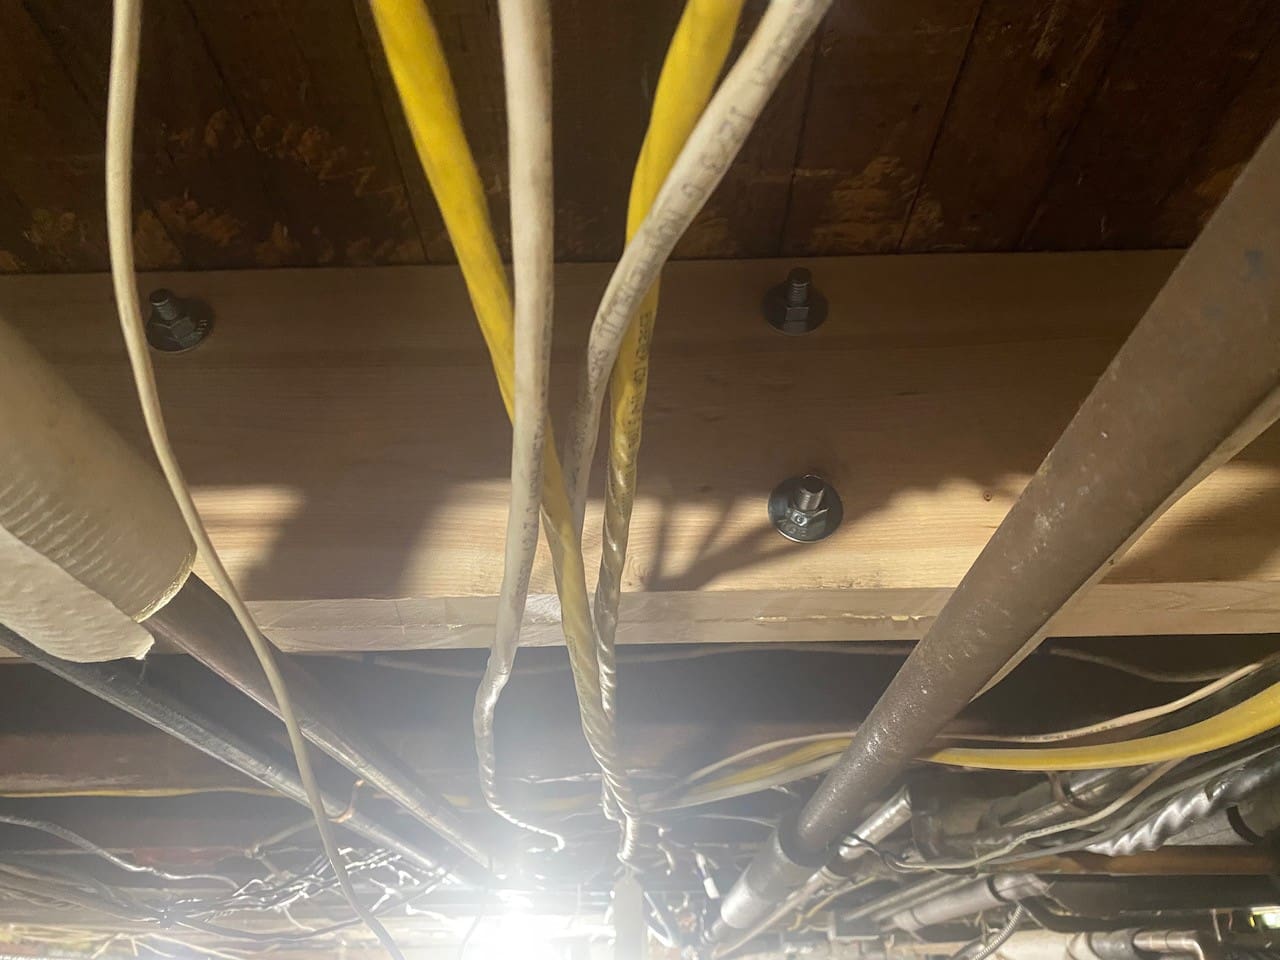
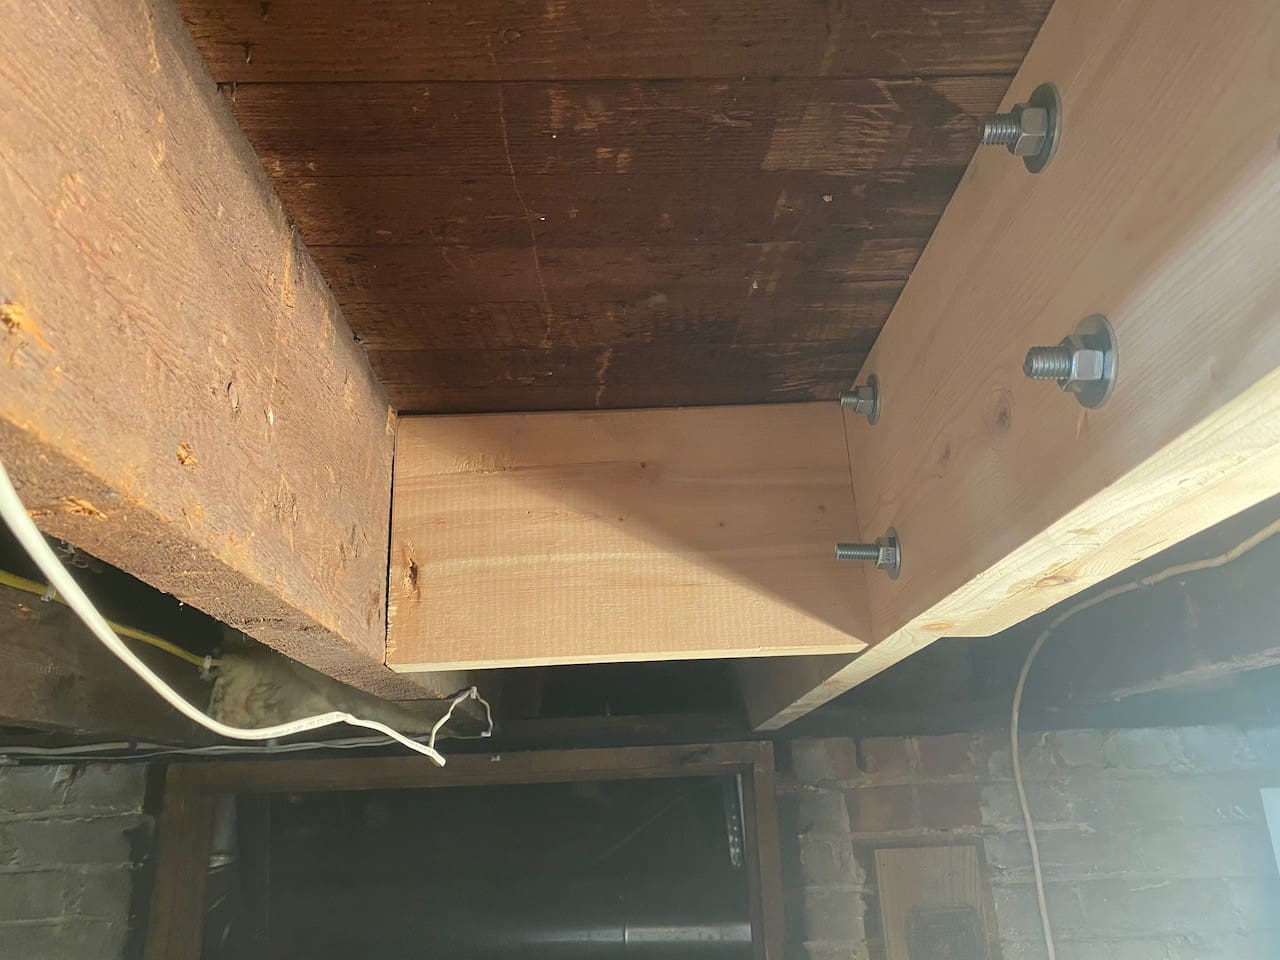
Project Completed
What I Learned
It’s tough taking care of any house, especially one built in 1906. To me, this project was a labor of love. My accomplishment is so self-satisfying; it makes me feel great. “Hey Hope, Look What I Did!!!!”
In all my classes I teach: organization, planning, thinking out of the box, hard work, dedication, and a love for DIY will help you get the project completed, keep money in your pocket, and put a smile on your face. See you in class..Brian
