My Battle With Termite Damage- Chapter 3 “Getting My Bolts In Order”

Chapter 3 is all about getting the project organized. Remember in Chapter 2, I disconnected all the pipes and the wires from the damaged joist. Before the removal of the damaged joist, I have multiple challenges ahead of me.
Supporting the Floor Above/Tools/Supplies
The left side of the joist was supposed to be resting on the foundation, not now, (thank you TERMITES)

The right side of the damaged joist is sitting firmly on the main carrying beam and is carrying the weight of the granite topped island in the kitchen.


So, what is the challenge? Support, Support, Support
Here is an example of a floor joist system in a typical house. The span between the floor joist is 16″ on center and all the above load would be carried safely by the BEAM.

Here is an example of a floor joist that was removed from the structural support system, which is what I have to do.

I did not want to remove the support and possibly crack our beautiful Granite countertop “HOPE would be very upset with me”. In the basement, I have to support the entire structure above with a temporary wall prior to removing the damaged joist.
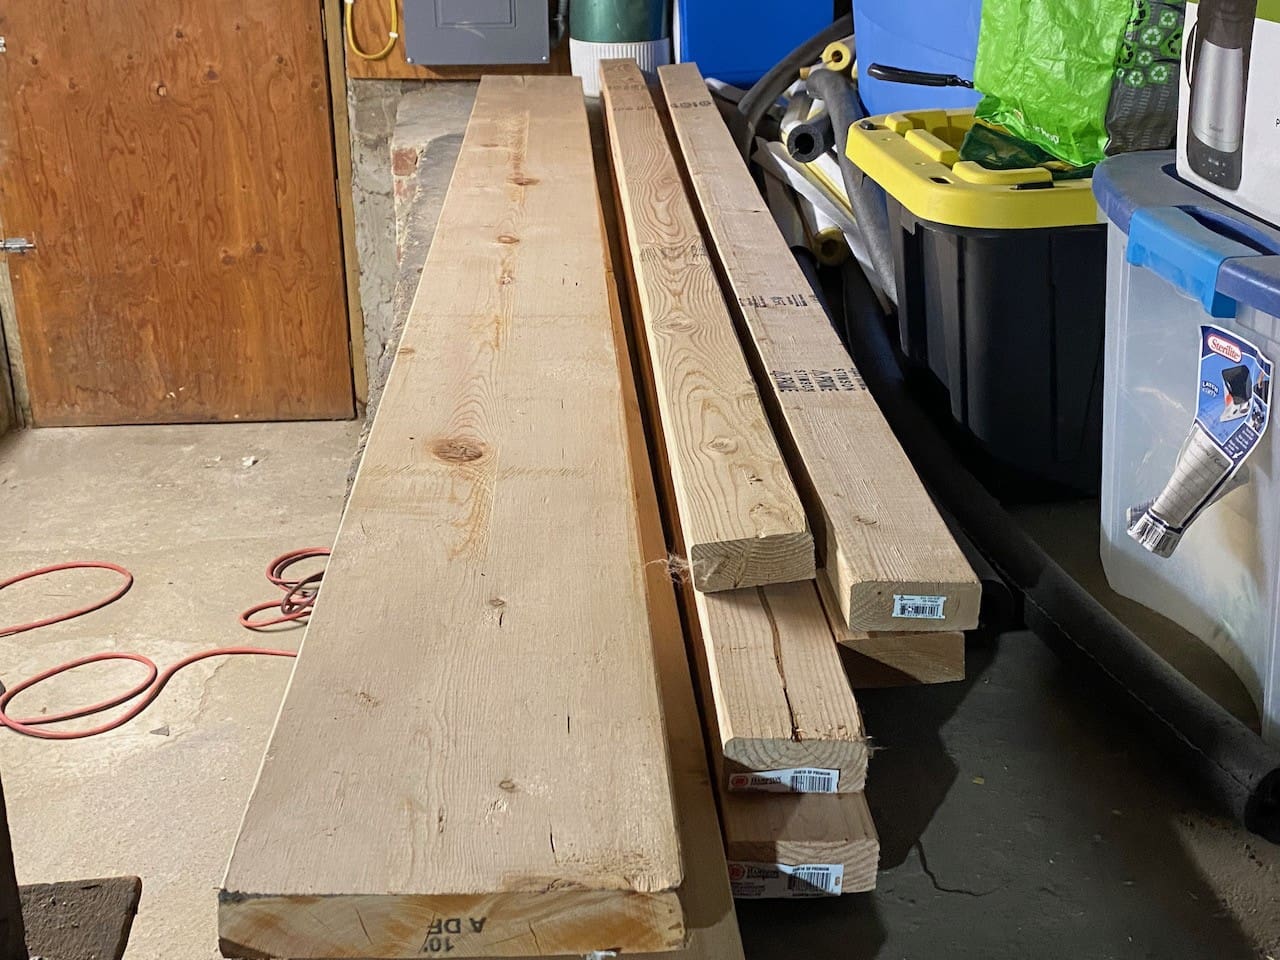
This is what I have to build and secure before removing the damaged floor joist!

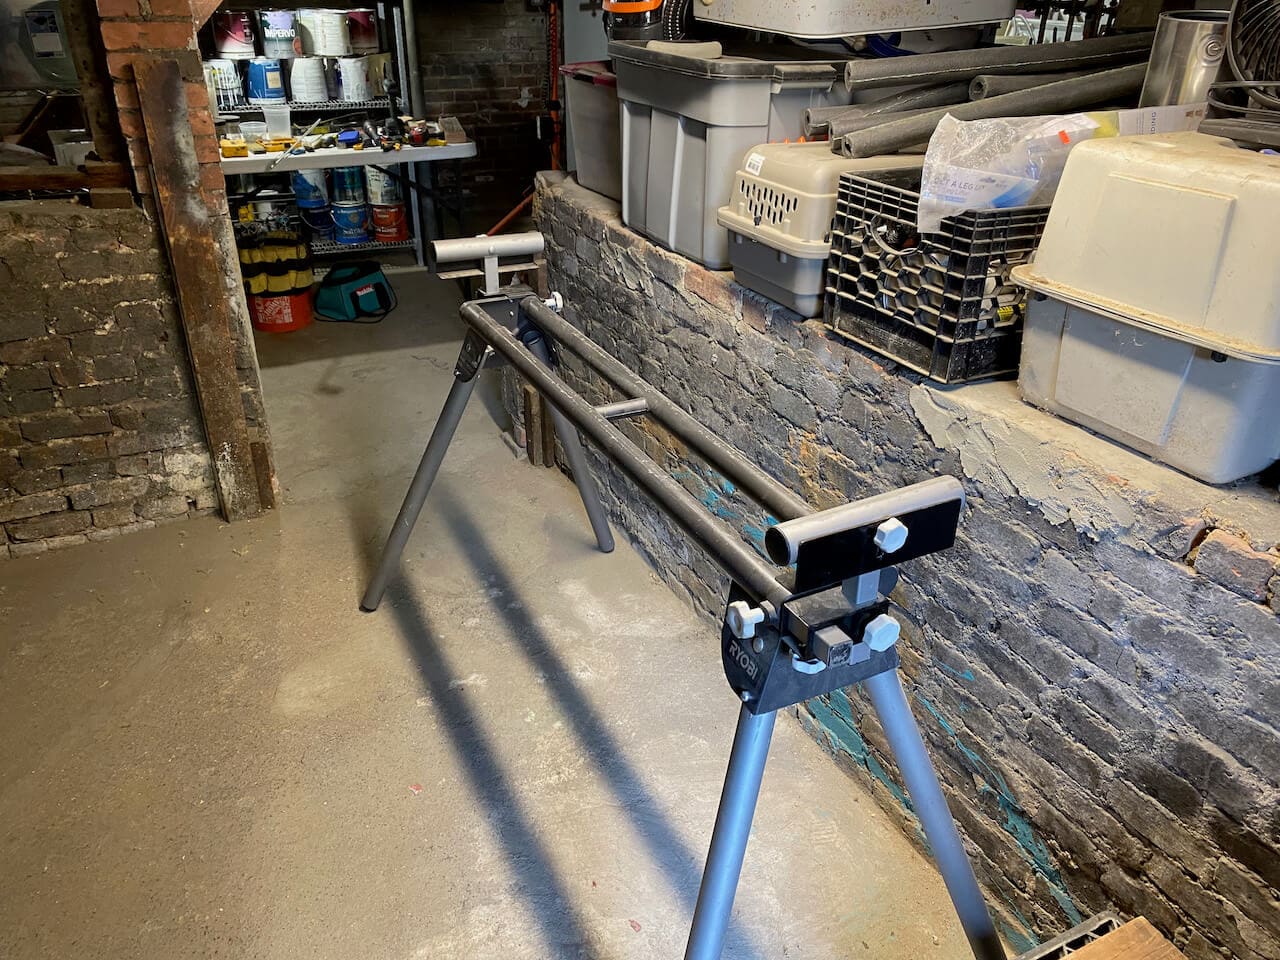
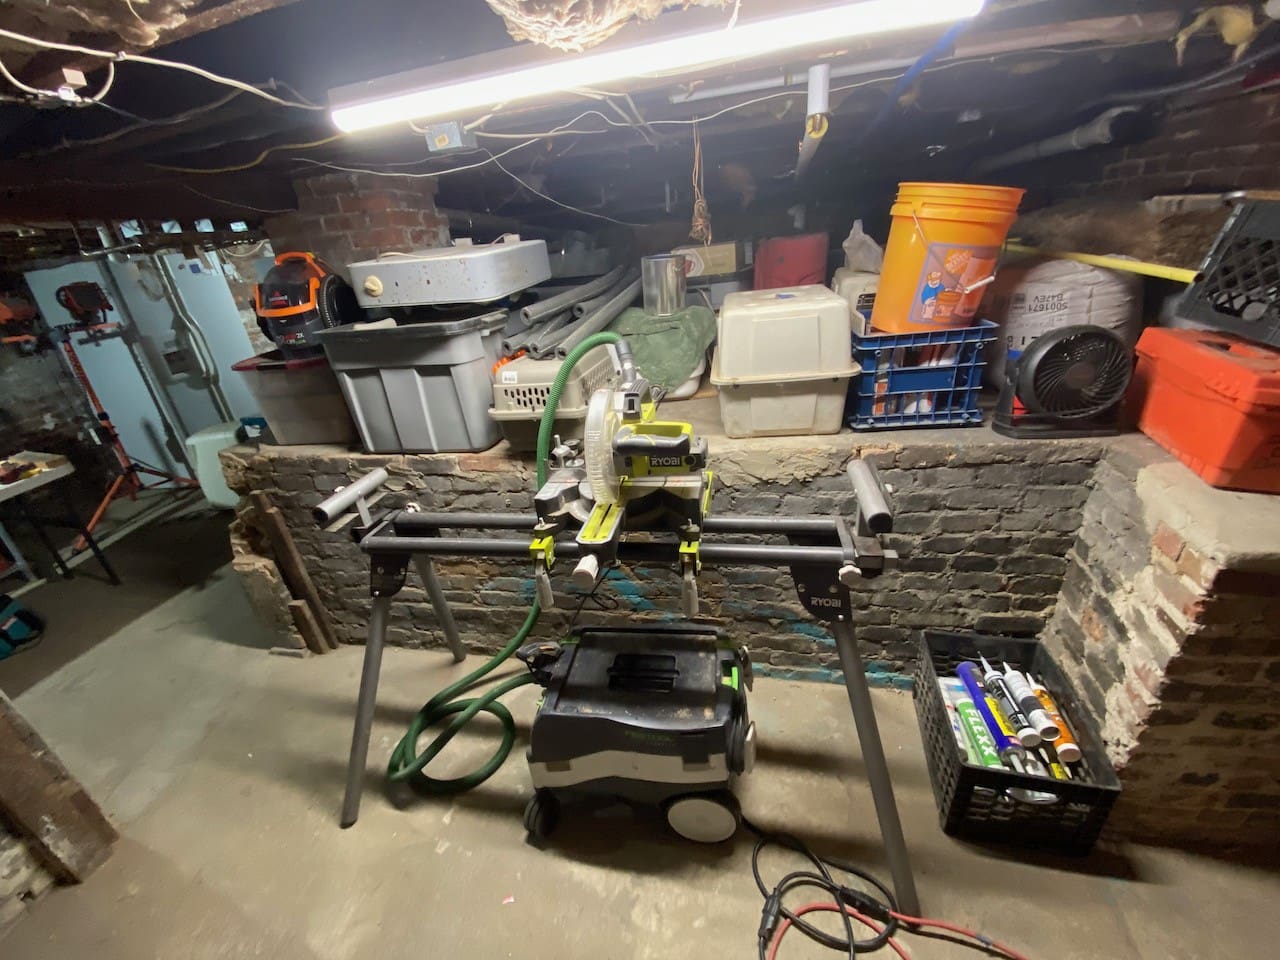
Tools and Materials