My Battle With Termite Damage Continues Chapter 4- “Constructing and Installing the Temporary Support Wall”
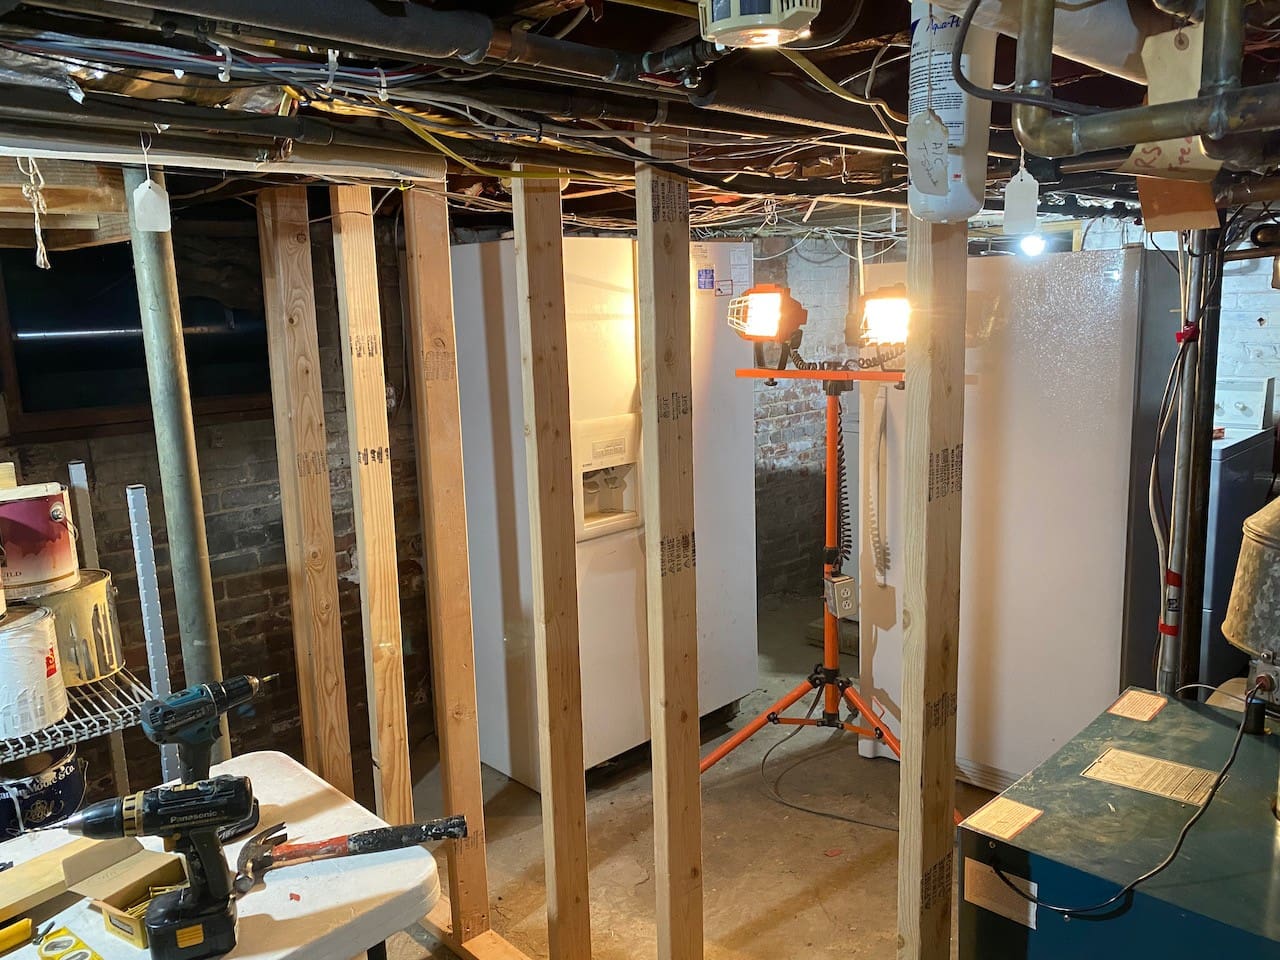
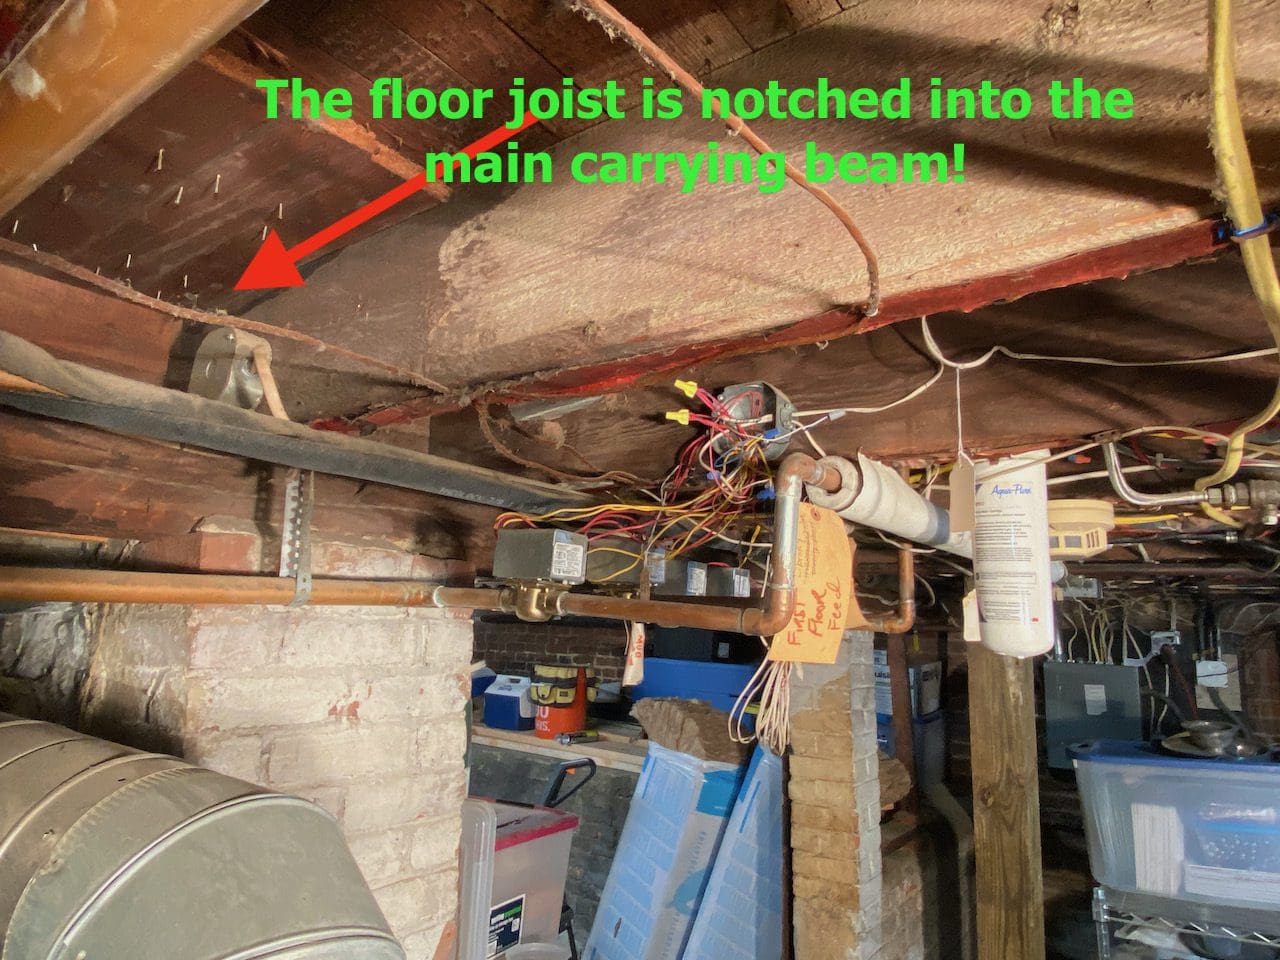
Even though there was no support on the foundation end of the floor joist, due to the TERMITES GRAND DINNER, I felt the joist was still supporting the weight above on the carrying beam end. Before removing the joist, I had to construct and install a temporary support wall.

Materials
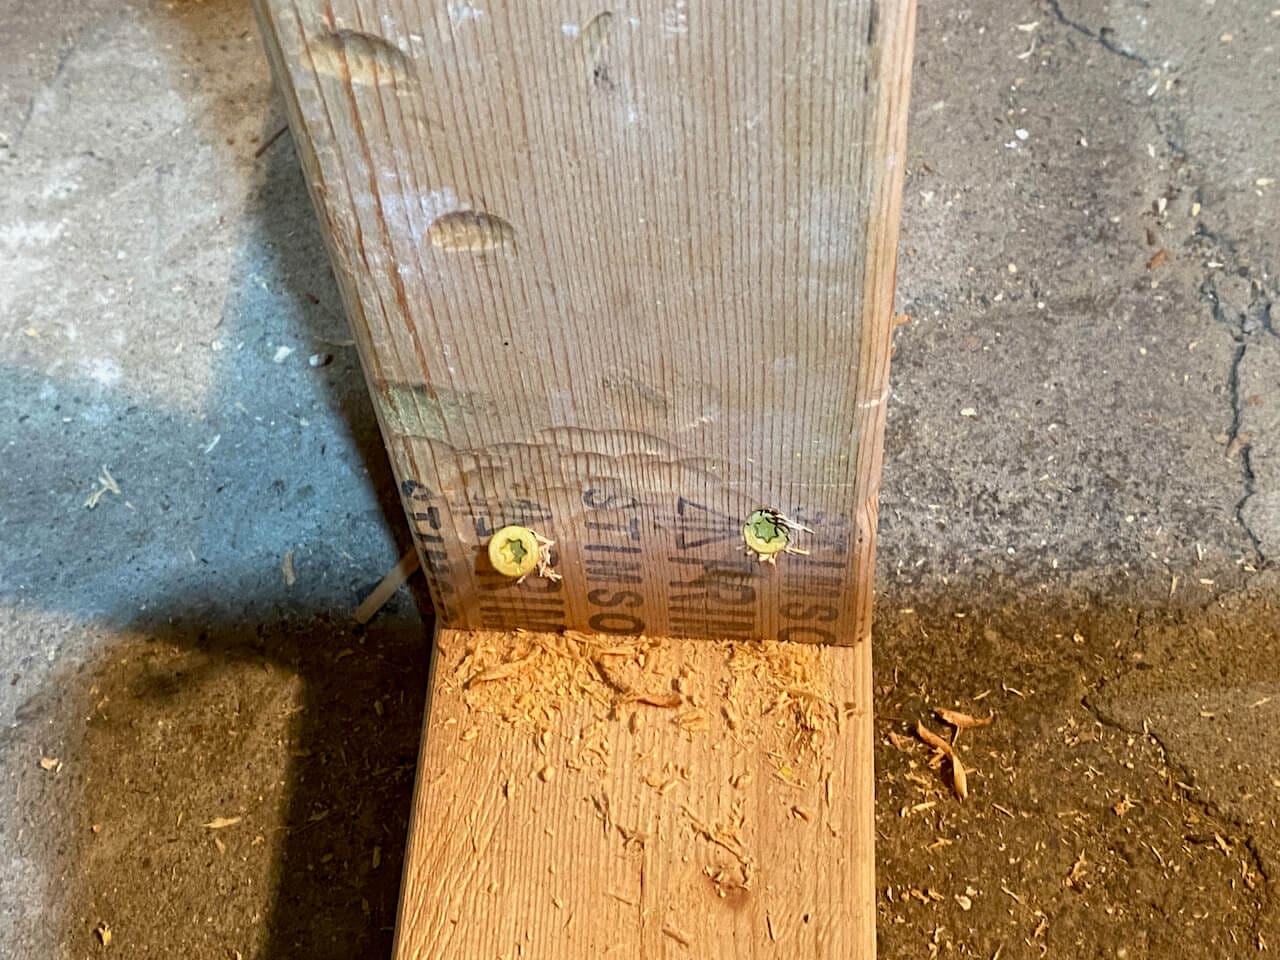
No specialty here, the support wall beams and the top and bottom plates were going to be built with 2″ X 4″ wood stock, cut to the proper lengths. For fastening, I was going to use 3″ star headed wood screws.

The DIY Challenge-
How was I going to hold up the top plate and measure from the top plate to the bottom plate so I could properly cut the support studs, ALL BY MYSELF?

I just happened to have industrial strength VELCRO. I adhered a few strips (Hook) to the subfloor above and a few strips (Loop) to the top plate. The impossible became possible.

To prevent movement, I used a hydraulic jack to keep pressure on the top and bottom plates. The first stud you see, closet to the wall, is a 1″x4″, used to line the top and bottom plates up before installing the studs.

Spacing of the Studs
If you attended my home improvement classes, you know what the proper spacing is between studs. And for the most part, that is what I built. One added DIY, I made spacers (see blow) to help me line up and properly space the supporting studs.
Support Wall Is Completed