OMG Its Broken
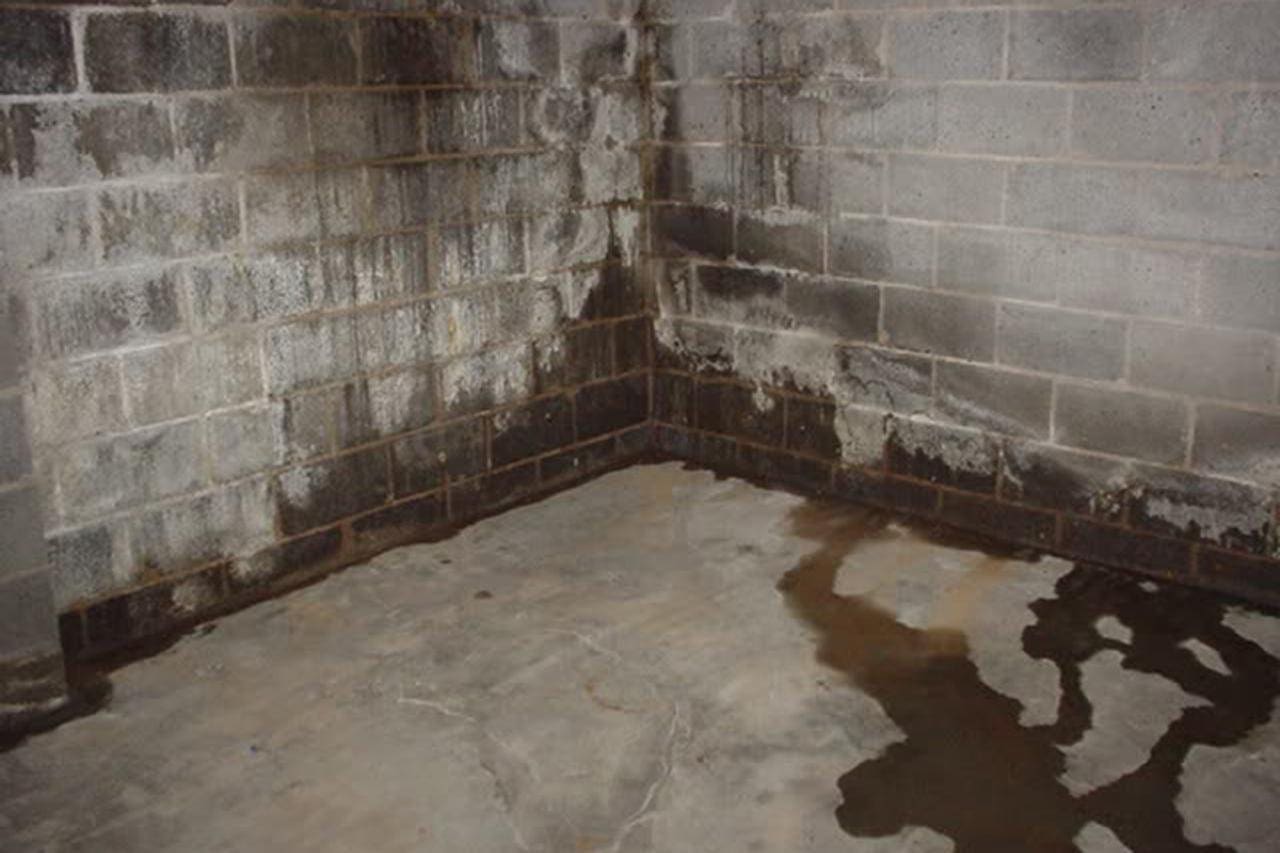
There is water in my basement, what do do? 
My toilet wont stop running, what do I do? 
The heat is broken, what do I do?
OMG its broken, now what do I do?
Hope has always complained that I am too systematical. I always need to know why, how, when, where, and the list keeps going on for about everything we discuss and everything I do. Whether for a new dance move we are learning or what we are going to have for dinner. Maybe the name for it is Obsessive Compulsive. As the senior construction project manager in charge of building a 65,000 s/f supermarket, I literally had to know everything that was going on 24/7. And, when there was I problem, I was the one in charge of solving it. I really did not put a name to the methodical approach I was using until I started teaching The Living Environment Science in 2003. Without knowing it, I was using the Scientific Method to solve my construction problems. I bet we all do it without knowing it.
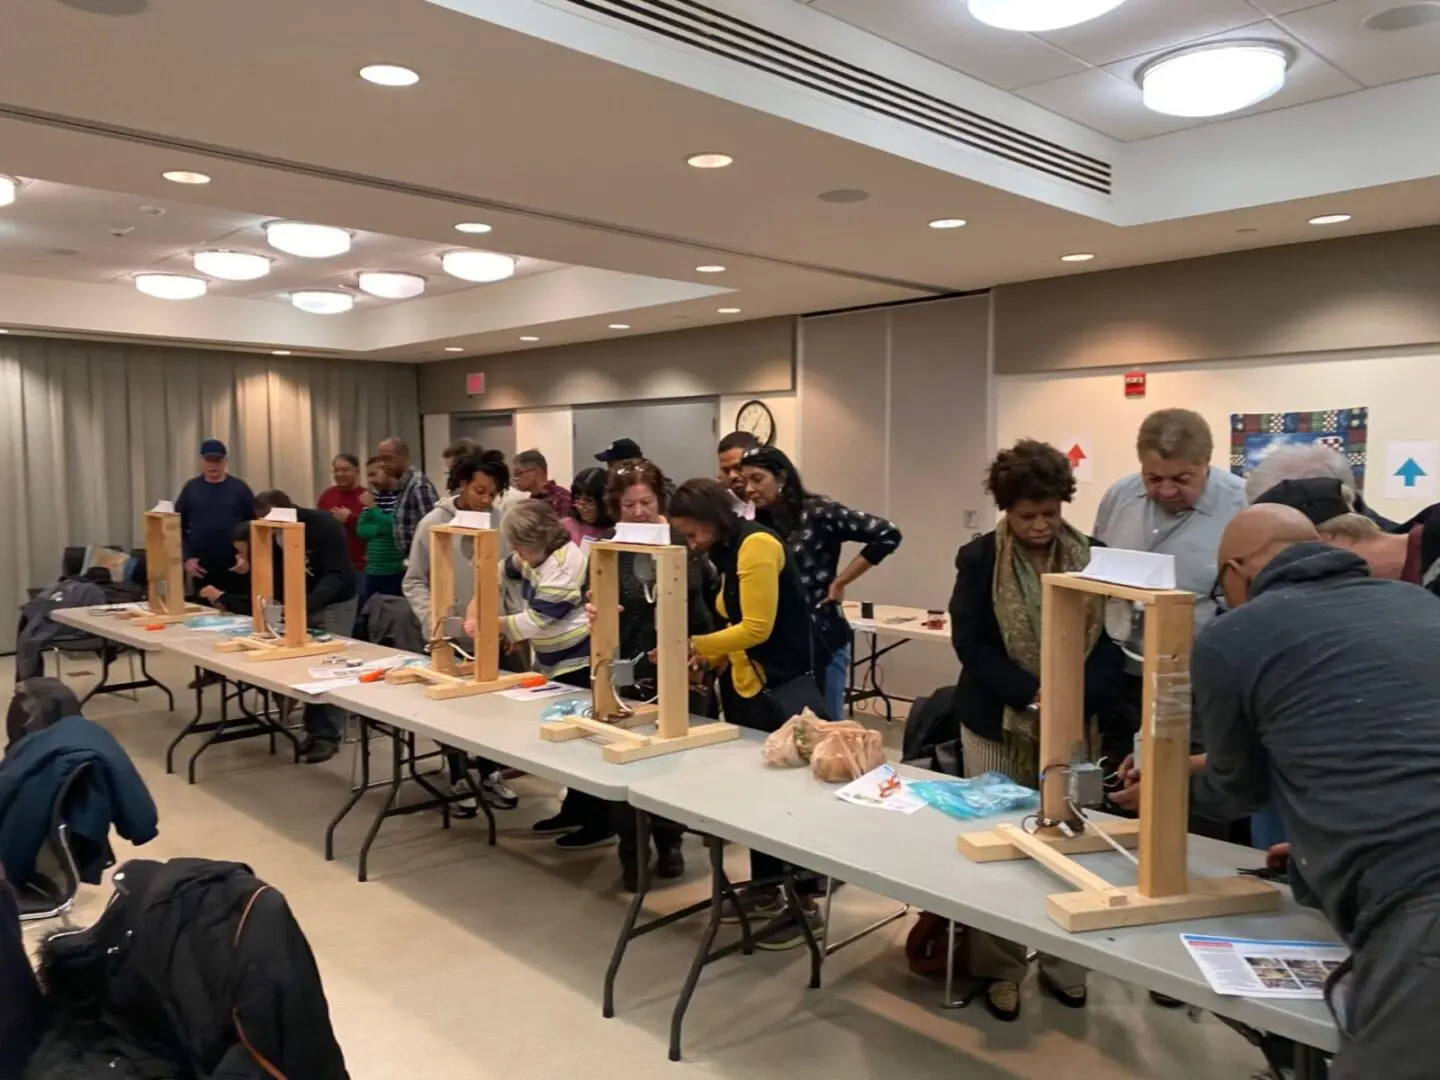
So, let’s use the electrical workshop held in the Baldwin Public Library last month to show you how we figured out why the light on one of the workstations would not turn on.
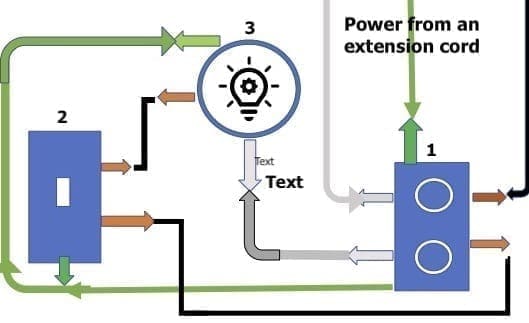
Wiring Schematic Which We Used
Wiring Procedure
- Install the outlet, connecting the incoming power to the outlet and outbound wires leading to the switch.
- Install the switch, installing all the wires properly.
- Install the light fixture, connecting all the wiring as per the schematic.
- Screw in the bulb.
- Fingers crossed to see if the system work, flip the switch!
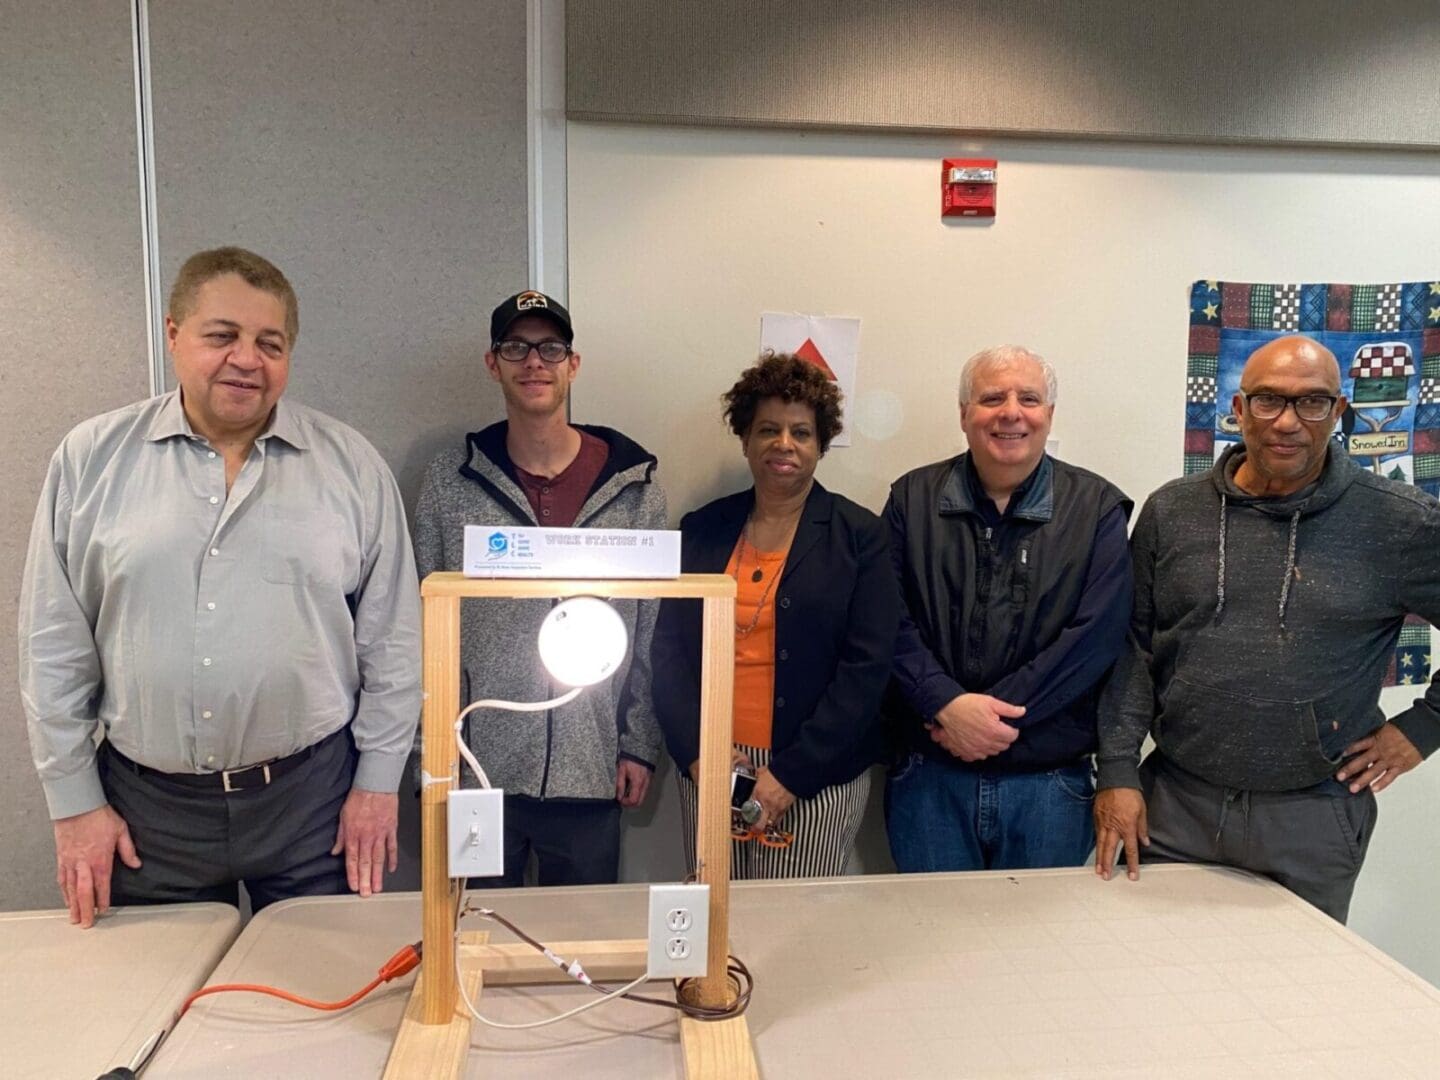
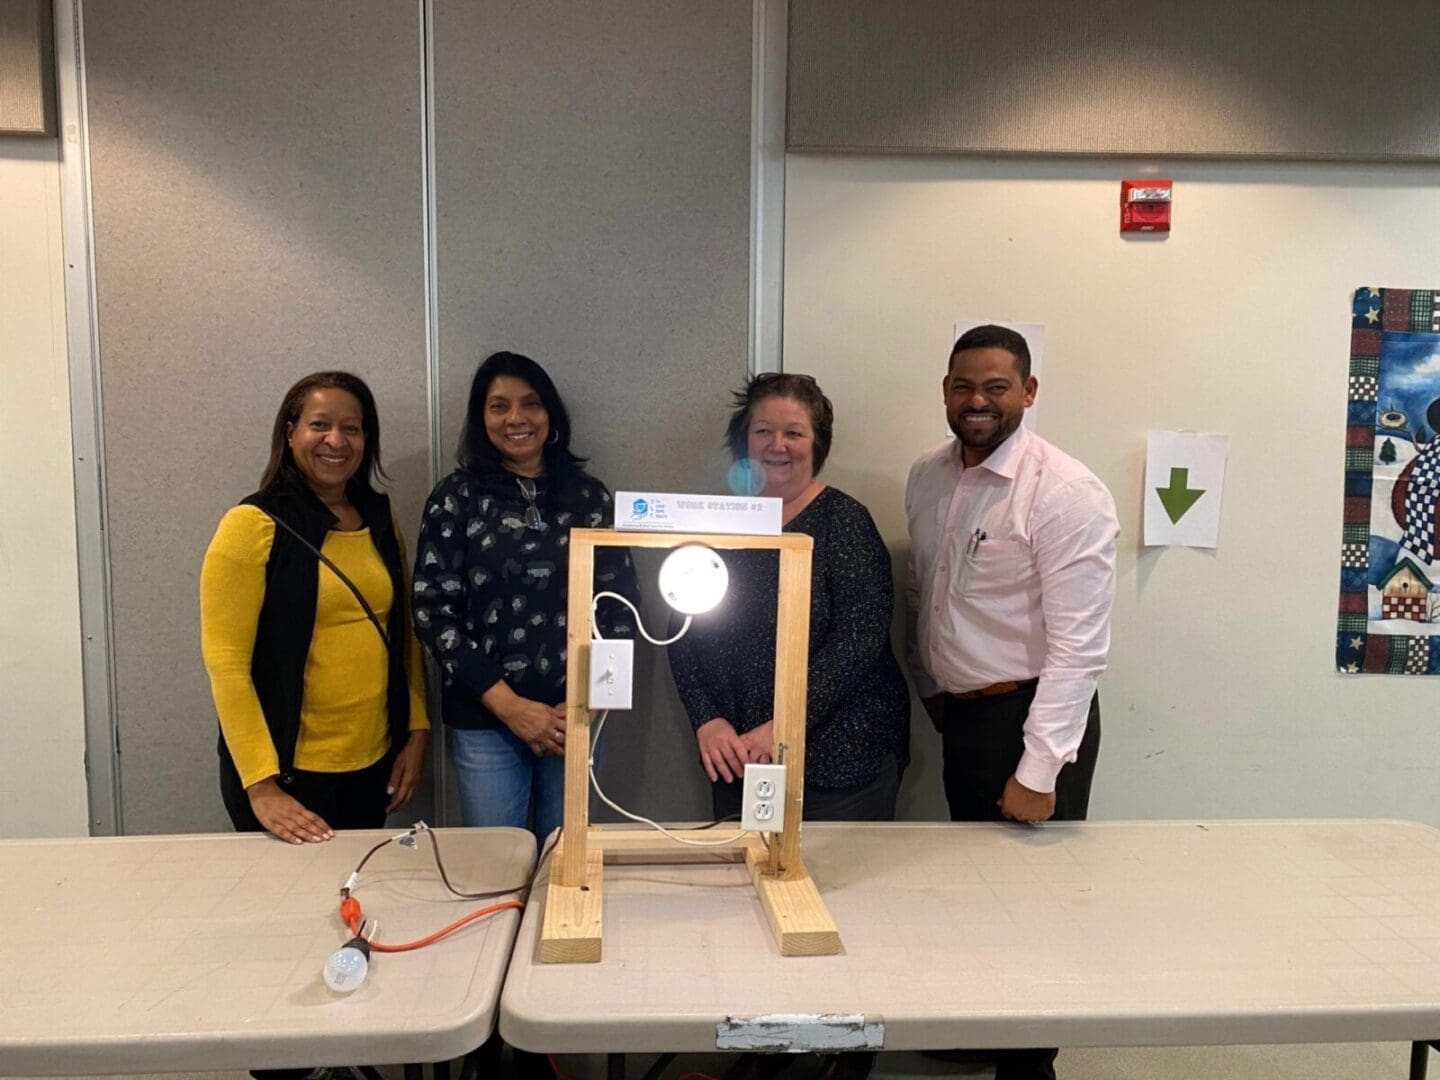
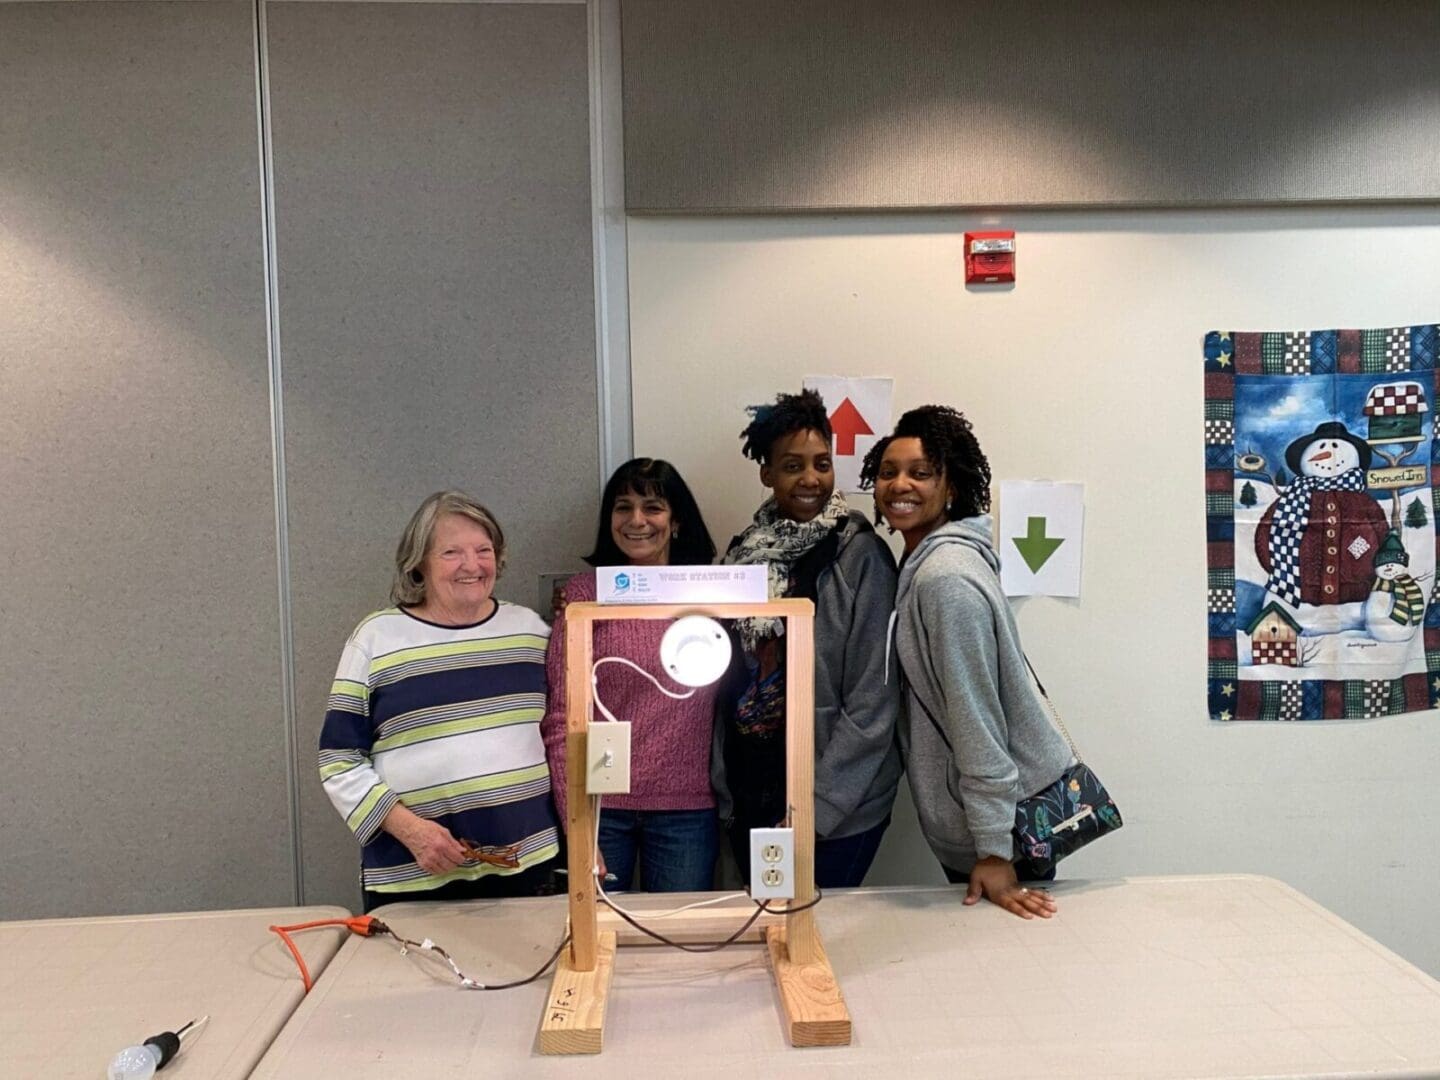
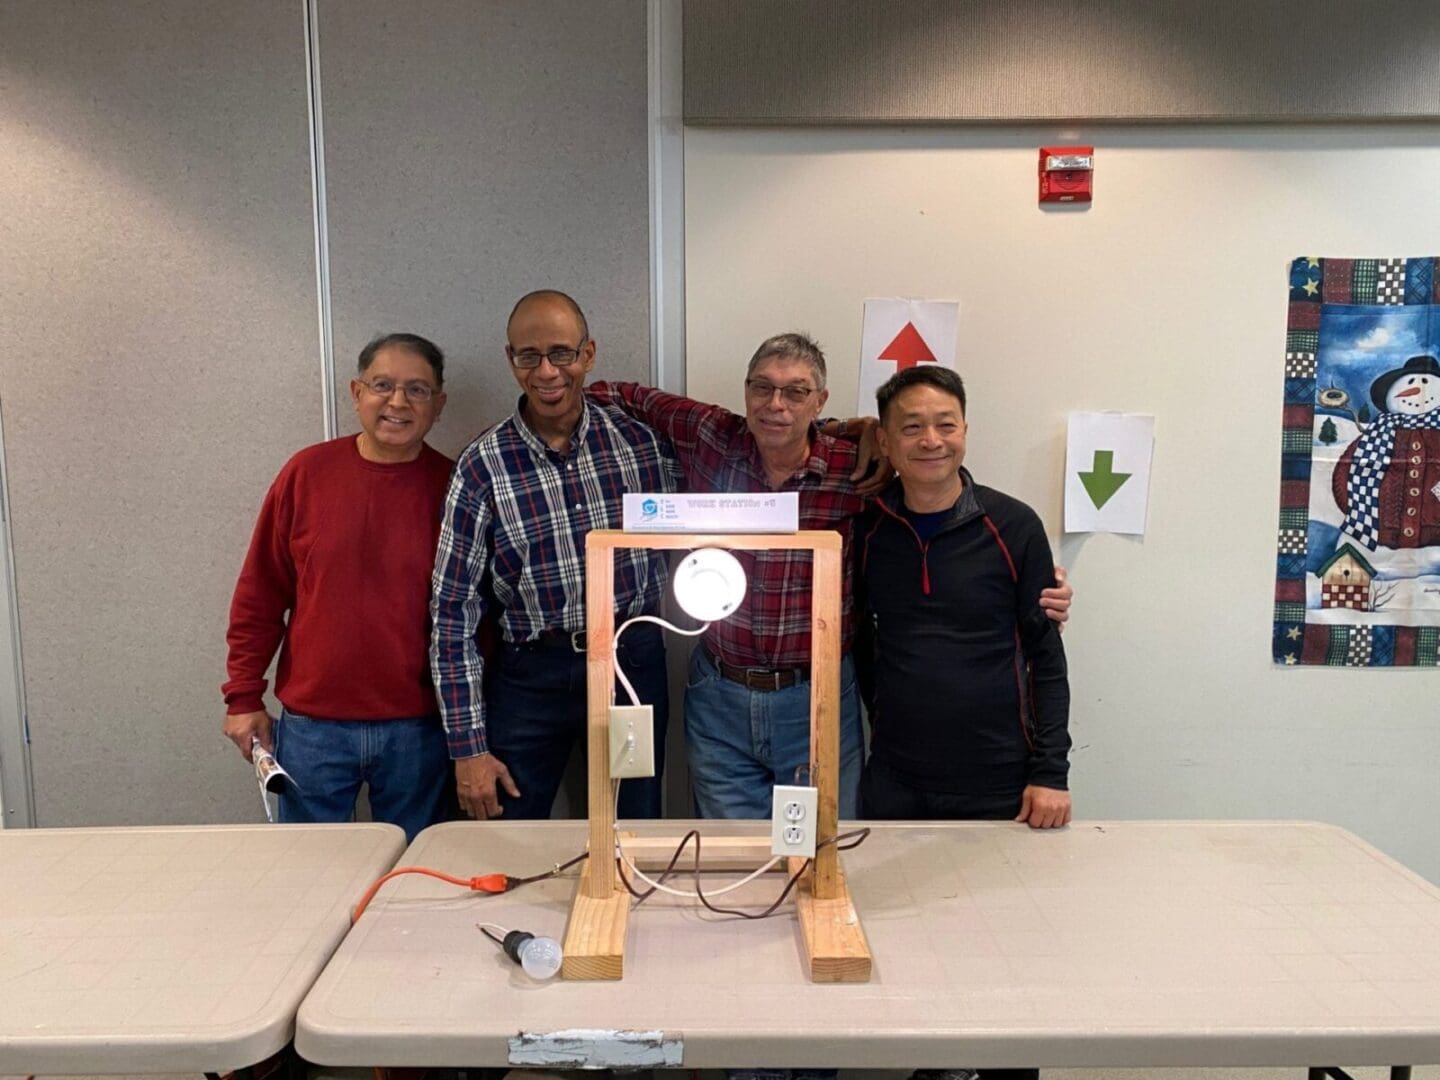

Using the Scientific Method approach to figuring it out.
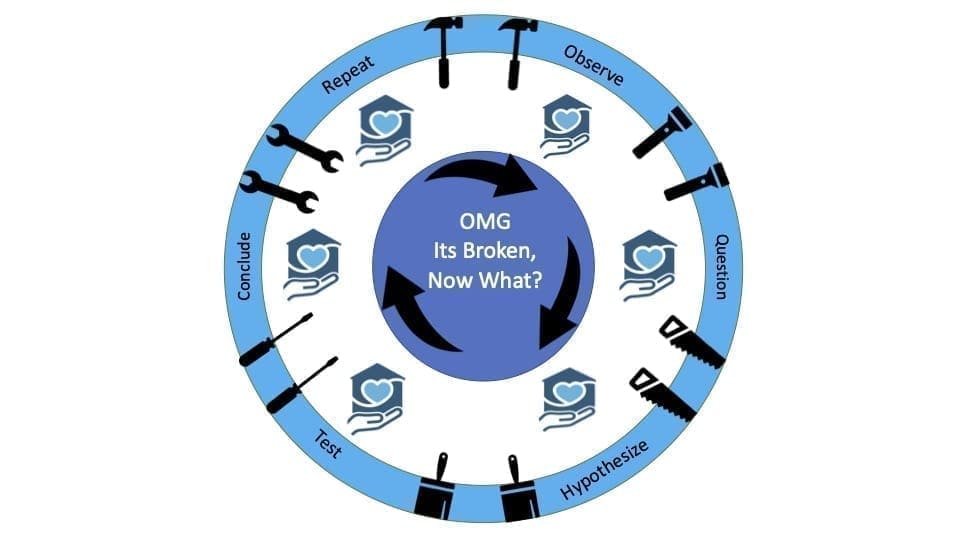
Test #1
- Observe– when I flipped the switch, the bulb did not go on.
- Question– why am I still in the dark?
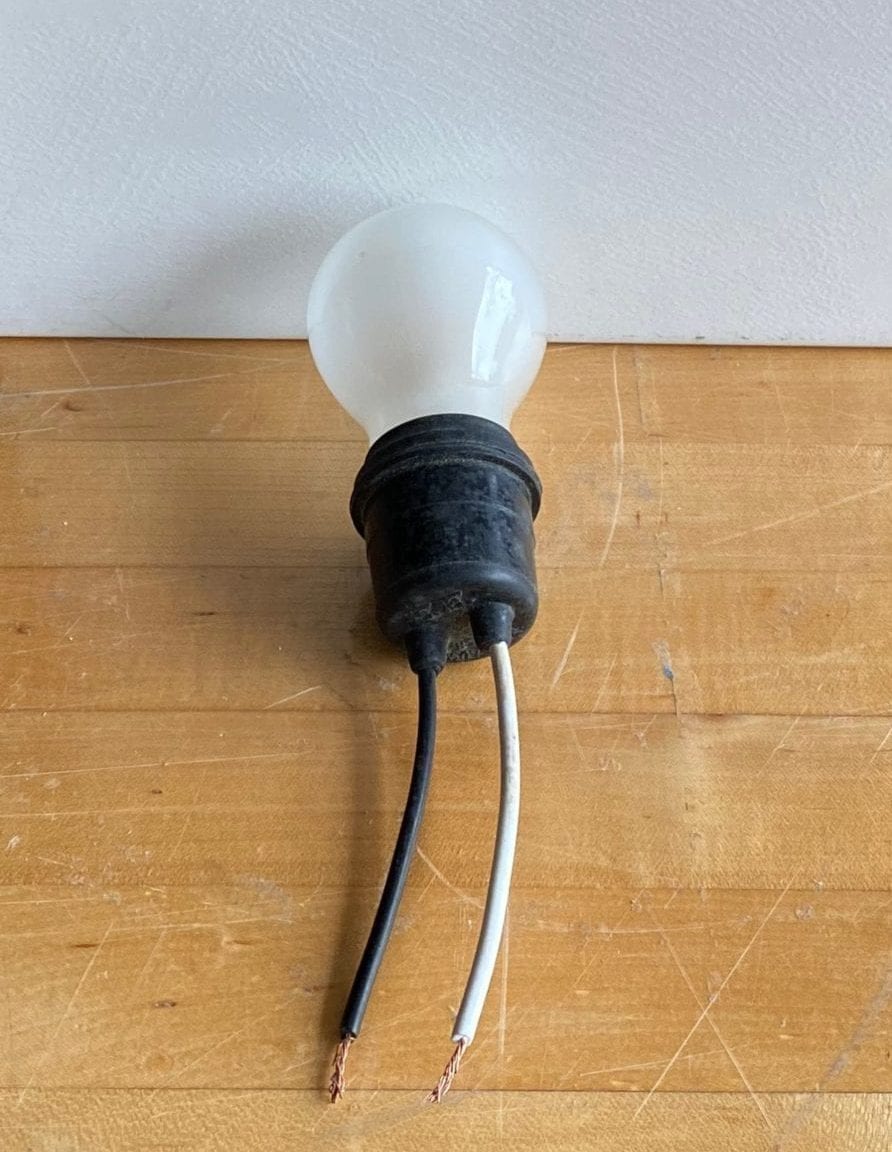
- Hypothesize– if I put in a working light bulb, then maybe it will go on.
- Test– remove the old light bulb, install the new one, and flip the switch.
- Conclude: after flipping the switch, we were still in the dark! The problem must be up the line.
- Repeat– with new procedure.
Test #2
- Observe– well, I changed the light bulb, and I am still in the dark.
- Question– why am I still in the dark?
- Hypothesis- if there is power in the outlet, then the problem may be further up the line in the switch junction box.
- Test– using a tester, we tested to determine if there was power in the outlet. We inserted the tester into the outlet slots.
- Conclude– success, we found there was power in the outlet.
- Repeat– with new procedure.
Test #3
- Observe– we have now determined that there was power going to the outlet, but we are still in the dark!
- Question– is there power going to the switch?
- Hypothesis– if there is power in the switch junction box, then the problem might be further up the line, in the light junction box.
- Test– using the tester, we touched the white and black wires in the switch junction box coming from the outlet junction box. Success, we found power at the switch.
- Conclude- the problem might be in the light junction box.
- Repeat– with new procedure.
Test #4
- Observe– we have now determined that there is power at the switch box, but we are still in the dark!
- Question– is there power in the light junction box?
- Hypothesis– if there is power in the light junction box, then the switch could be bad.
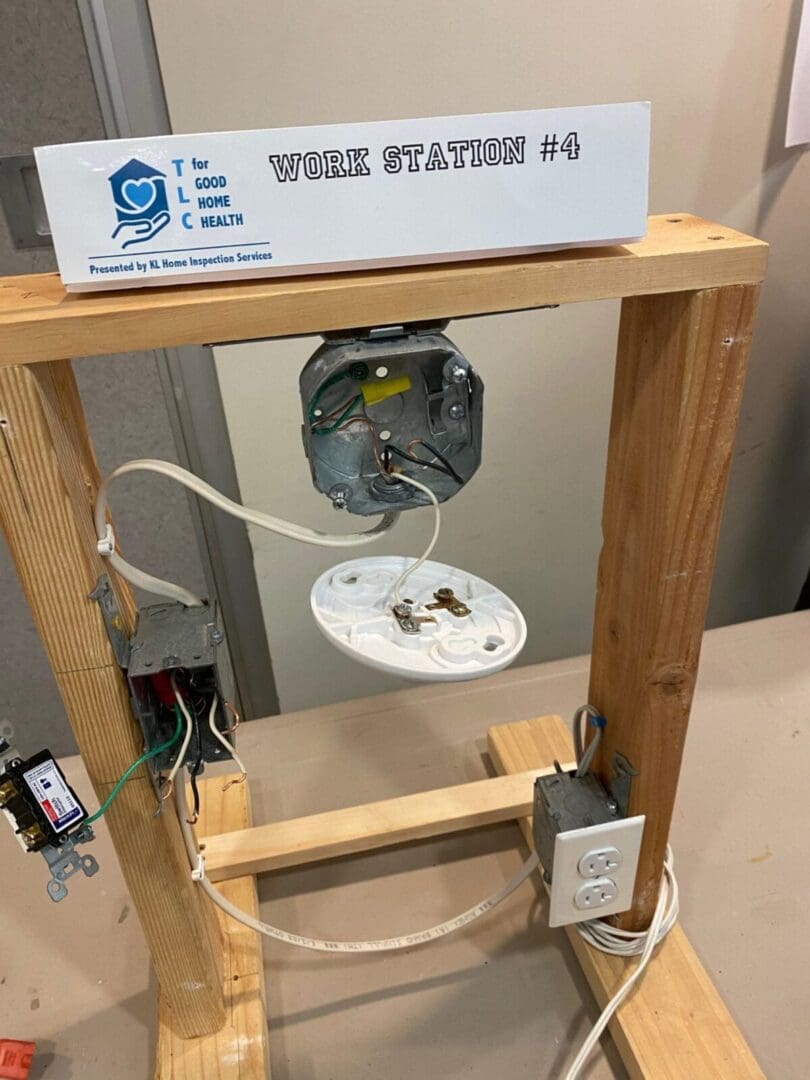
- Test– we unscrewed the keyless lamp holder, and to our surprise and relief we found:
Conclusion
Because the black wire was not attached, the circuit could not be completed. This light would not turn on. We found the problem.
Well guys, this is kinda how I do it. It may seem a bit tedious, but after a time you would get used to it and you will be surprised how quickly you will be able to solve all kinds of problems.
To become more familiar with your home’s electrical system and how to make minor repairs, please sign up for the future electrical class and electrical workshop.
