I decided to turn my upstairs landing into a greenhouse ( I got a funny look from Hope when I told her what I was about to do).
SO, HERE’S THE CHALLENGE
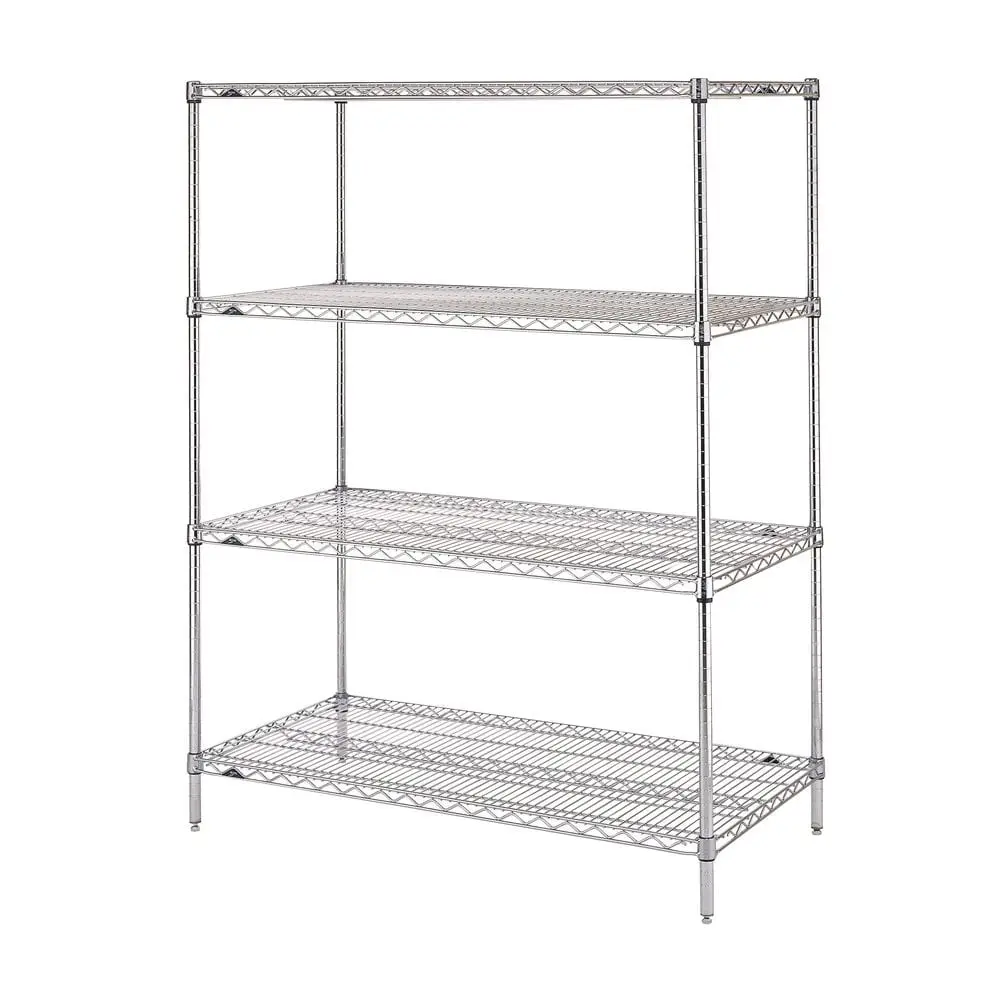
– how to convert 4′ X 18″ Metro wire rack shelving (that I already have) into a seed starting garden?
4′ Metro Wire Rack shelving
The Plan
I already had the metro shelving and the LED plant lights.
I had to come up with a way to suspend the lights over the shelving in a way that they could be adjustable, when the plants grow (I hope) I have to raise the lights.
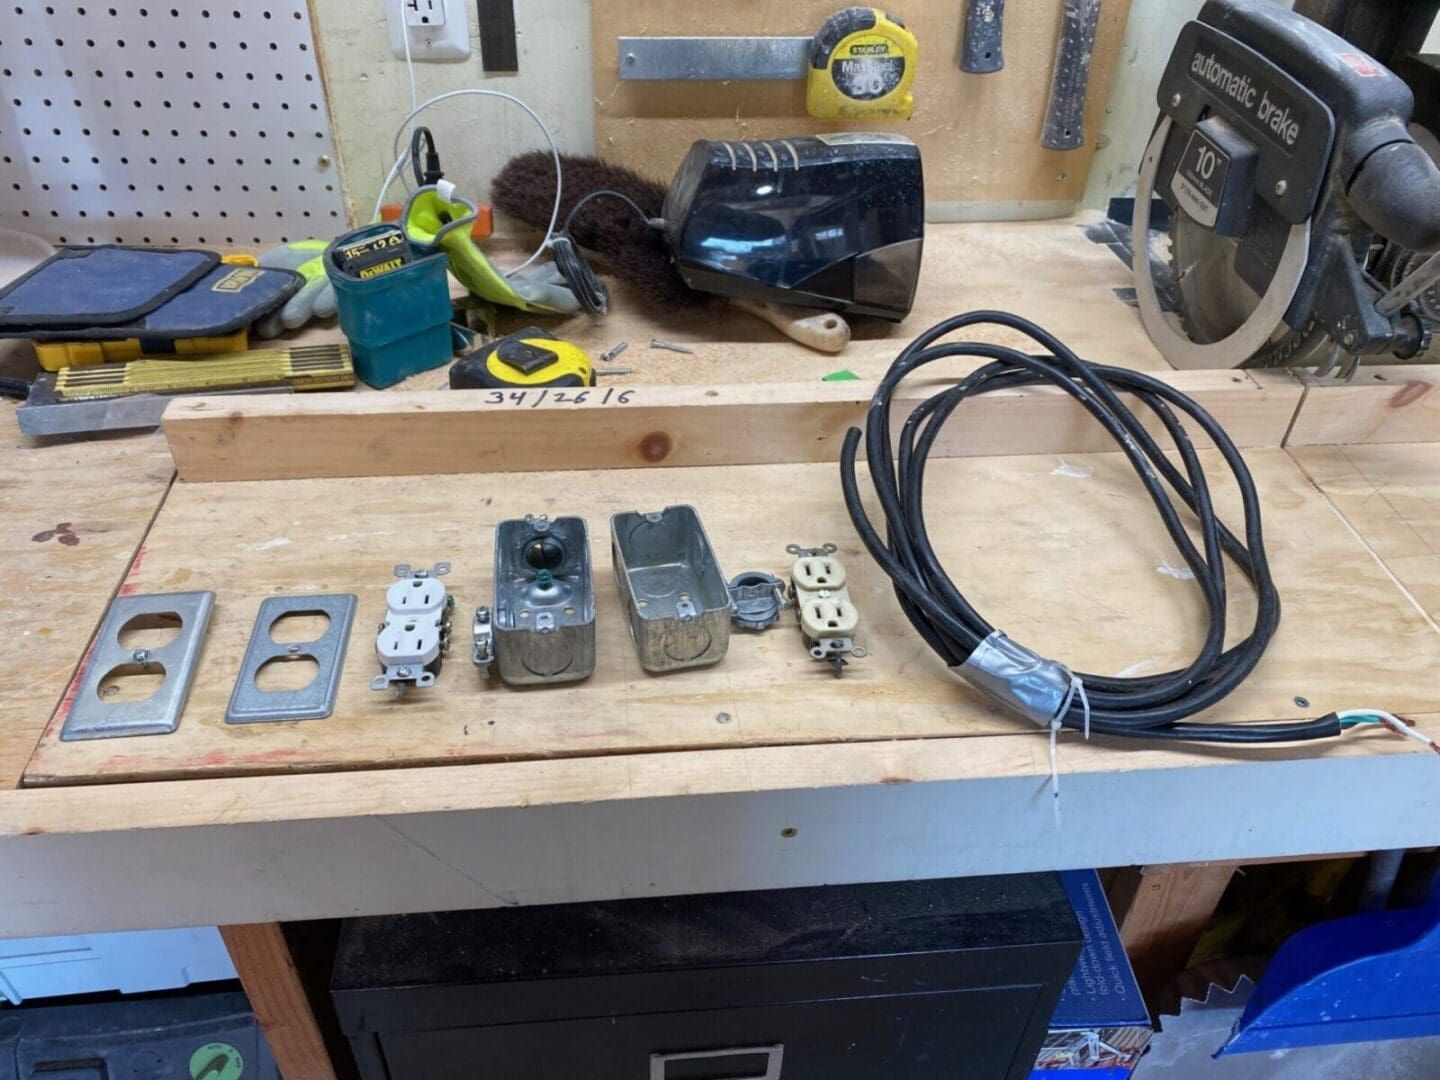
I needed electrical outlets.
Needed a time clock to turn the light on and off. (have this)
Plants require water, had to come up with a waterproof container placed on top of the Metro shelving to catch the water.
Electrical materials needed
Above are the electrical materials that I needed. I just didn’t want to use extension cords, unsafe.
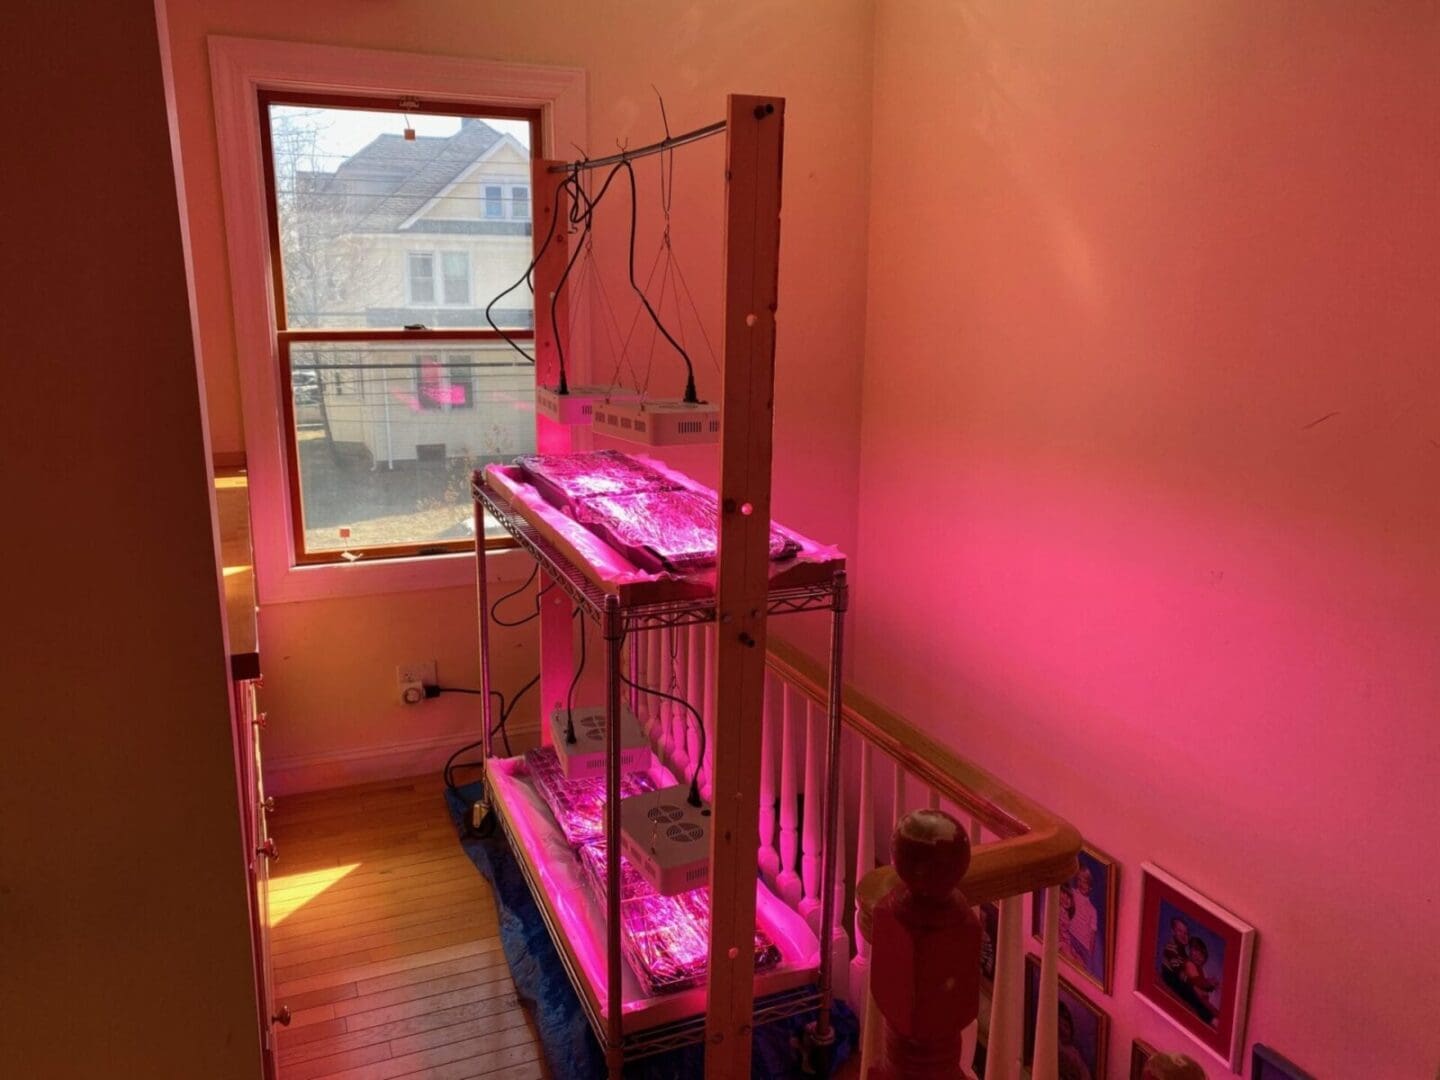
LED plant light
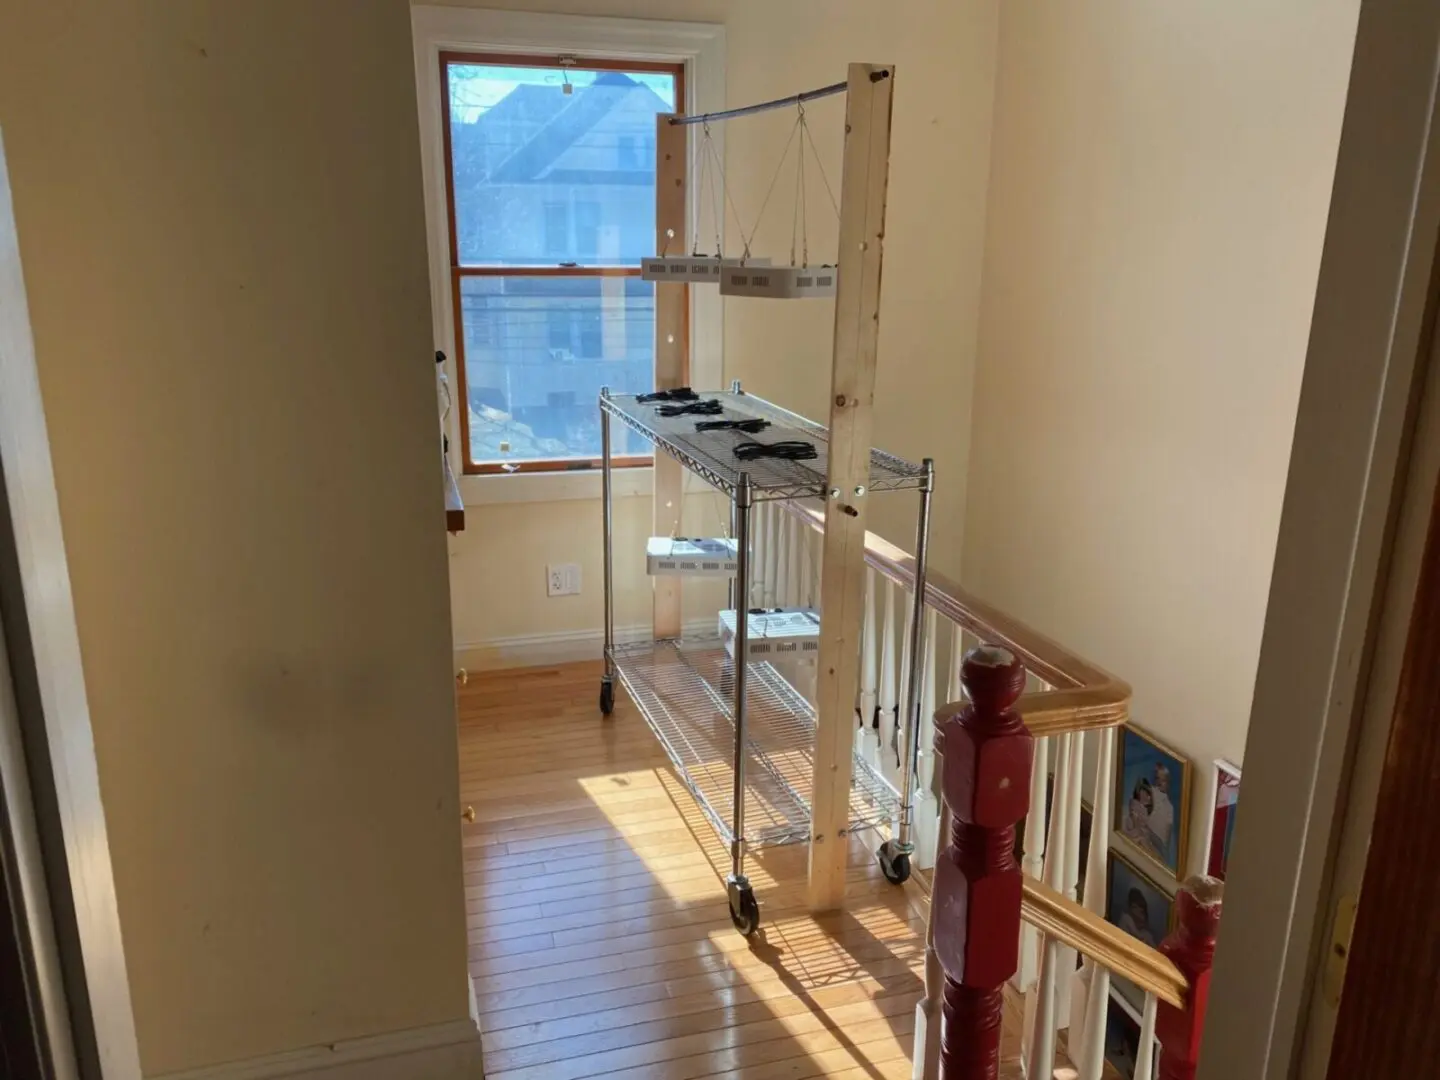
(4) LED plant lights above the seedlings
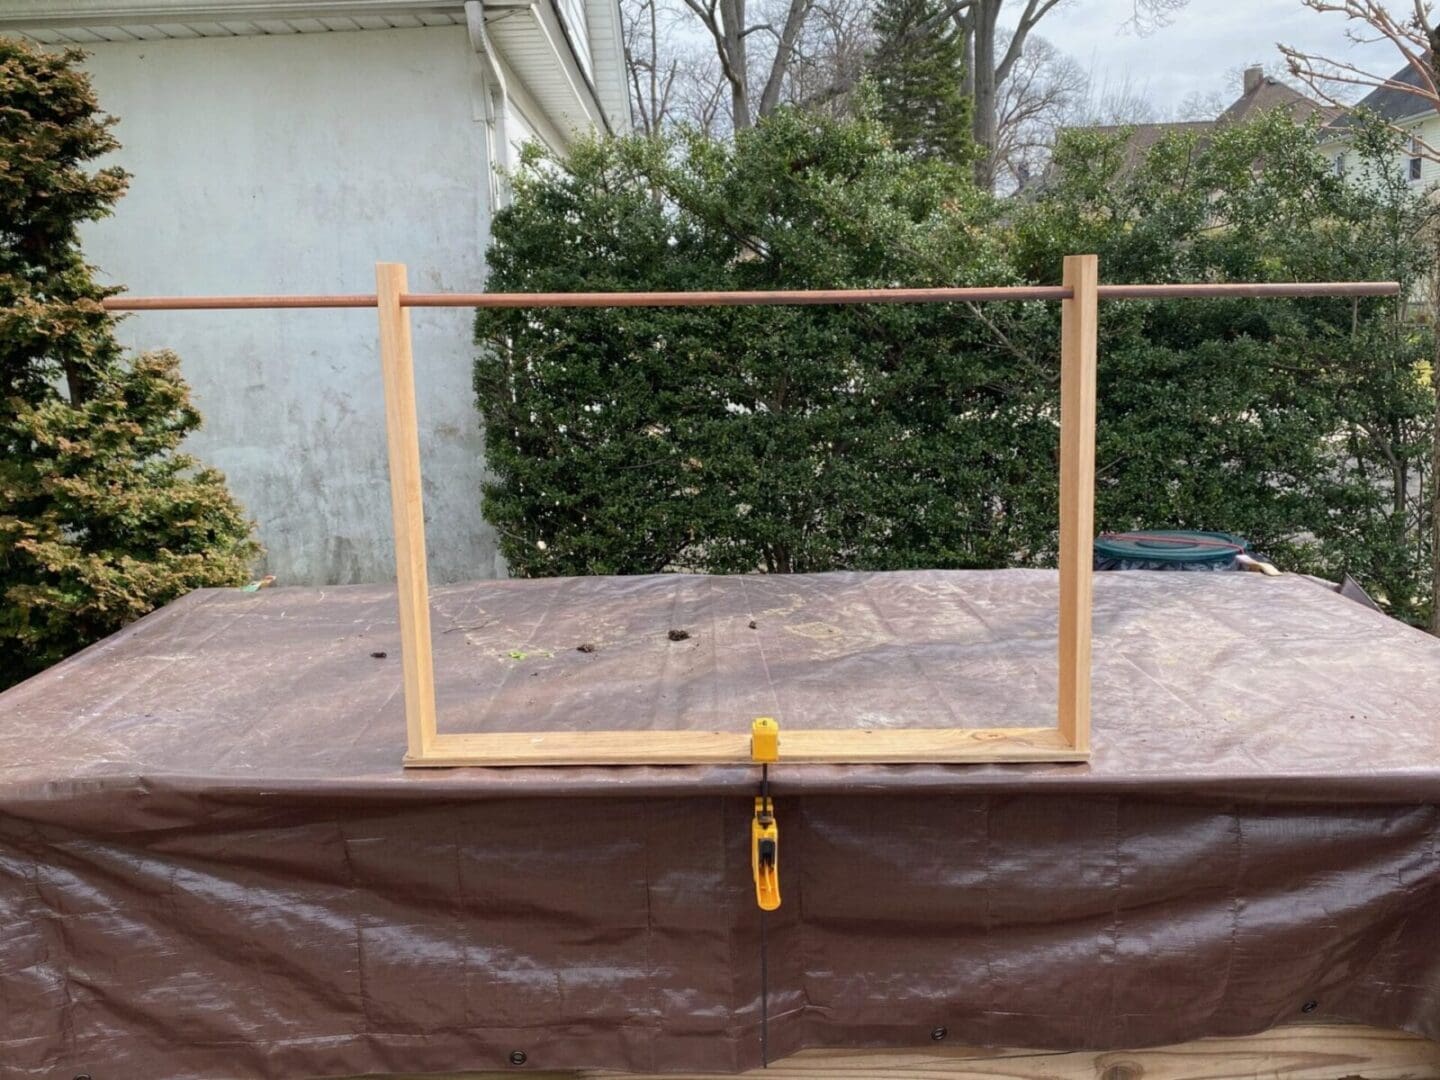
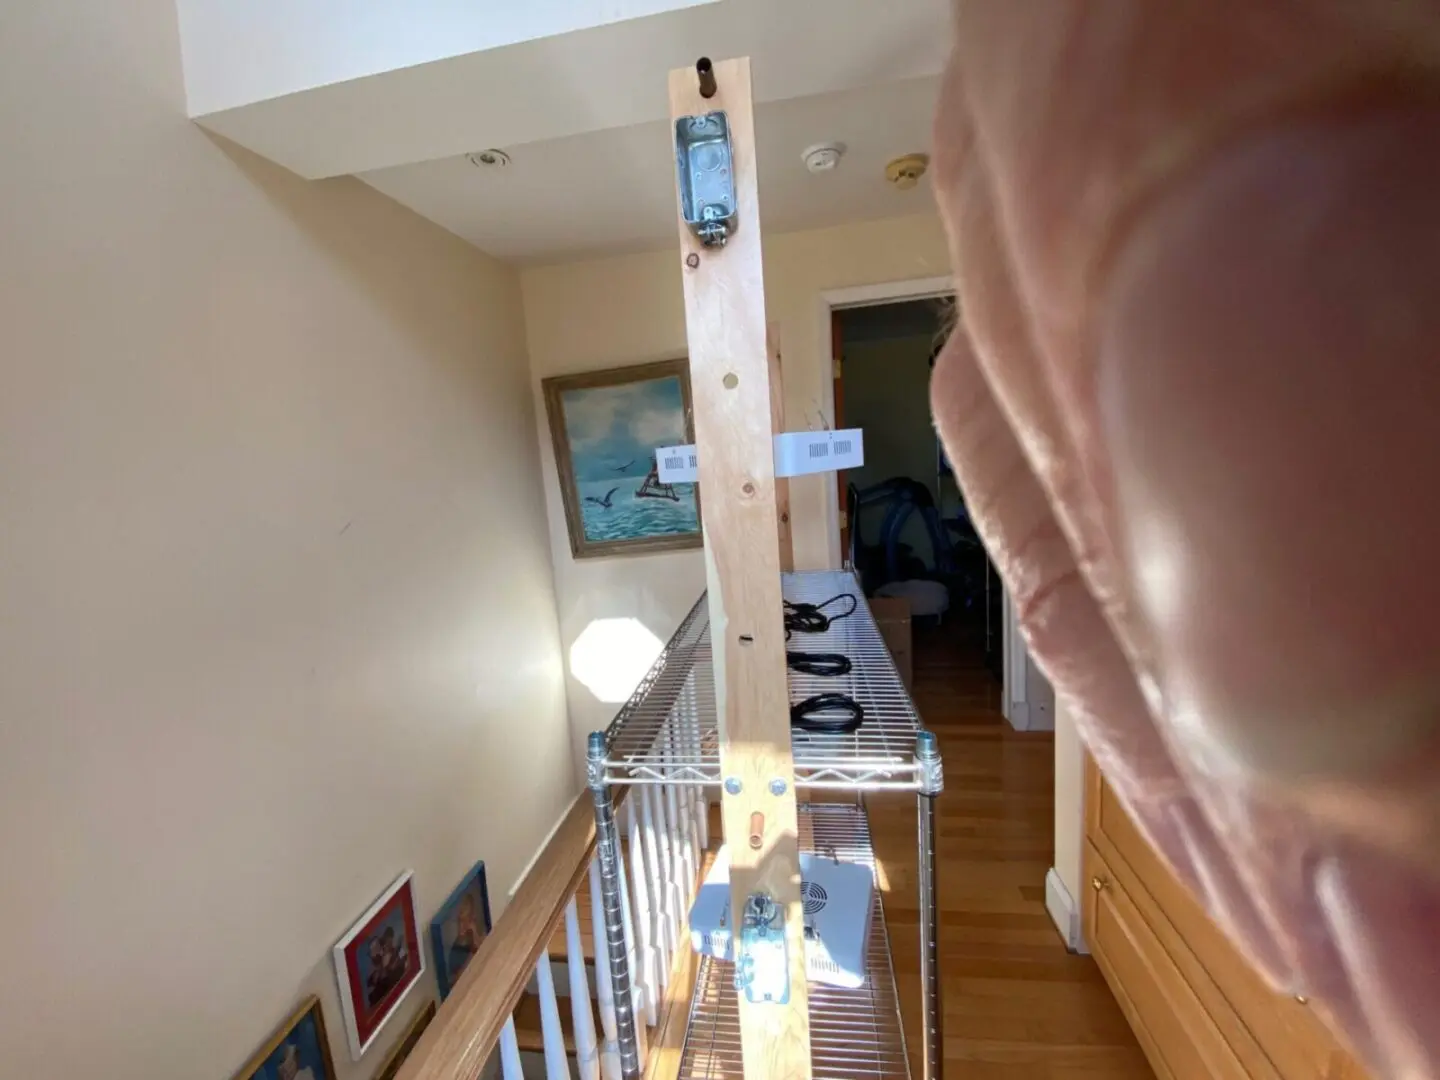
prototype light hanging structure
The biggest challenge was how to raise and lower the plant lighting. I drilled 1″ holes ( spaced 14″ apart) on the two 1″ x 4″ copper pipe wooden supports .
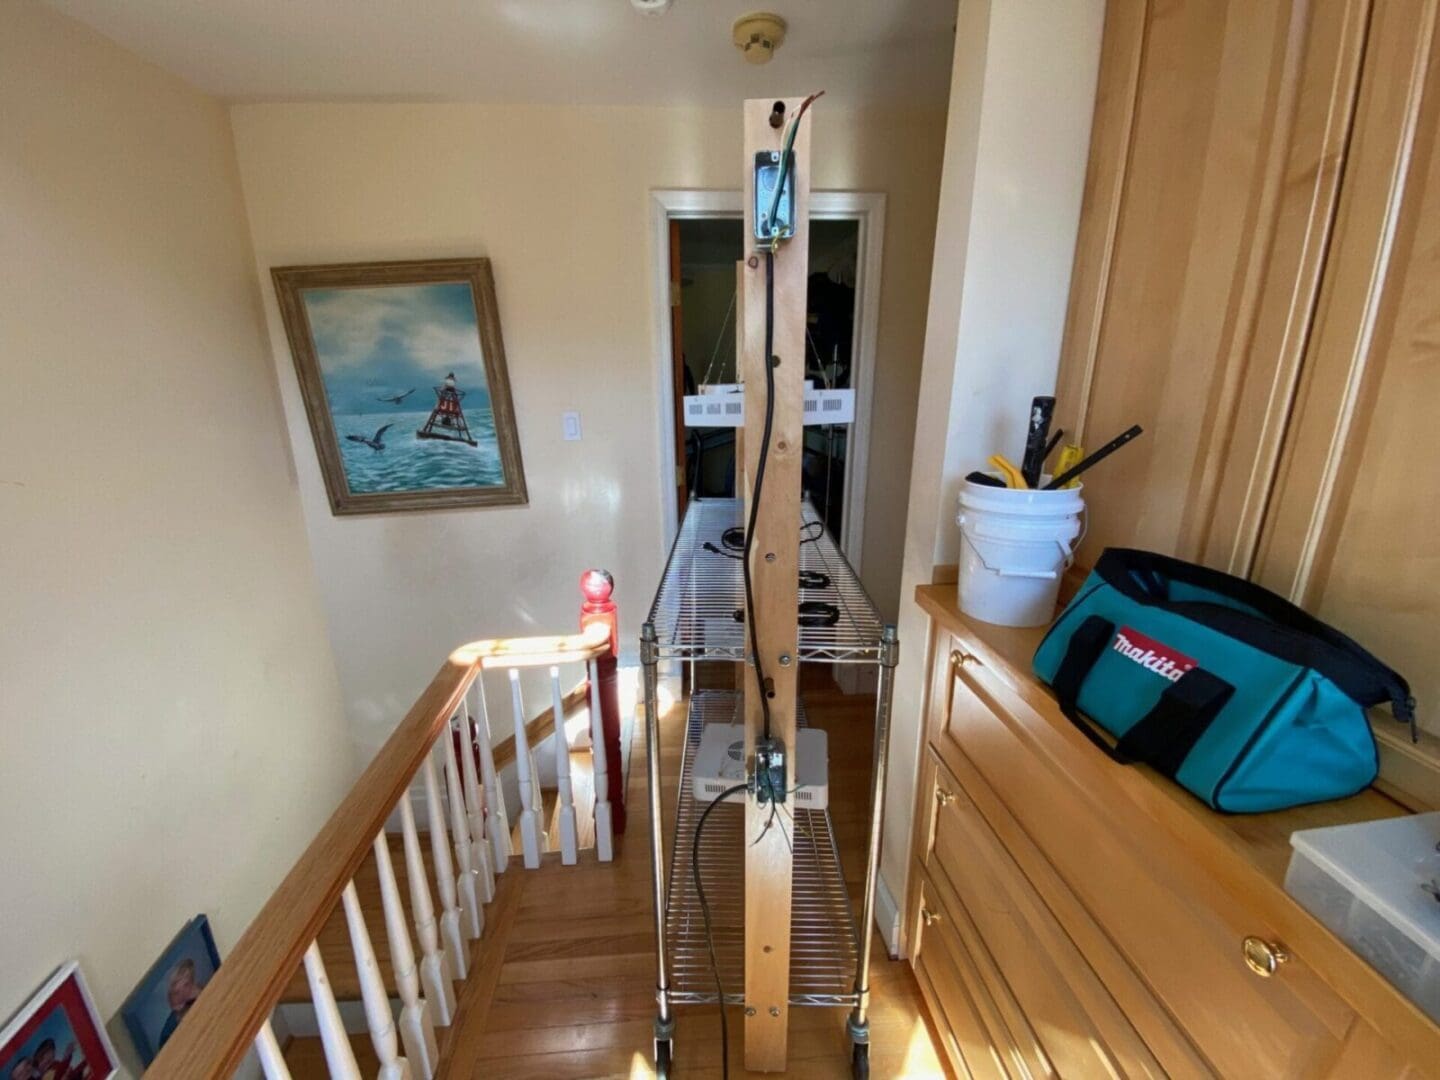
metro shelving with 1″x4″lightning supports and 1/2″ copper pipe from which the lights hang.
So here we are, the completed interior seed starting structure. I bolted the 1″x4″ wood supports to the Metro shelving.
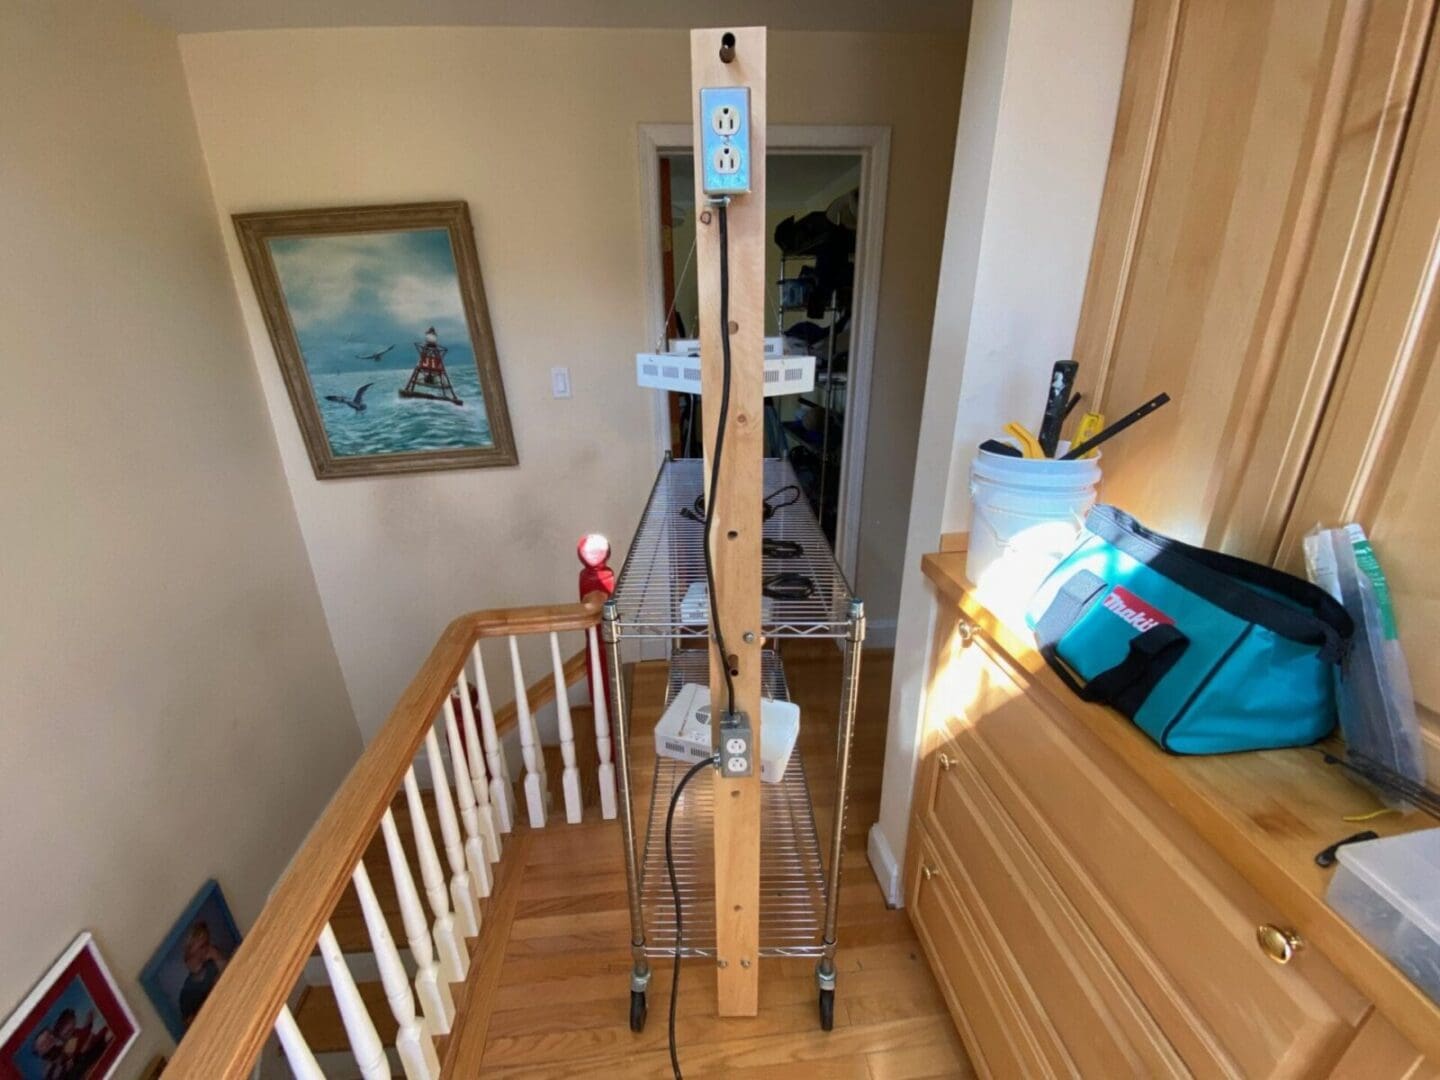
surface mounted outlets installed
The electrical installation starts with mounting two surface mounted boxes.
wire pulled through outlets
Using all the techniques I teach in the electrical class and workshop, I pulled all the wire into the two surface mounted boxes, (white wires, black wires, grounds) . I had an old 14 gauge extension cord that I used to connect the two outlets to the time clock/power source.
electrical completed
Power is done!!
Water drip pans for the plantings
Eventually, the plants had to be watered. I had to find a way to stop the water from messing up my wooden floor. First thought was to use the cover from a storage bin. It’s made of plastic, wouldn’t leak, great first thought. The only problem, it wasn’t flat, the plants, if I got any, would not sit straight under the lights. So, it was TLC time. Using whatever bits and pieces of wood I had, I built two trays. The waterproofing membrane I used was the 6 ml. heavy duty visqueen plastic that I demonstrate in our home’s insulation class.